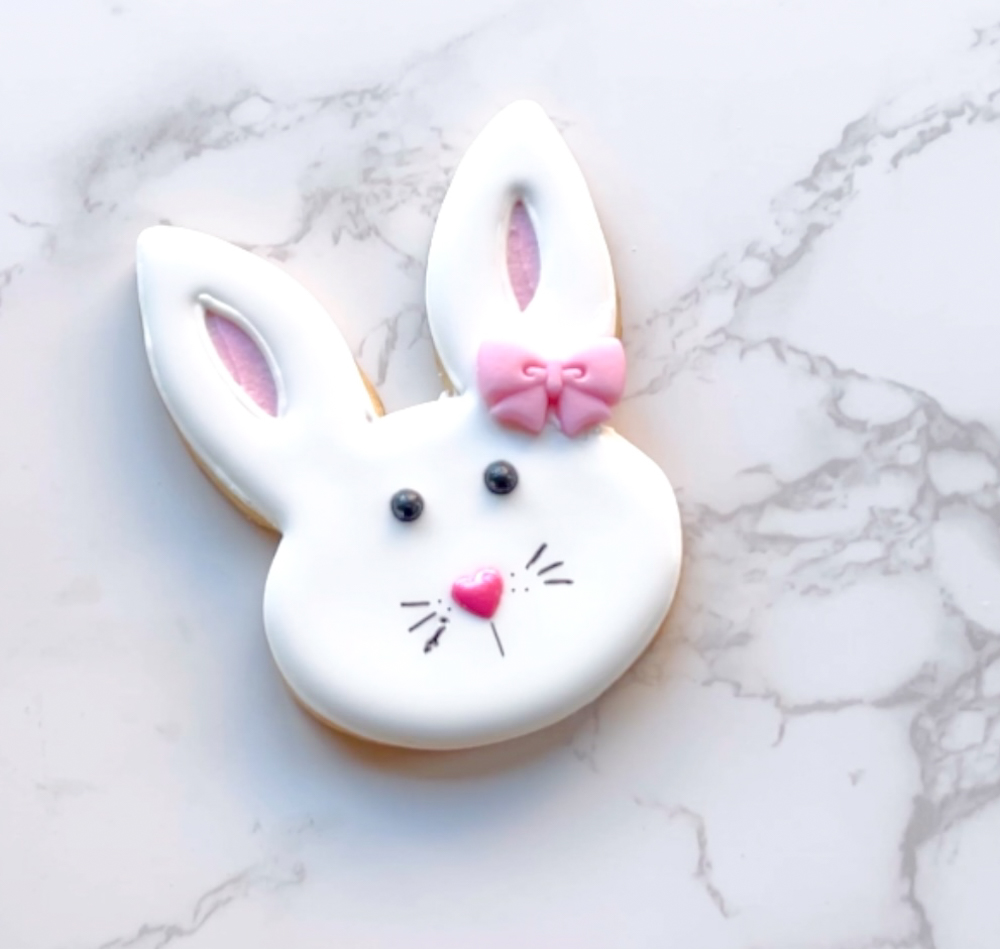
How to Decorate a Bunny Face Cookie
Rated 5.0 stars by 1 users
Category
Tutorials
With just a hare of practice,you’ll be decorating cookies thatevery-bunny will love! This bunny face isa great addition to an Easter custom cookieset, and isa great way to practice some new techniques.

Ingredients
-
Bunny Head Cookie Cutter
-
Piping Bags
-
Bright White Food Coloring
-
Bubblegum Pink Food Coloring
-
Super Black Food Coloring or Black Pearl Sprinkles
-
Black Edible Marker (Optional)
-
Bow sprinkles or Bow Royal Icing Transfers-Learn how to make royal icing transfers here.
Directions
If making royal icing transfers for the bows, make them at least 24 hours in advance. To make royal icing transfers, print out a clip-art image of a bow. Keep in mind the proportions—this bow will be adhered to the bunny ear, and so you want it to be proportionally correct. Place the clip art image under a sheet of parchment paper.
Using pink stiff-consistency royal icing, trace and fill the sections of the bow. Make sure not to pipe two adjacent sections at once, as you may lose definition. Gently move the icing around with a scribe tool or toothpick to ensure full coverage and to pop any air bubbles.
Your royal icing transfers are dry when they easily slide off of the parchment paper. If removed too soon, they may break.Get a step-by-step tutorial on how to create royal icing transfers here.
Bake and cool cookies fully before decorating. We recommend Ann’s Signature Sugar Cookie Recipe. Or, try something different with this light and cakey Sour Cream cookie recipe. Prepare royal icing in the following colors and consistencies:
Learn more about royal icing consistencies here.Outline/Piping Consistency:
White
Pink
BlackFlood Consistency:
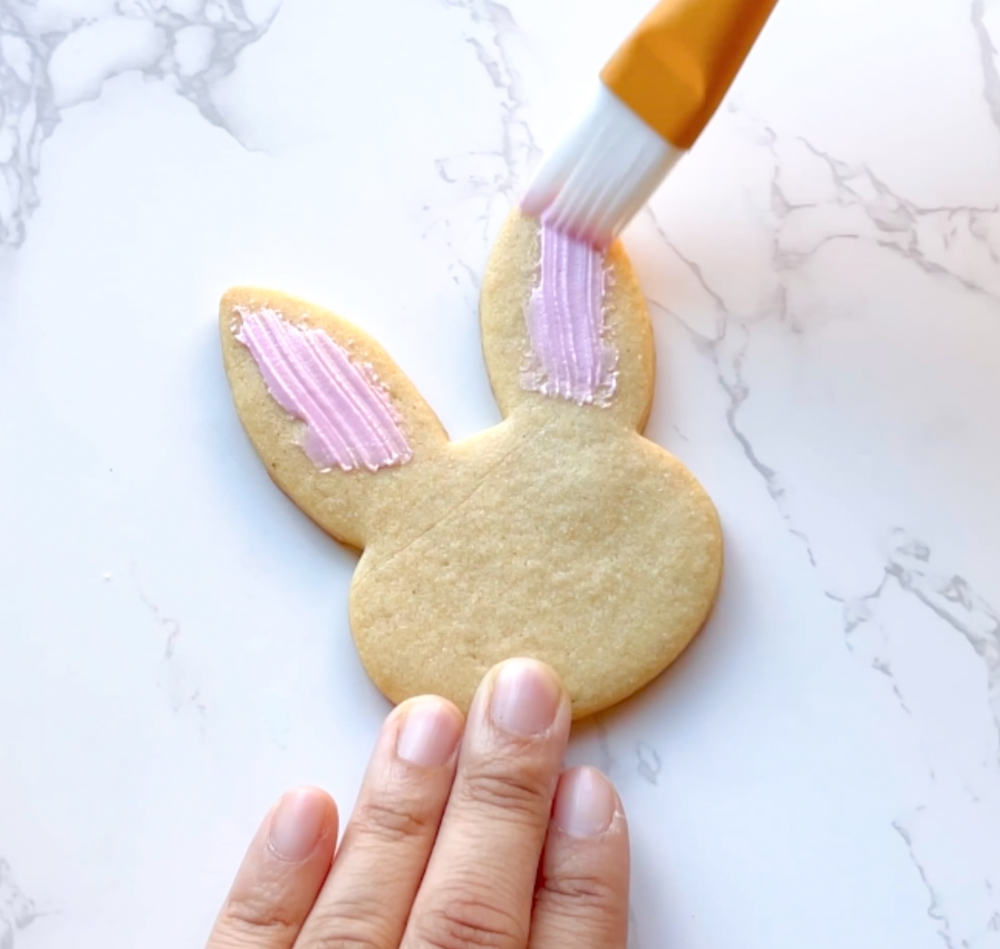
WhiteUsing your pink outline consistency icing, pipe two lines on the bunny ears. Use a food-safe brush or putty knife to gently drag the icing so that just a thin layer remains on the cookie. Don’t worry too much about how neat this is, as you’ll cover some of this area up with white royal icing.
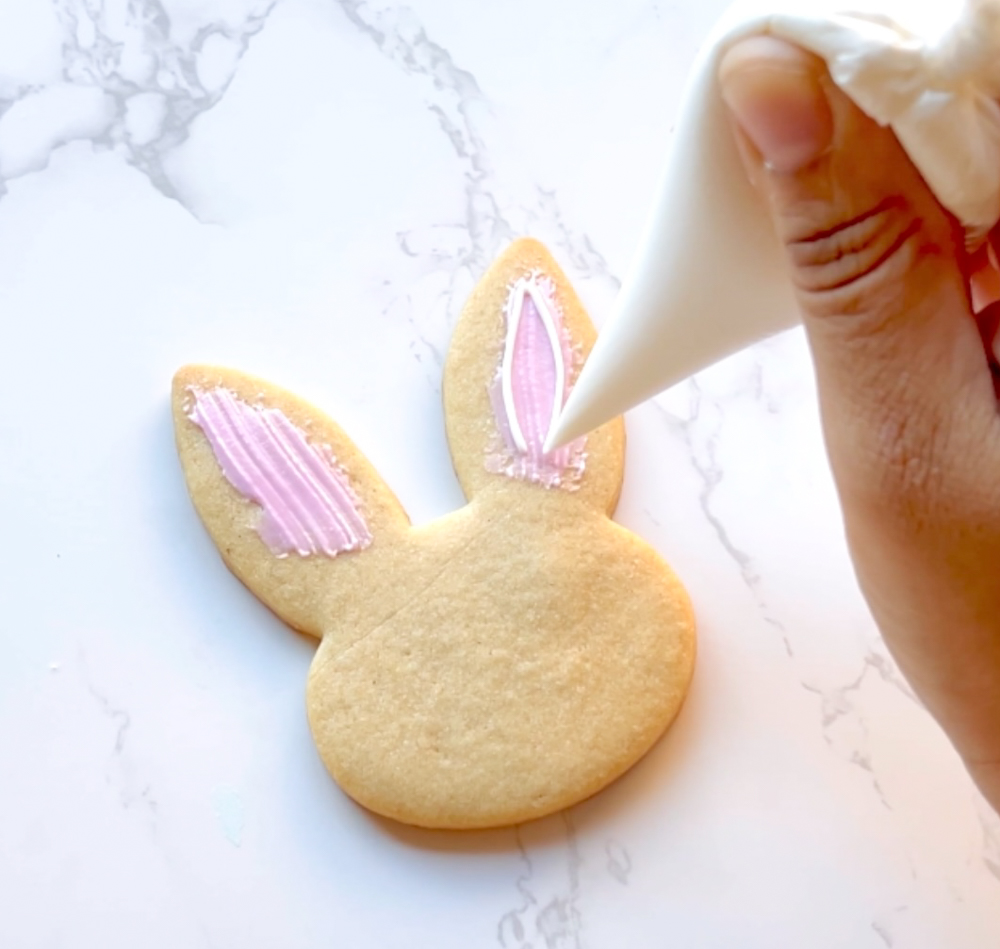
With your white outline consistency icing, outline the inner parts of the ear, around the pink area.
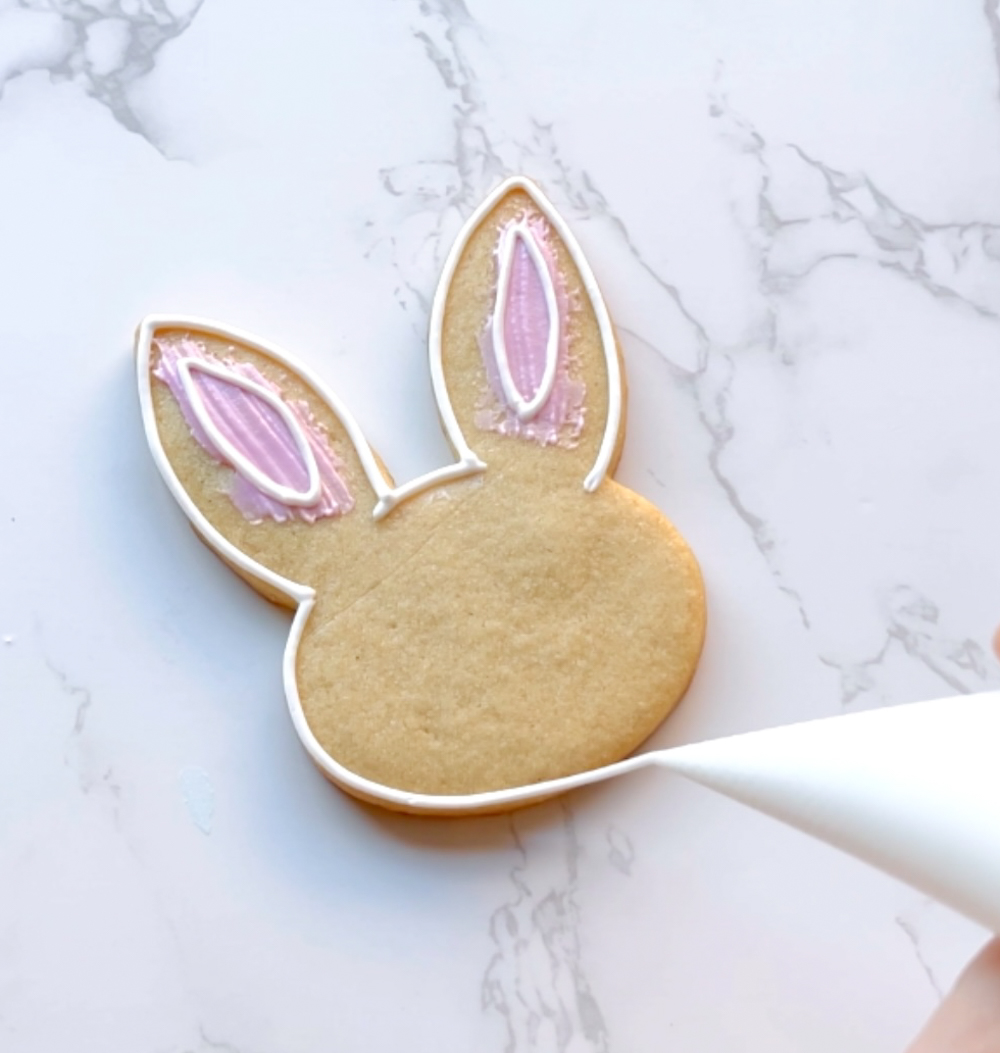
Next, outline the outside of the bunny shape with white outline consistency icing.
Fill in the ear area with white flood consistency royal icing, careful to leave the pink part of the ear exposed.
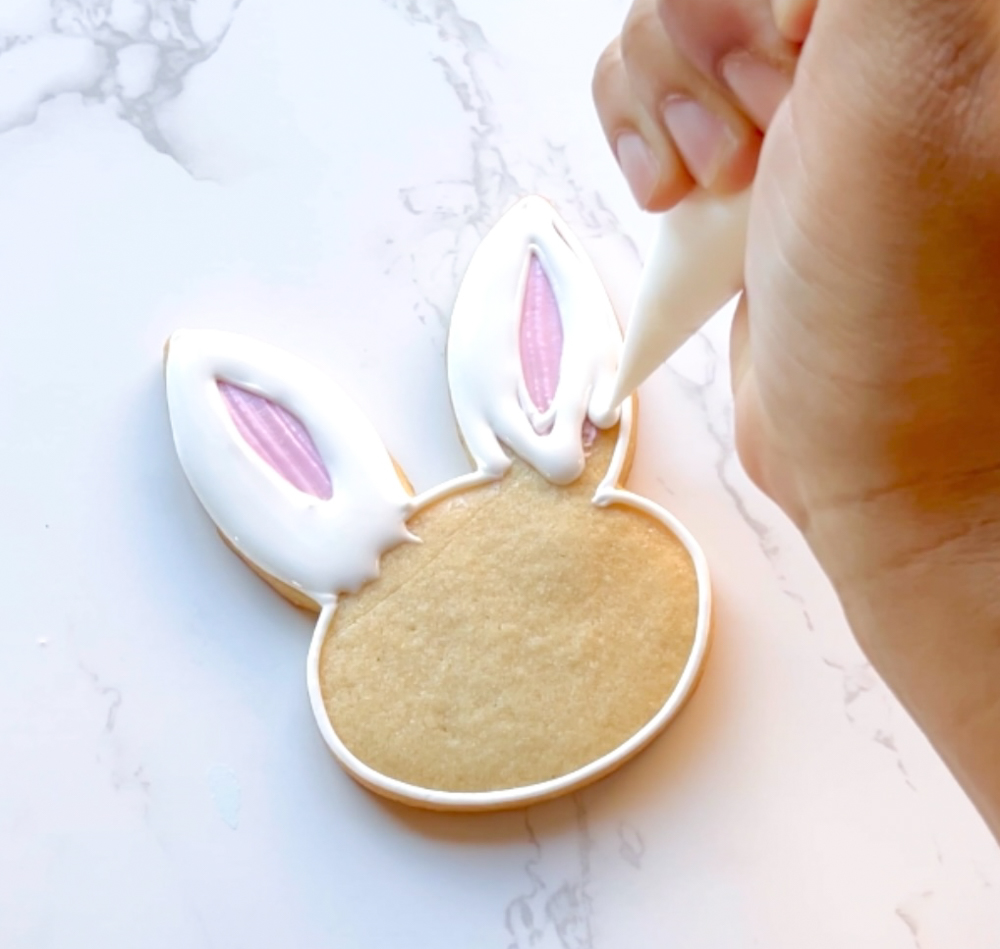
Fill the rest of the bunny face with white flood consistency royal icing, gently moving the icing around with a toothpick or scribe tool to ensure full coverage and to pop any air bubbles.
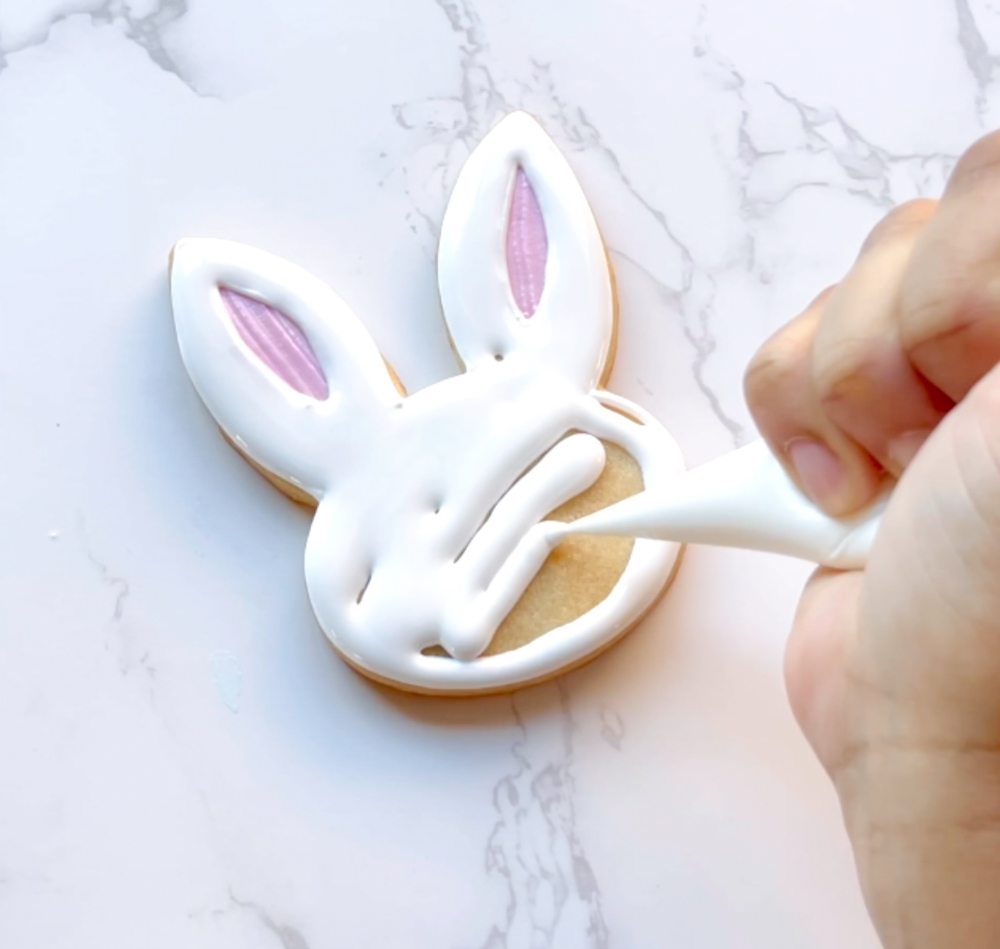
While the icing is still wet, gently place two black pearl sprinkles for the bunny eyes.
Alternatively, you can wait until the base flood is just crusted over, about 30-60 minutes, and pipe two small dots of black outline consistency icing for the eyes.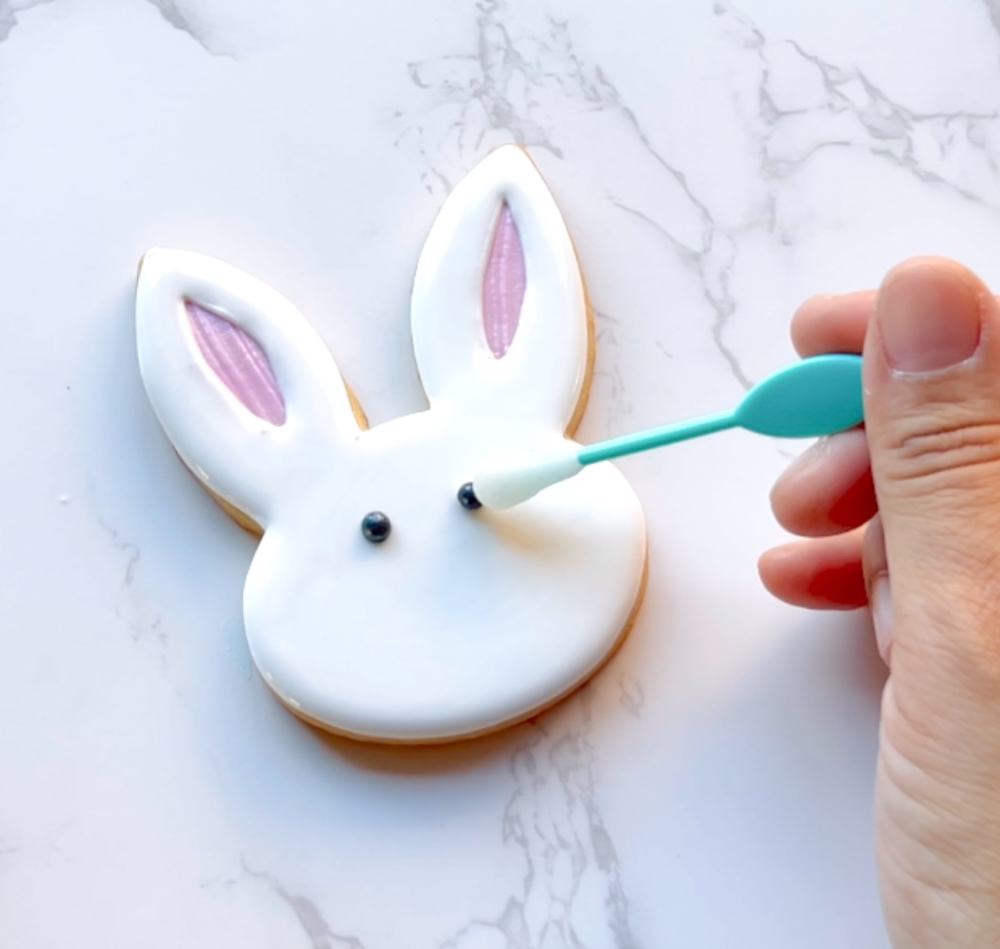
While the white base icing is still wet, gently place a pink heart sprinkle for the nose.
Alternatively, you can wait until the white flood icing is just crusted over, 30-60 minutes. Using pink outline consistency icing, pipe a heart-shaped nose. Use a scribe tool or toothpick to adjust the shape as needed.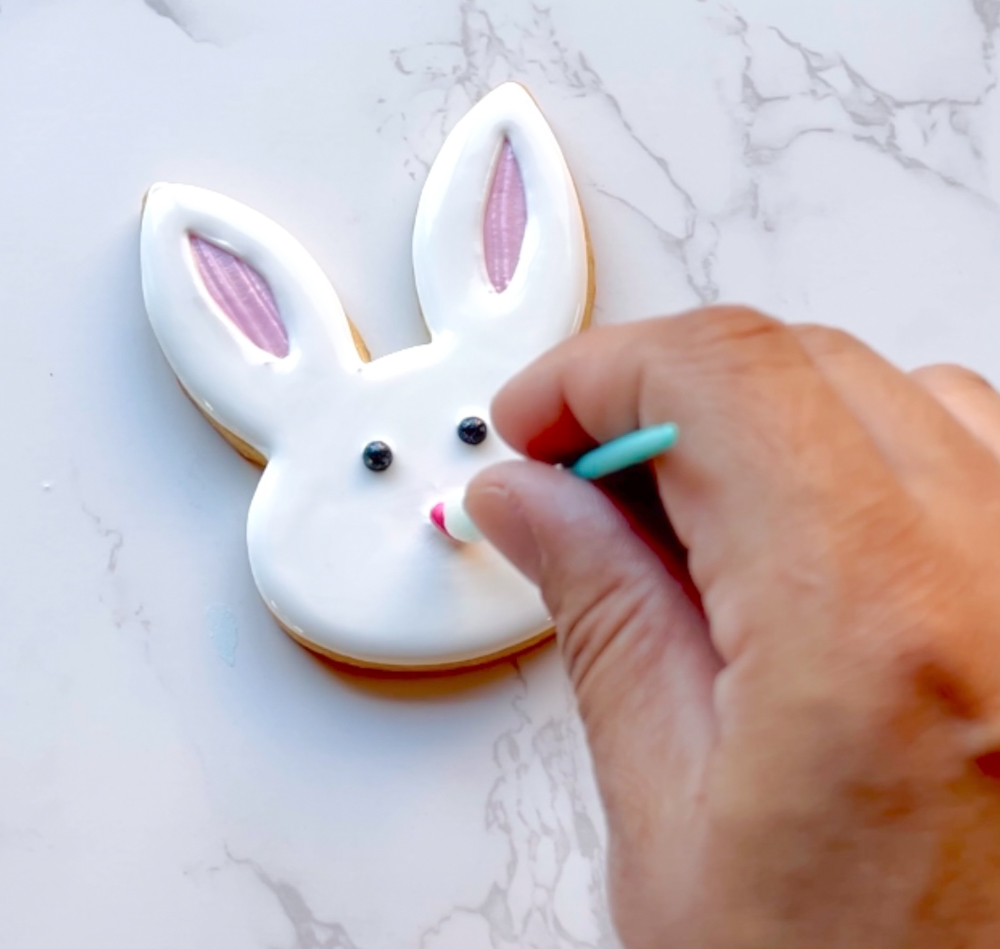
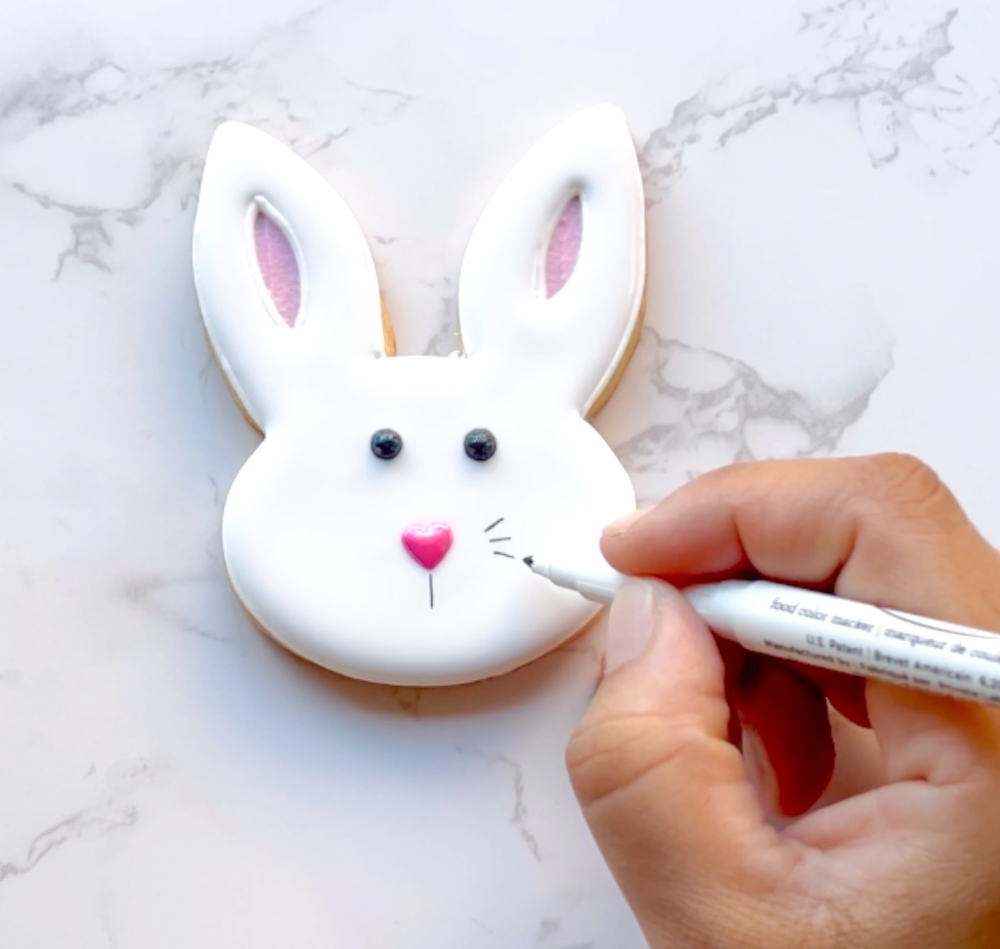
Using either an edible marker or black outline consistency icing, pipe whiskers on either side of the bunny’s nose.
Place your bow royal icing transfer or sprinkle onto the bunny ear. Use white outline-consistency icing to adhere the transfer to the bunny ear. By using the same color as the base (white in this case), you can easily blend and wipe any of the adhesion icing that may get squished out as you are placing your transfer.
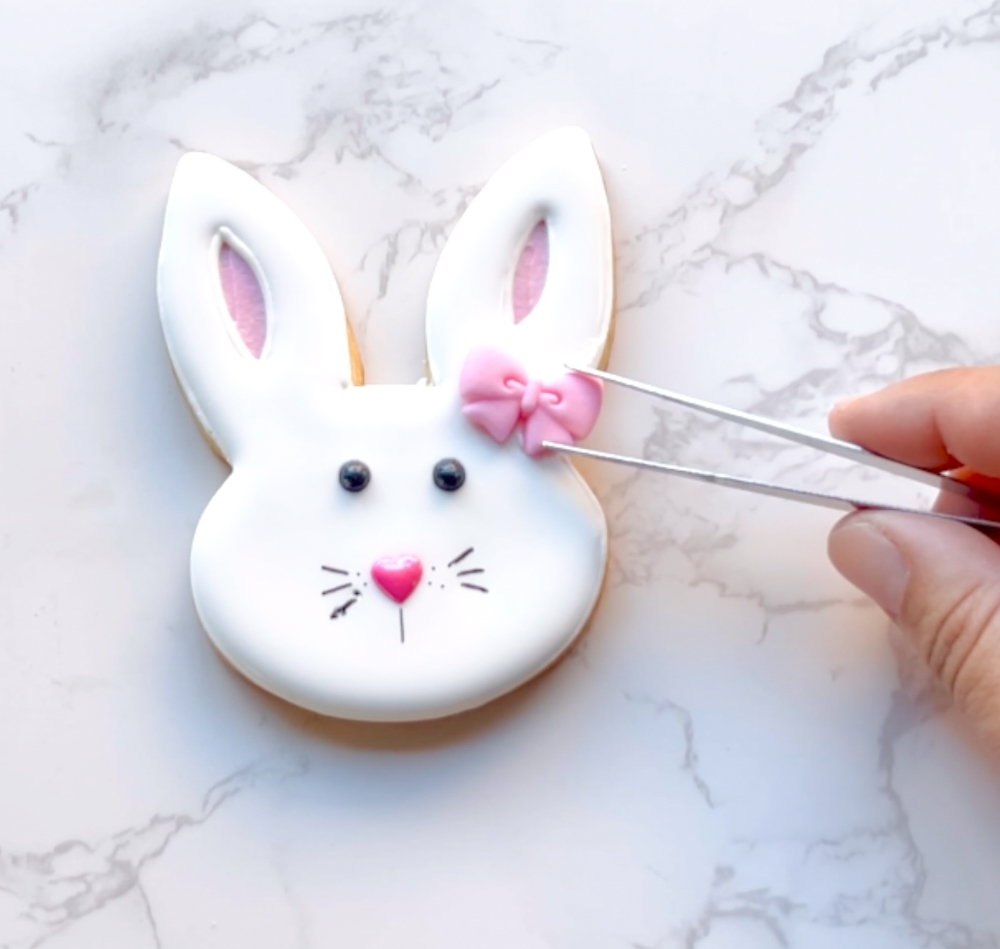
Enjoy this sweet Easter Bunny cookie!
