How to Hand-Letter Without a Projector
Category
Tutorials
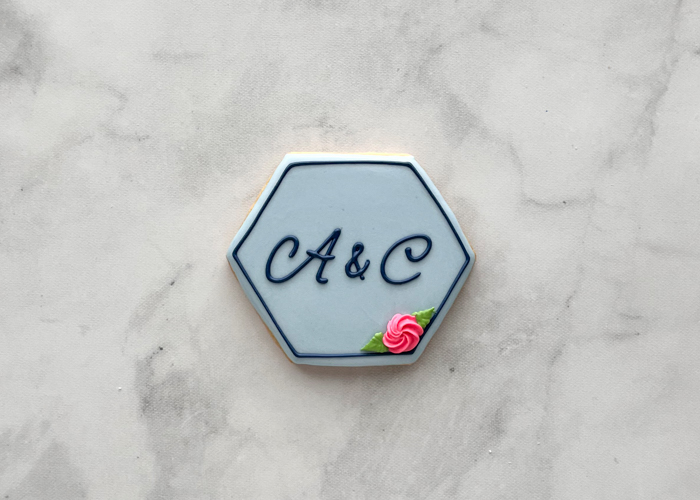
The hexagon shape is a wonderful shape to practice new techniques on. It is versatile--try different lettering types for weddings, birthdays, and showers. By adding a neat border and a small pop or greenery, it elevates the shape into an elegant cookie that you'll be proud to serve.
Ingredients
-
5 Tipless Piping Bags
- Star Piping Bag Tip #16
- Leaf tip 352 (Optional--instructions to cut a tipless piping bag to create leaves to follow)(instructions will follow)
-
Royal Blue Food Coloring
-
Sky Blue Food Coloring
-
Super Black Food Coloring
-
Bright White Food Coloring
-
Leaf Green Food Coloring
-
Bubblegum Pink Food Coloring
- Edible marker - optional
- Tissue paper - optional
- Spatulas & pint glasses to fill your piping bags
- Scissors
Directions
Bake and cool cookies before decorating. Get Ann Clark's no-fail sugar cookie recipe here. Make sure cookies are fully cooled. If they are warm, the icing will run off of them. Make royal icing. Learn how to mix different consistencies of royal icing here>>
Prepare the following icing colors:
Piping Consistency:
Pastel Blue (Create a soft blue by mixing sky blue food coloring with a tiny amount of bright white food coloring)
Navy Blue (Create a rich navy blue by mixing royal blue food coloring with a tiny amount of super black food coloring in your icing mix)
Green
Flood Consistency:
Soft Blue
Stiff Consistency:
Pink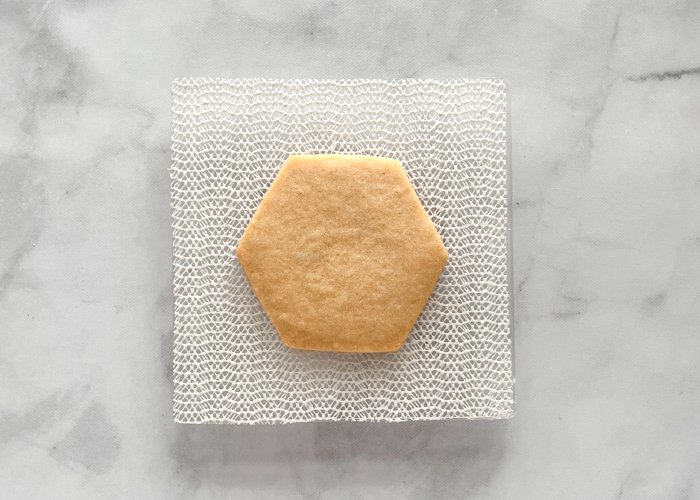
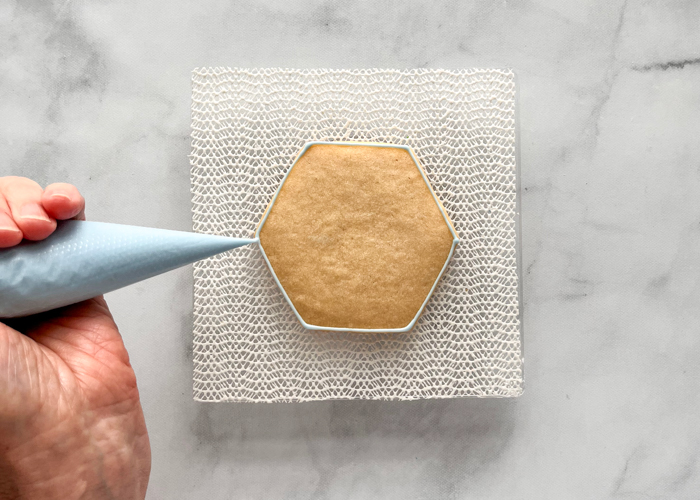
- Start by outlining the hexagon with light blue piping consistency icing.
Using soft blue flood icing, fill the interior of the hexagon with the light blue flood icing. Use a scribe or toothpick to gently move the flood icing around, which will ensure full coverage and also eliminate air bubbles.
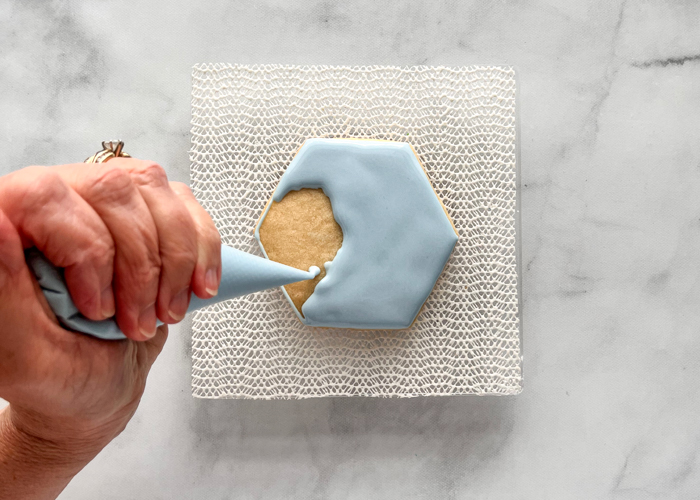
Allow to dry 30-60 minutes, or until crusted over. If you'd like to speed up this process, place the cookies near a fan so that the icing crusts over more quickly. The surface should feel dry if you very lightly brush your finger across the icing.
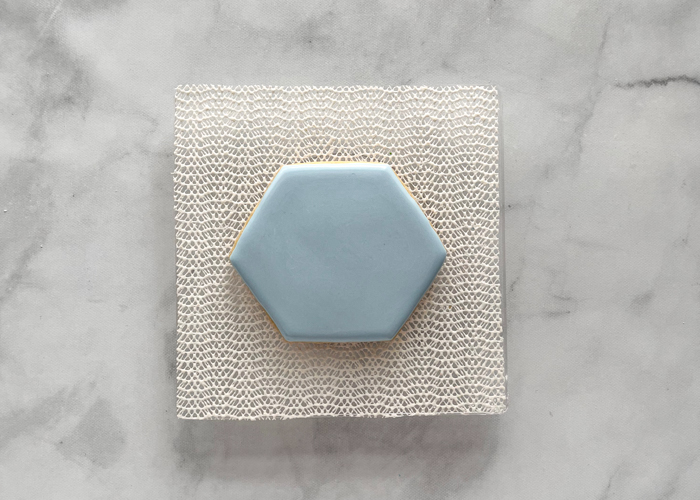
If you need to transfer a monogram or other writing to the cookie and you do not have a projector, you can use the following method.
NOTE: it is important that your cookies be fully dry to use this method, you may wish to let them dry overnight.
Start with the lettering you wish to use on a sheet of paper. You can either freehand your text or print it off.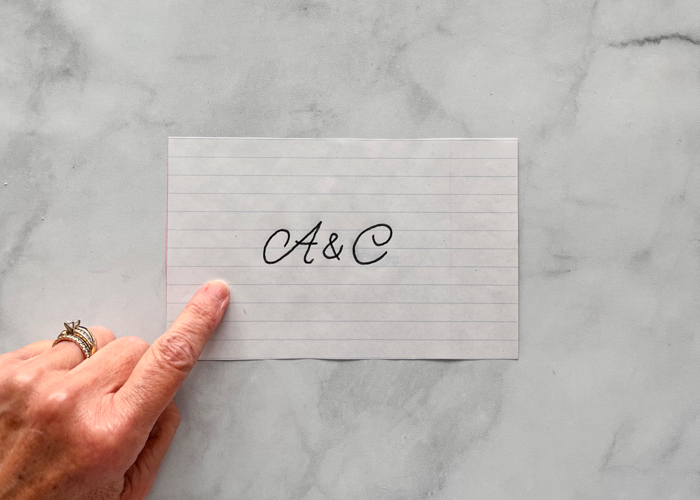
You will also need a small piece of regular gift wrapping tissue with no coating. Make sure the tissue paper that you use is lightweight-you want the lettering to bleed through this paper.
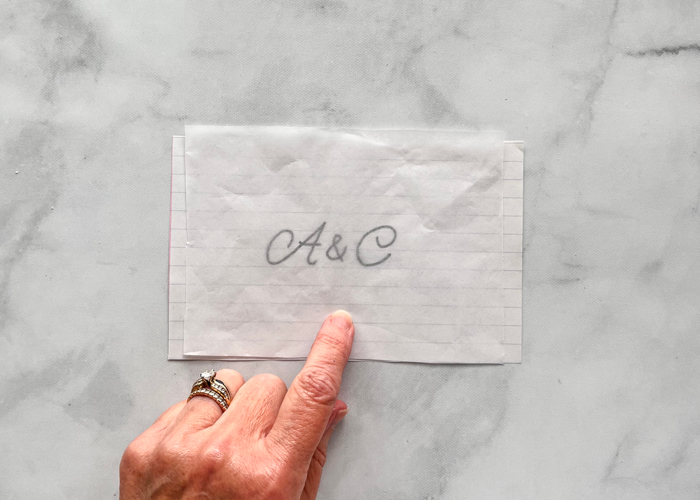
Place the paper with the lettering you wish to transfer to your cookie under your tissue paper.
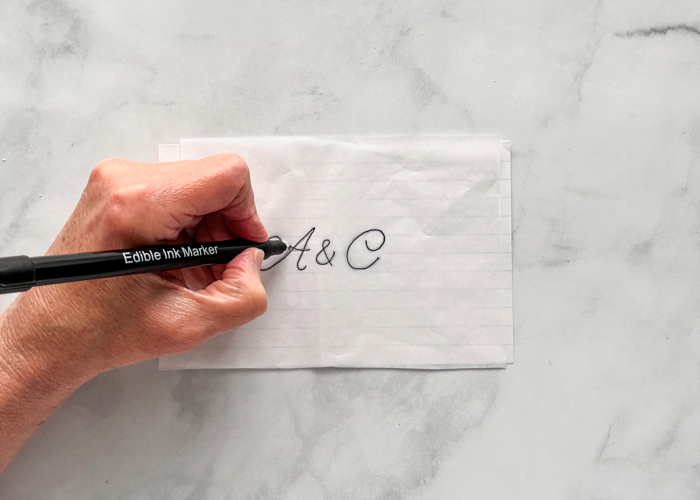
Trace the design onto the tissue paper.
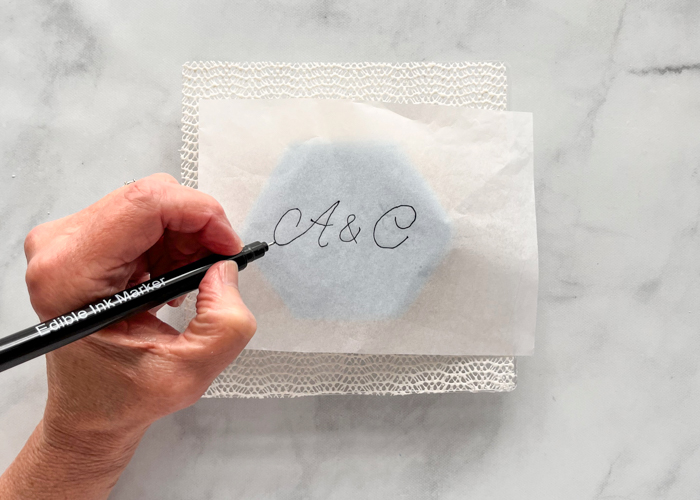
Next, place the tissue on the cookie lining up the lettering where you wish to have it on the cookie. Using an edible marker, write over the design you traced.
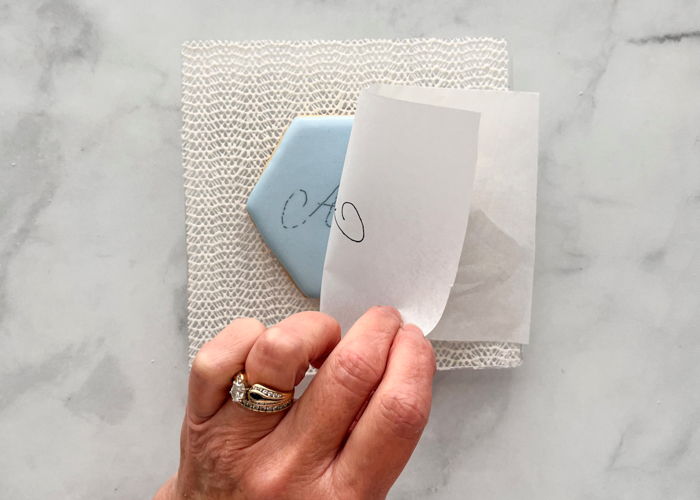
Occasionally lift the sheet to check the ink transfer, but be sure not to change the alignment of the lettering as you do so.
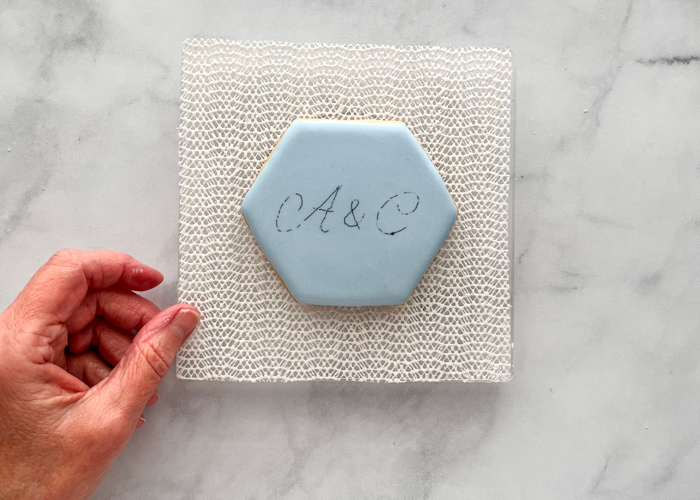
You only need a faint guide to follow for piping.
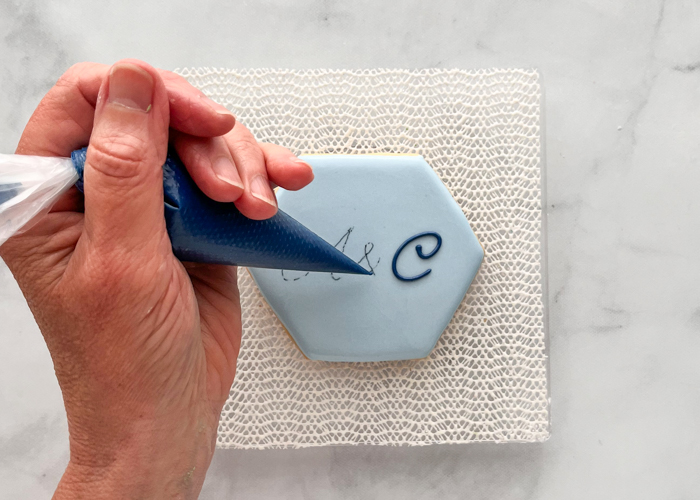
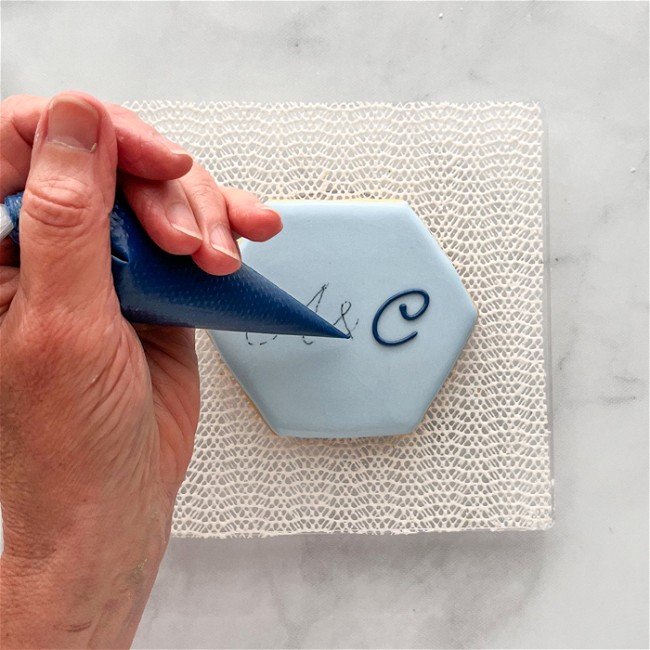
Now that you have your guide, you can pipe your letters! Use navy piping consistency icing and a very fine tip to trace the lettering on the cookie.
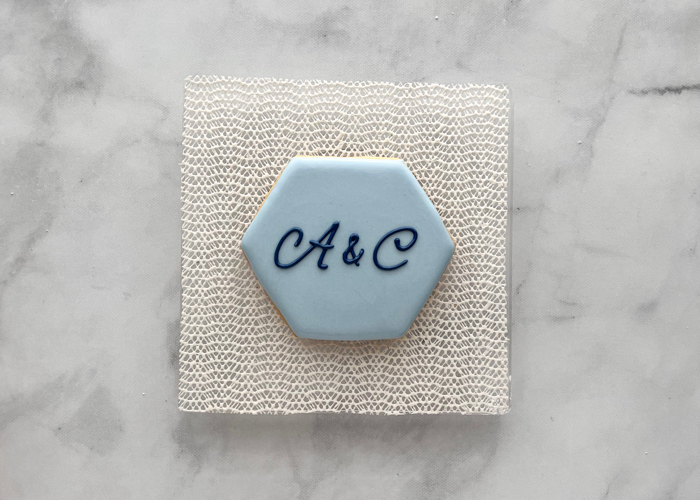
It may be helpful to let the lettering dry before moving on to the next step-this will prevent it from smudging.
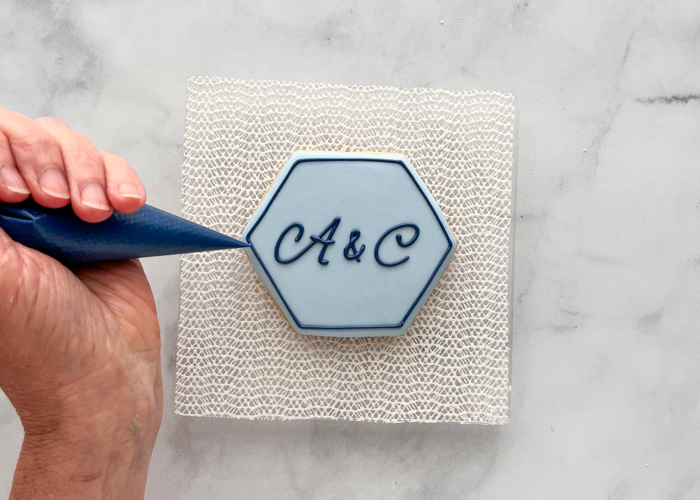
With the navy piping consistency icing, carefully outline the cookie to add a border. You may choose to pipe right at the edge, or inset your border slightly as shown here for a different look.
Allow the border to dry before moving on to the next step.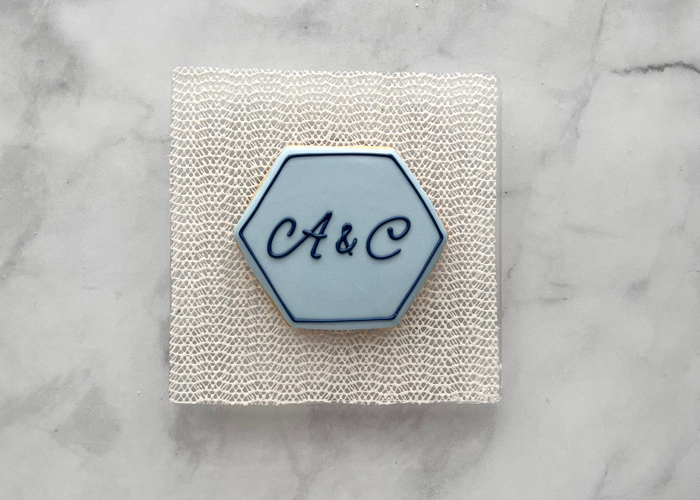
Allow the border to dry before moving on to the next step.
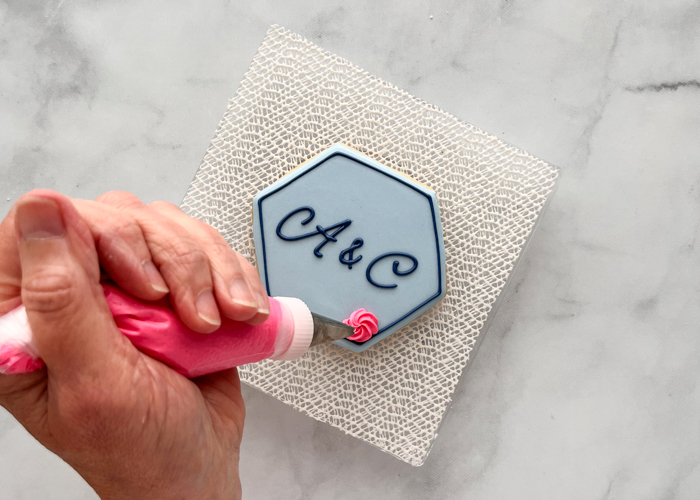
Using tip #16 and stiff pink icing, pipe a pink flower in a lower corner of the hexagon.
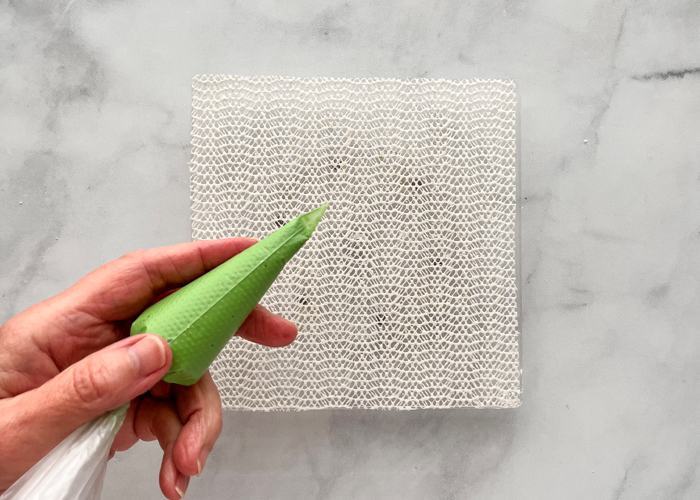
For your leaves, you may use a tip #352 if you have one, or you may wish to cut a leaf tip out of a tipless piping bag, shown here. To do so, flatten the filled uncut bag and push the icing away from the tip.
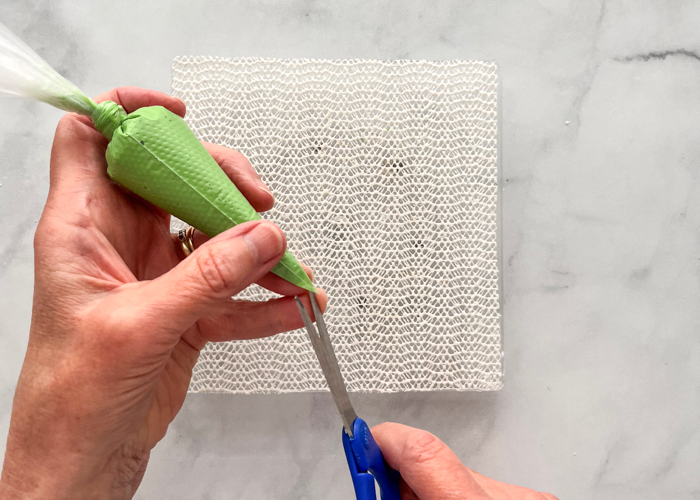
With the seam running down the center, carefully cut an inverted "V," or beak shape, from the tip of your bag.
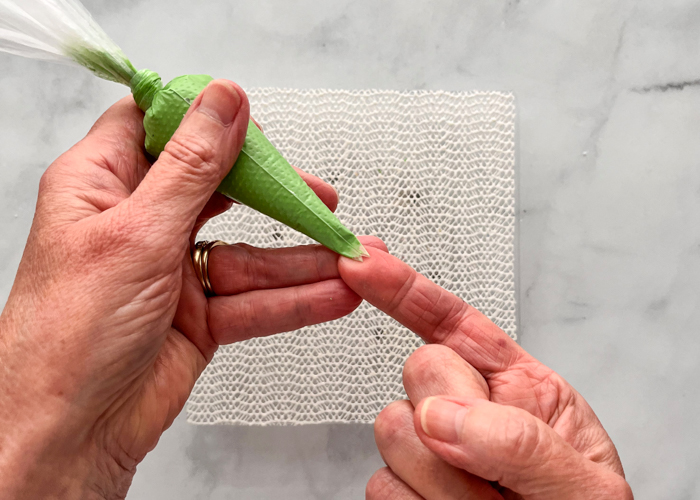
You will want to position the bag against your cookie so that the points of the beak are facing up and down, to achieve a leaf shape. Begin piping with gentle but steady pressure, then release the pressure as you pull away to a point.
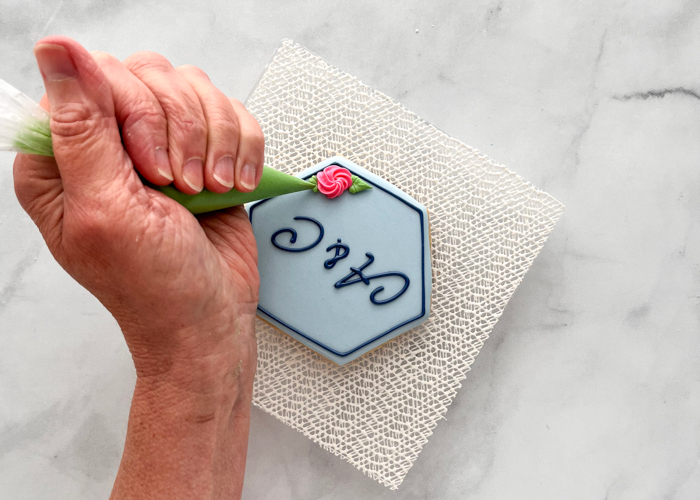
While using a projector is the easiest way to pipe script onto your cookies, this is a great low-cost method to hand-letting your cookies with royal icing using tools and materials that you likely already have in your pantry and cabinets.
Recipe Note
Cookies decorated by Mary Mansfield of The Flour Gardener


