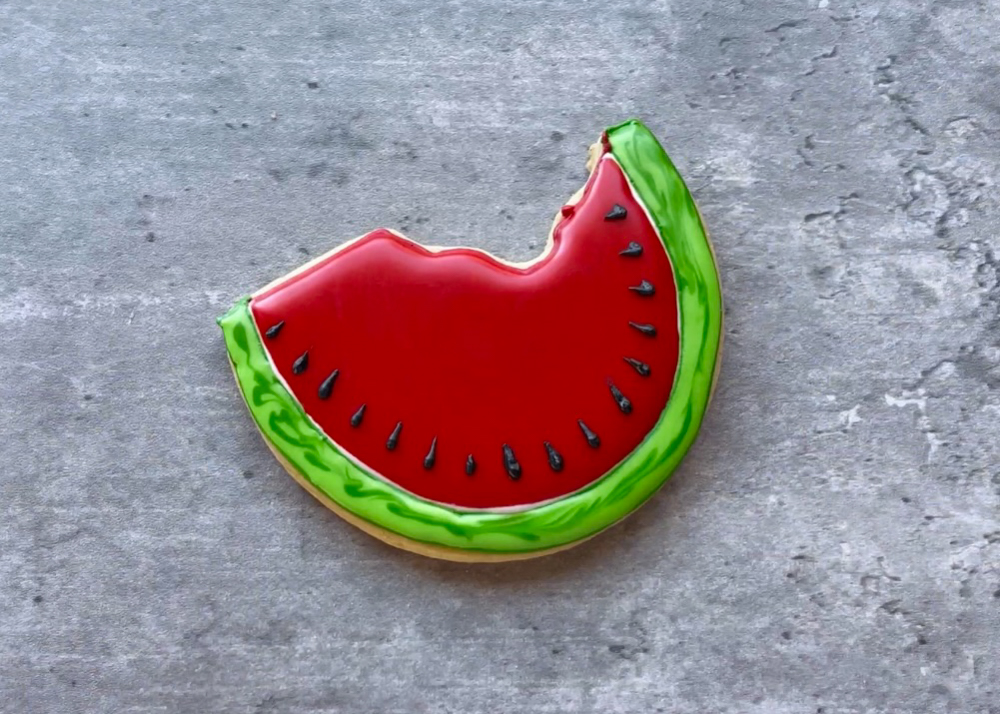
How to Decorate a Watermelon Cookie
Rated 5.0 stars by 1 users
Category
Tutorials
Sweeter than the real thing. Learn how to make this watermelon cookie, ready for summer barbecues and birthdays.
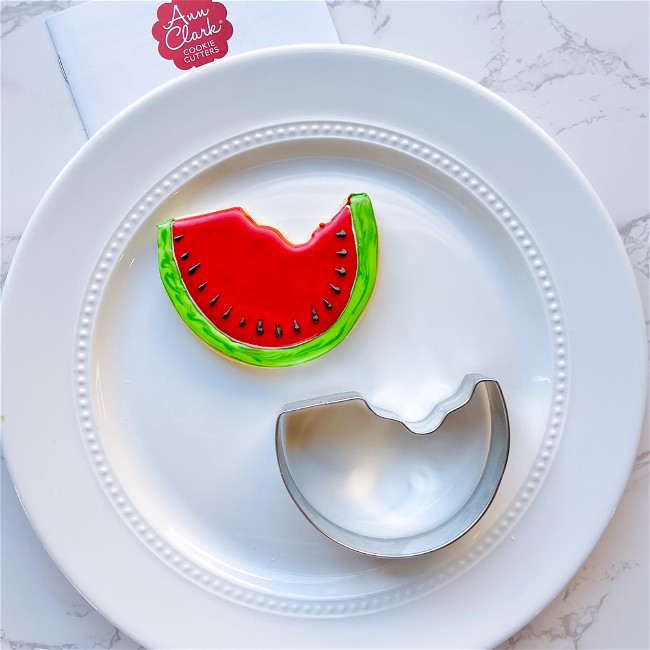
Ingredients
-
Watermelon Slice Cookie Cutter
-
Piping Bags
-
Leaf Green Food Coloring
-
Super Red Food Coloring
-
Super Black Food Coloring
-
Bright White Food Coloring
-
Royal Icing
Directions
Bake and cool cookies fully before decorating. Prepare royal icing in the following colors and consistencies:
Thick Flood Consistency:
Light green (mix a drop of bright white food coloring into your green icing to achieve a light green color)
Dark GreenFlood Consistency:
RedOutline Consistency:
Red
Black
White
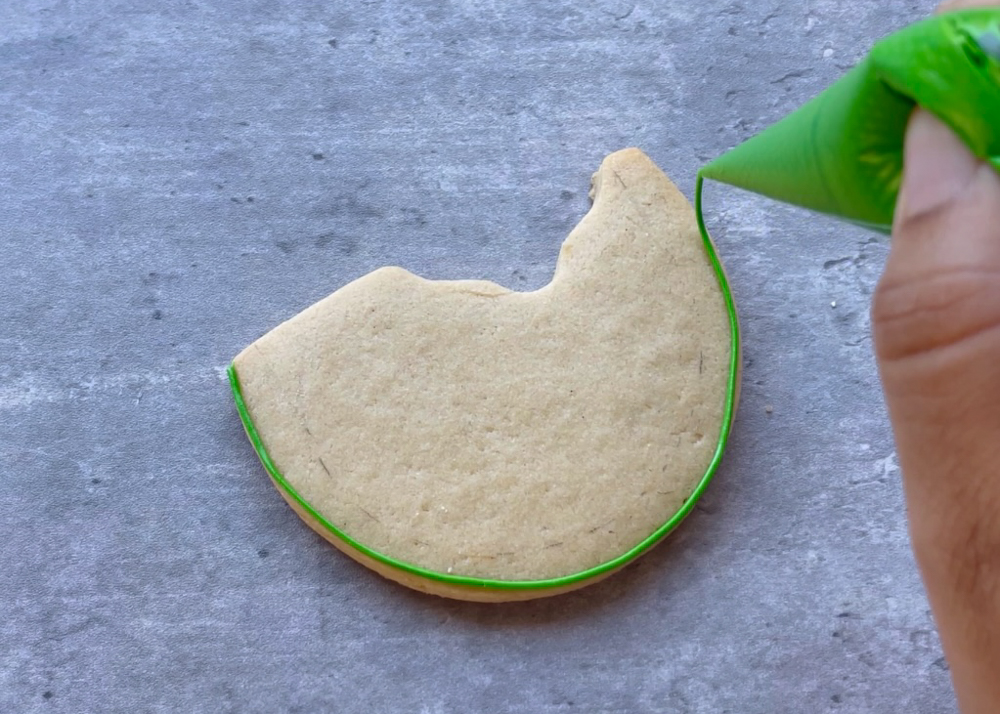
Using your light green royal icing, outline a thin rind along the rounded part of the shape.
Outline the upper part of the rind, so that you have a closed area to fill with flood icing.
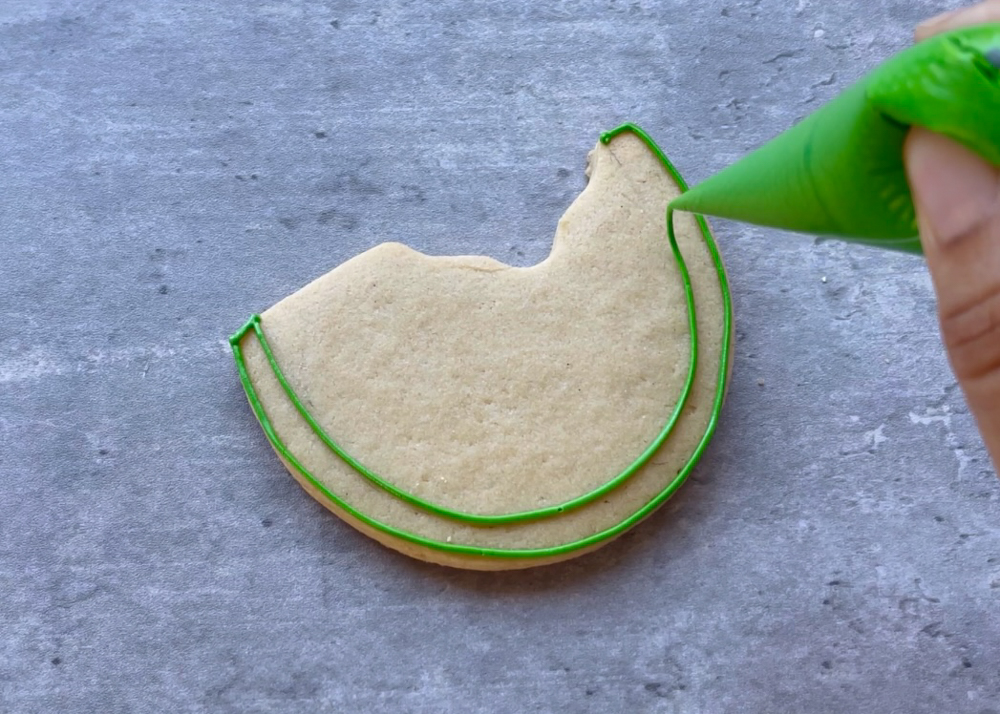
Fill this outline with light green thick flood icing.
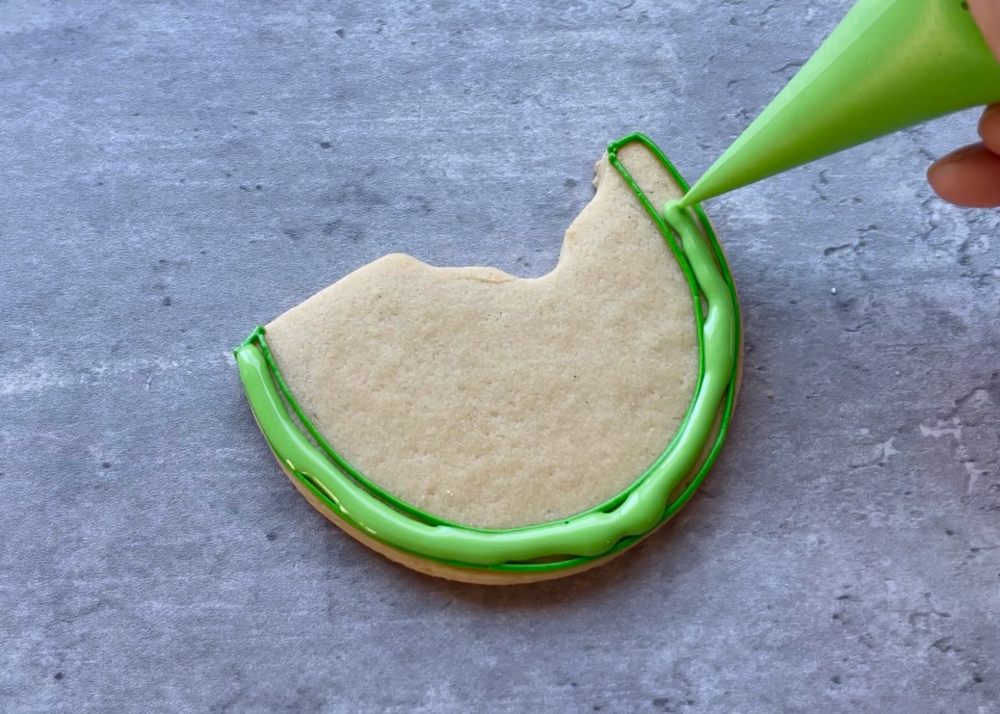
While the light green icing is still wet, add a line of dark green icing to it.
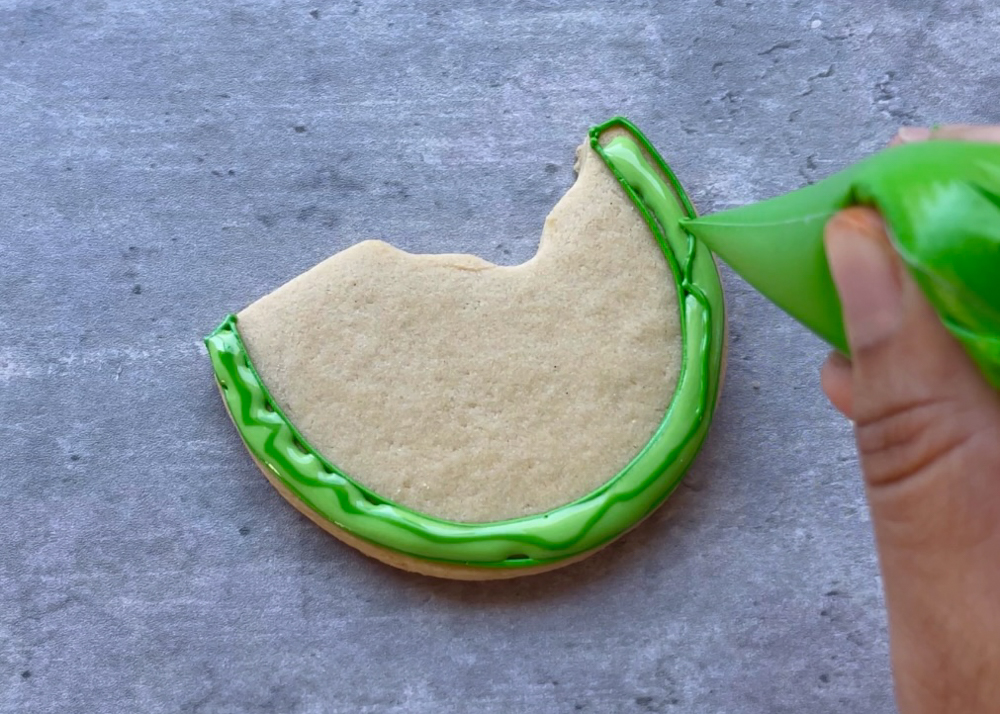
Use your scribe tool to gently move the icing around, creating swirls of dark and light green icing in the rind.
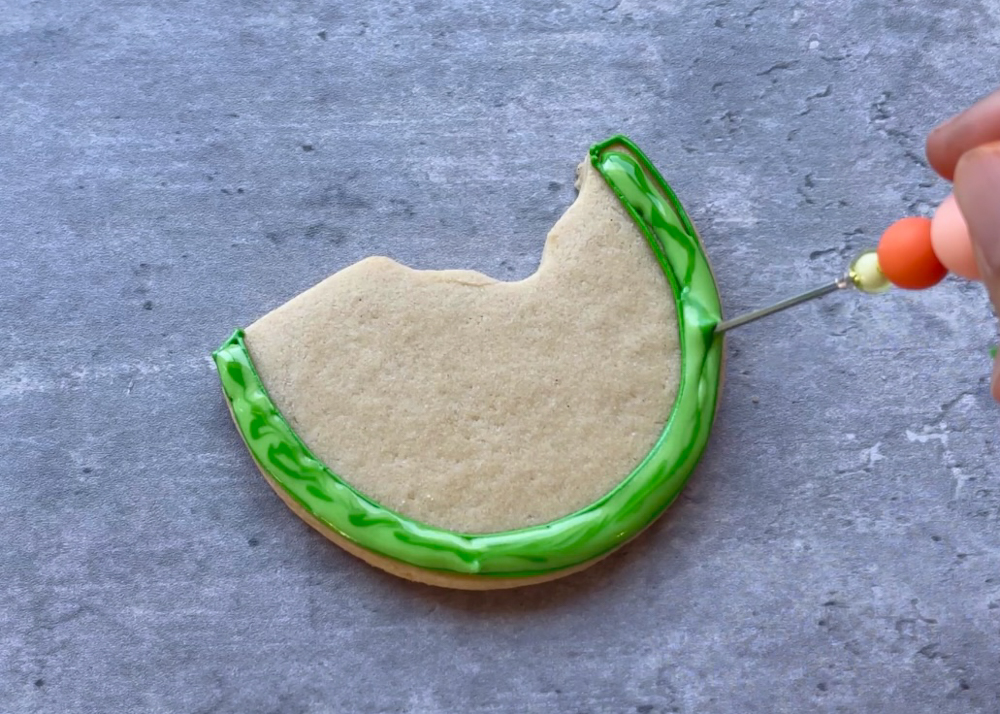
Use your red outline consistency icing to outline the top part of the shape.

Once the green rind is just crusting over, add a thin line of white outline consistency icing along it.

Next, fill the main area of the shape with your red flood consistency icing. Wait for the icing to just crust over before moving to the next step.
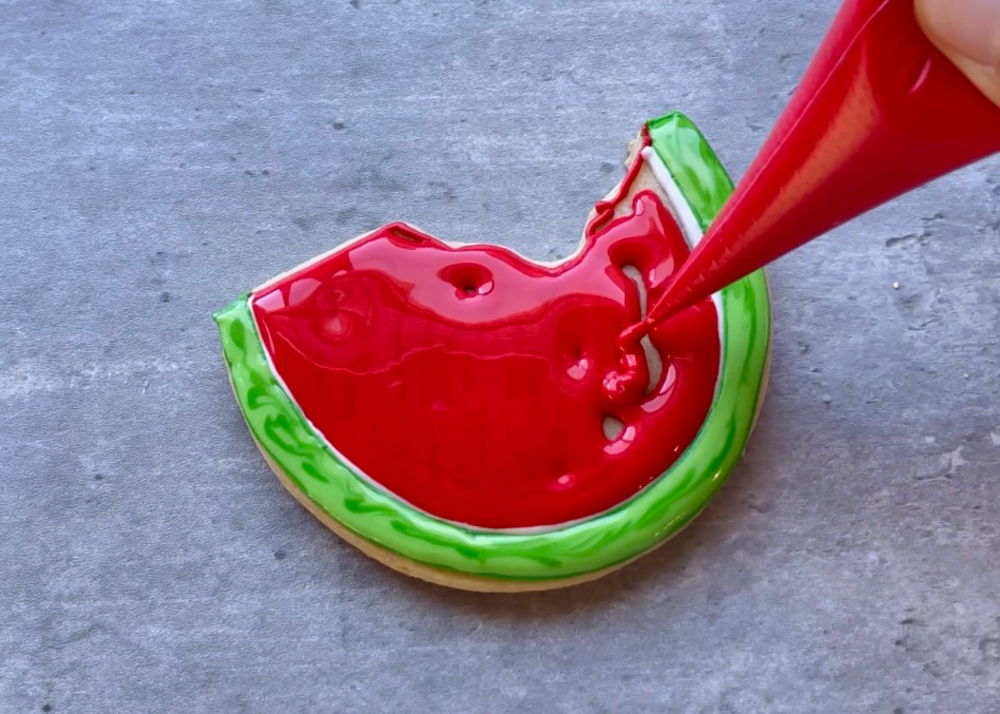
Once the red icing is just crusted over, add your black watermelon seeds. Waiting until the red is crusted over will ensure that there is good definition between the red flesh of the watermelon and the black seeds. Use a scribe tool to gently pull the black seeds to give them their distinctive point.
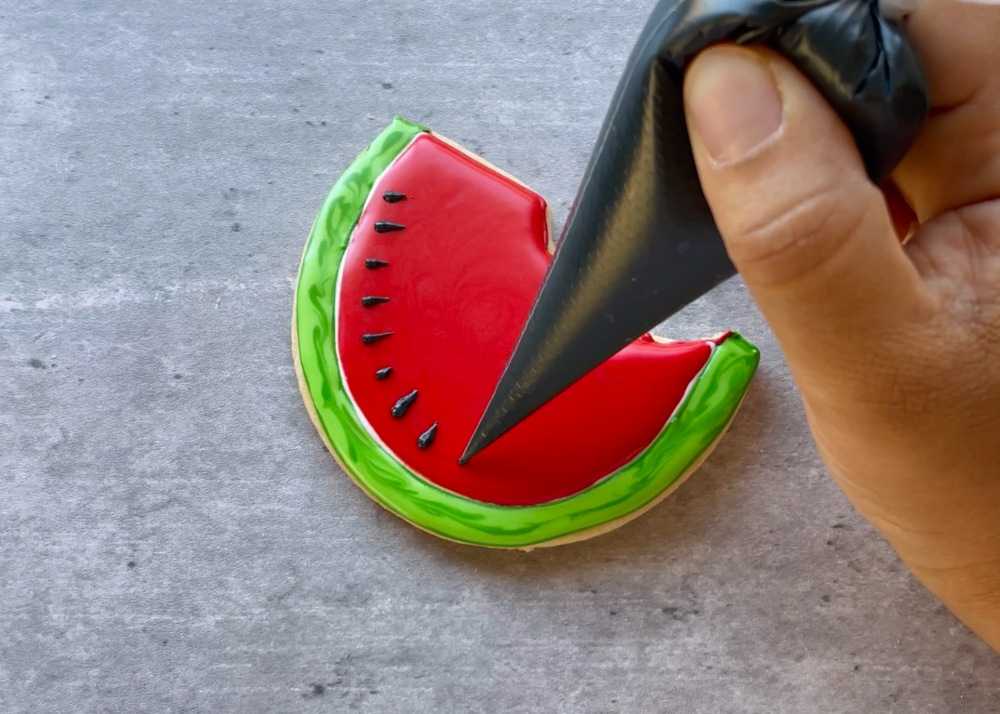
You’re done! Feel free to add more seeds throughout the watermelon, or keep them at the base for a neat design.
