How to Decorate a Turkey Cookie
Category
Tutorials
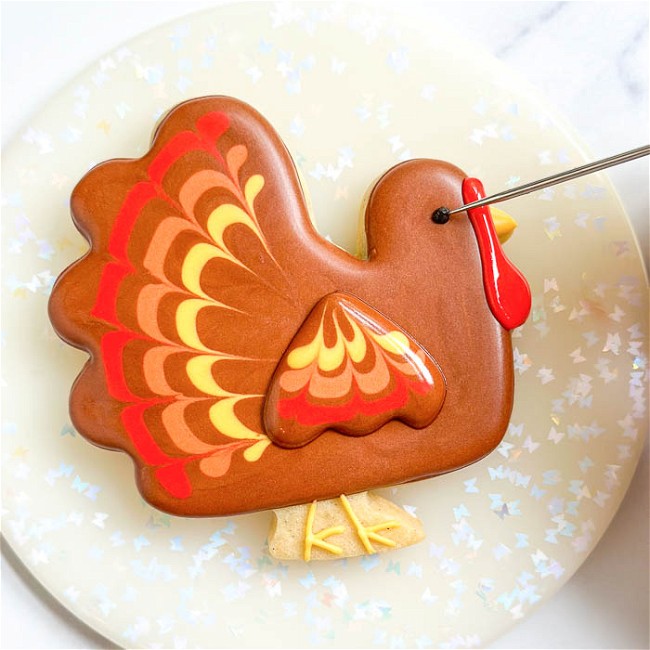
These turkey cookies are sure to be gobbled up this Thanksgiving! The wet-on-wet marbling technique used for this tutorial is a great beginner-friendly method that delivers impressive results.
Ingredients
-
Turkey Cookie Cutter
-
8 Tipless Piping Bags
-
Mocha Brown Food Coloring
-
Pumpkin Orange Food Coloring
-
Super Red Food Coloring
-
Lemon Yellow Food Coloring
-
Super Black Food Coloring
- Spatulas & pint glasses to fill your piping bags
- Scissors
Directions
Bake and cool cookies before decorating. Get Ann Clark's no-fail sugar cookie recipe here. Or, lean in to the fall flavors with this delicious Pumpkin Spice Cookie recipe. Make sure cookies are fully cooled. If they are warm, the icing will run off of them. Make royal icing. Learn how to mix different consistencies of royal icing here>>
Prepare the following icing colors:
Piping Consistency:
Brown
Yellow
Black
Flood Consistency:
Brown
Red
Yellow
Orange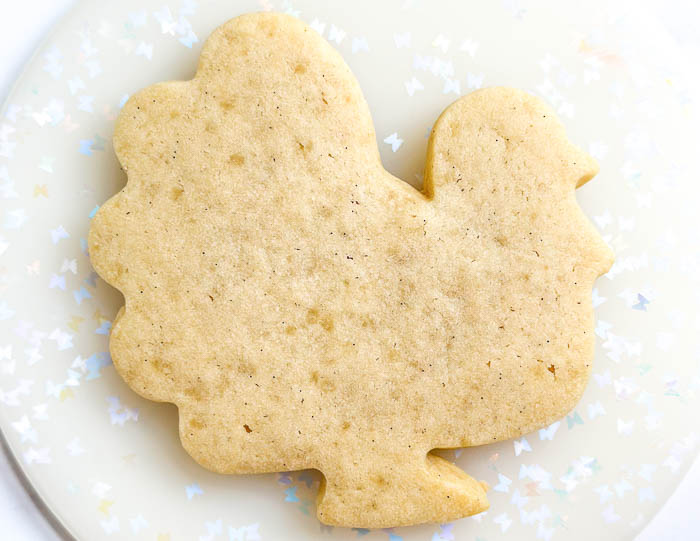
Using the brown detail consistency icing, outline the main body of the turkey shape, as shown in the photo. Steps 3-6 will use a wet-on-wet technique, and will need to be performed immediately following each step, while the icing is still wet. Please read through steps 3-6 before beginning.
Pro Tip: With wet-on-wet technique, make sure your flood icing consistencies are all the same to ensure an even, smooth effect.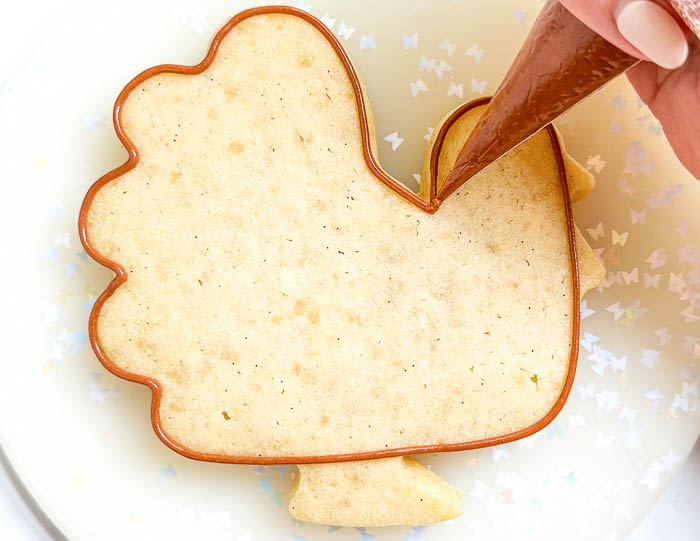
- Flood the section you just outlined with the brown flood consistency icing.
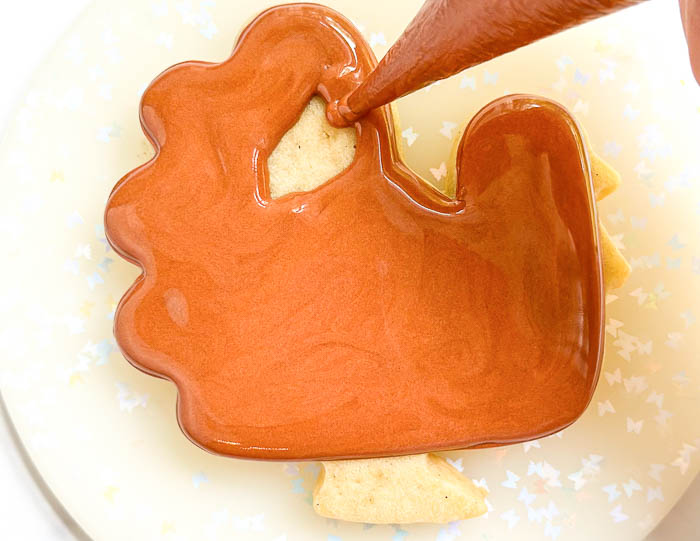
- While the brown flood is still wet, pipe 3 curved lines of red, then orange, then yellow flood consistency icing along the left side of the turkey, on its tail, as shown in the photo.
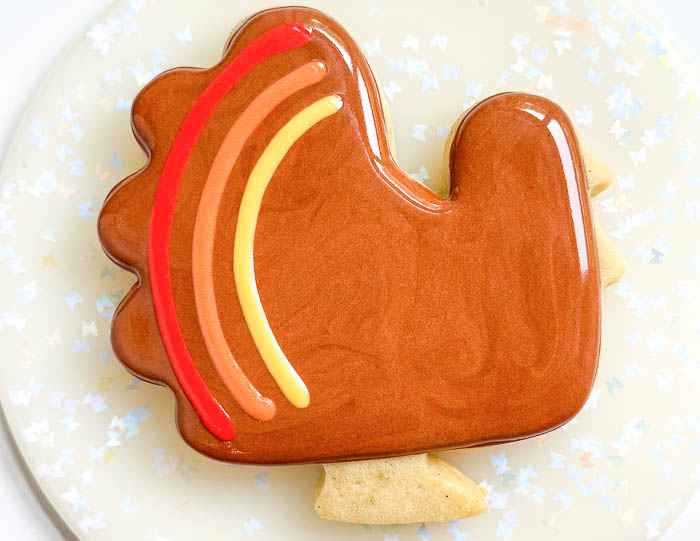
- Immediately after piping the last line, use your scribe tool or toothpick to drag the tool through the lines of icing, starting above the red line and moving down, stopping and coming up shortly after you pass the yellow line. Pause to wipe any excess icing that may be attached to your scribe tool or toothpick on a clean paper towel. This will create a fun feathered effect in the turkey tail.
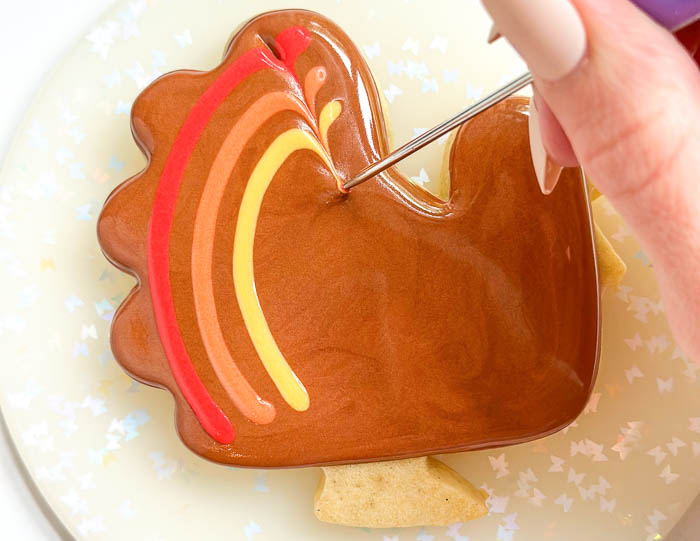
- Repeat this same dragging motion 5-7 more times, until you reach the end of the colored lines and have created a feather effect. Let this crust over for 20-30 minutes before moving onto the next step. Drying your cookies under a fan will speed the process up.
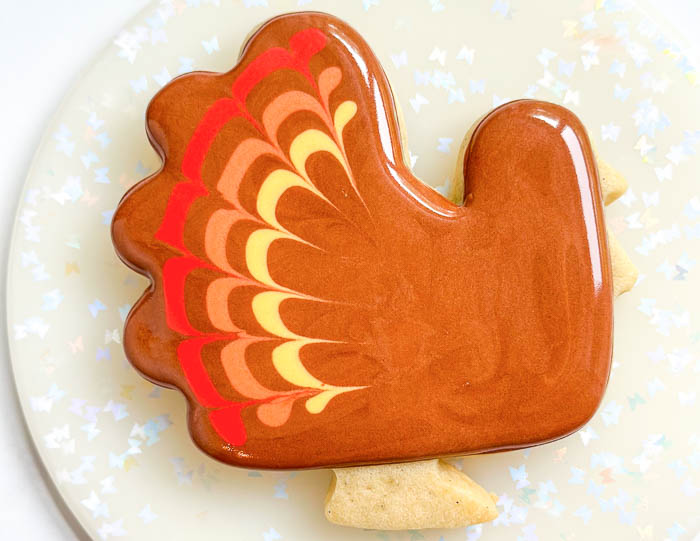
- Using the yellow detail consistency icing, pipe the turkey's feet as shown. Feel free to use piping tips or cut your tipless bags to a thickness that is desired. Pipe the turkey's beak and use a scribe tool or toothpick to shape it if needed.
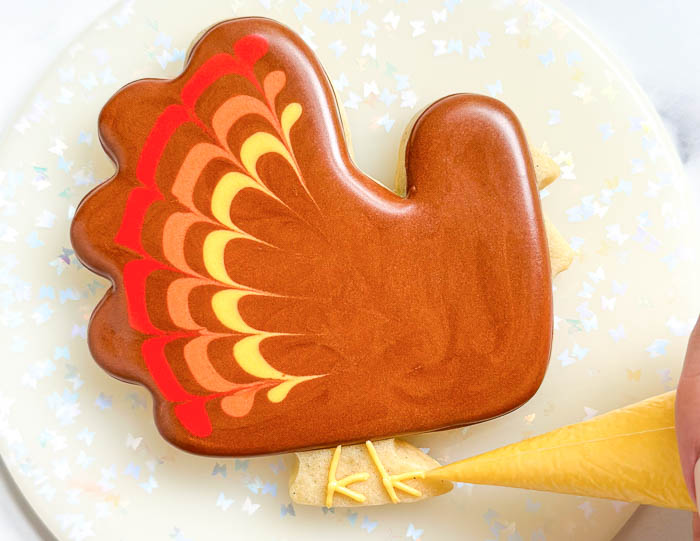
- Using the brown detail consistency icing, pipe the turkey's wing as shown. We'll be repeating the wet-on-wet technique used in steps 3-6 above to fill in the wing, so be sure to read ahead to be prepared to move quickly.
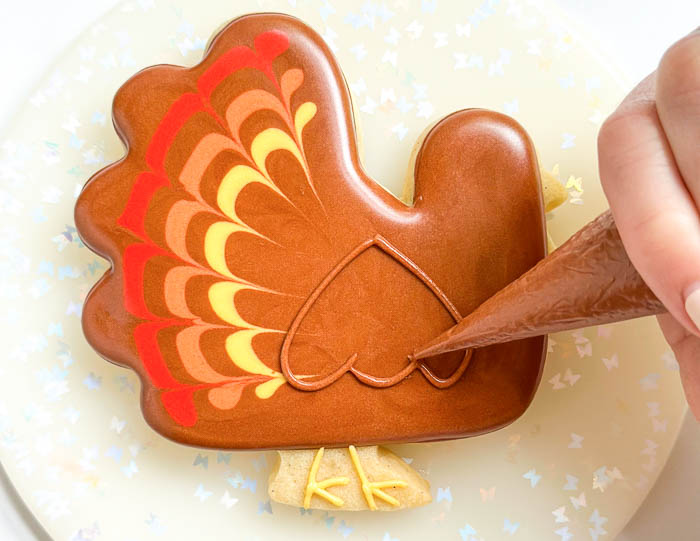
- Flood the wing section with brown flood consistency icing.
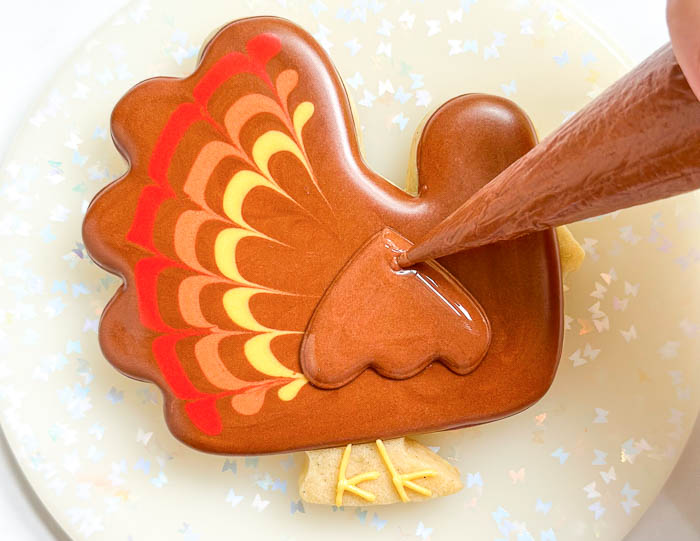
- While the brown flood is still wet, pipe 3 curved lines of red, then orange, then yellow flood consistency icing starting along the bottom of the wing, as shown in the photo.
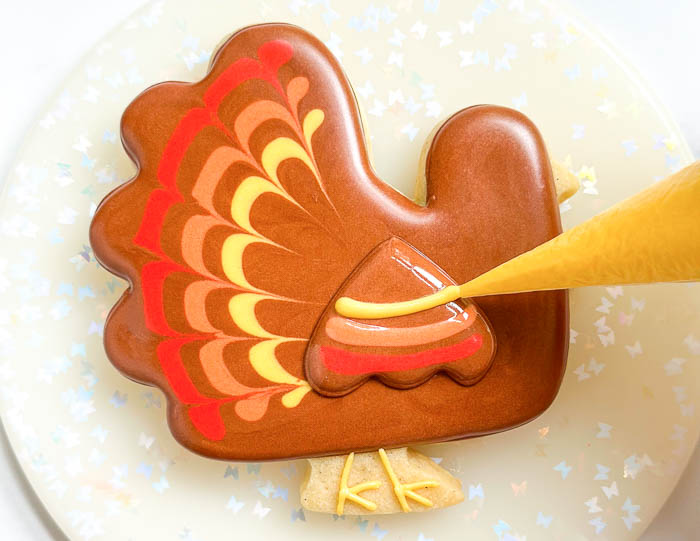
Immediately after piping the last line, use your scribe tool or toothpick to drag the tool through the lines of icing, starting below the red line and moving up, stopping and coming up shortly after you pass the yellow line.
Pause to wipe any excess icing that may be attached to your scribe tool or toothpick on a clean paper towel.
Repeat this same dragging motion 1-2 more times, until you reach the end of the colored lines and have created a feather effect.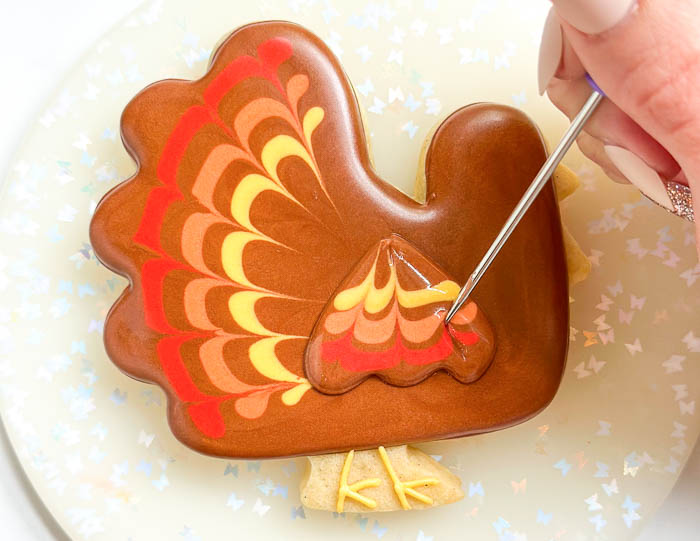
- Using the red detail consistency icing, pipe the turkey's snood.
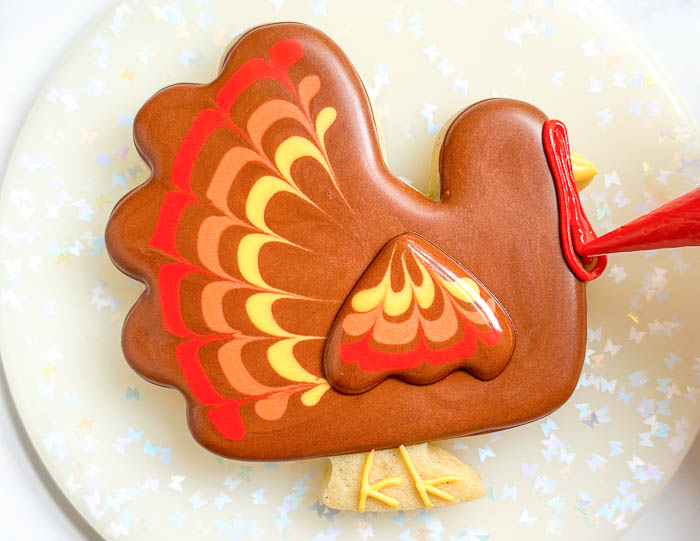
- Use your scribe tool or toothpick to smooth out the red icing you just piped.
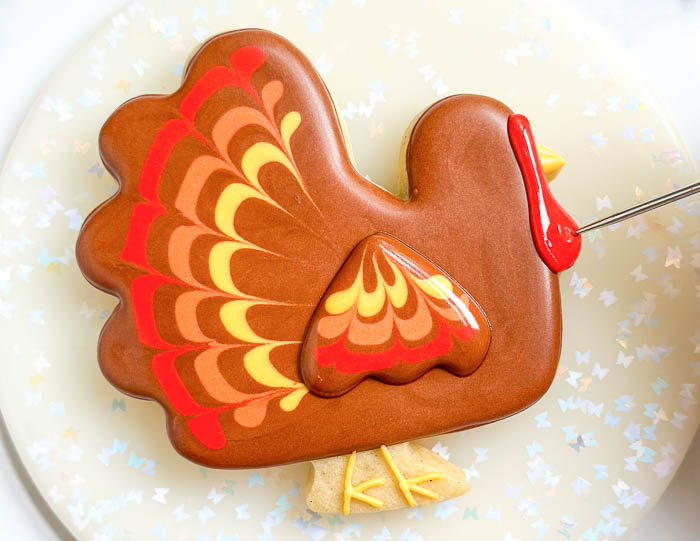
- Pipe a small dot of black outline consistency for the turkey's eye. You can also use a black nonpareil or pearl sprinkle for the eye.
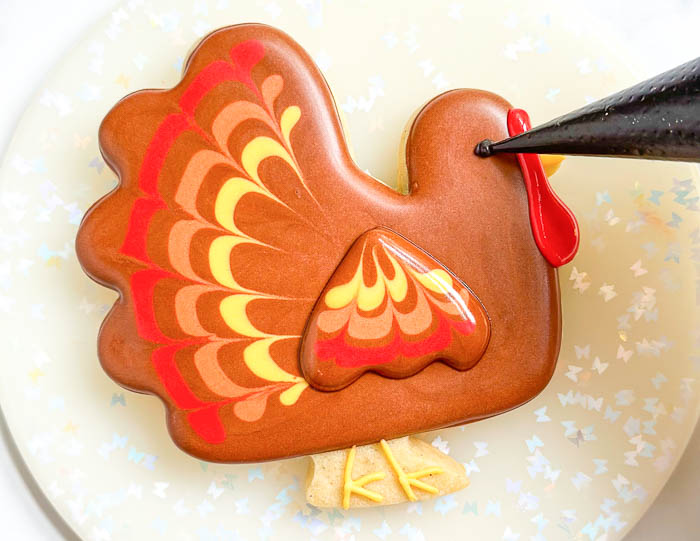
Use your scribe tool or toothpick to smooth out the black icing you just piped.
WATCH: How to Decorate a Colorful Turkey Cookie for Thanksgiving: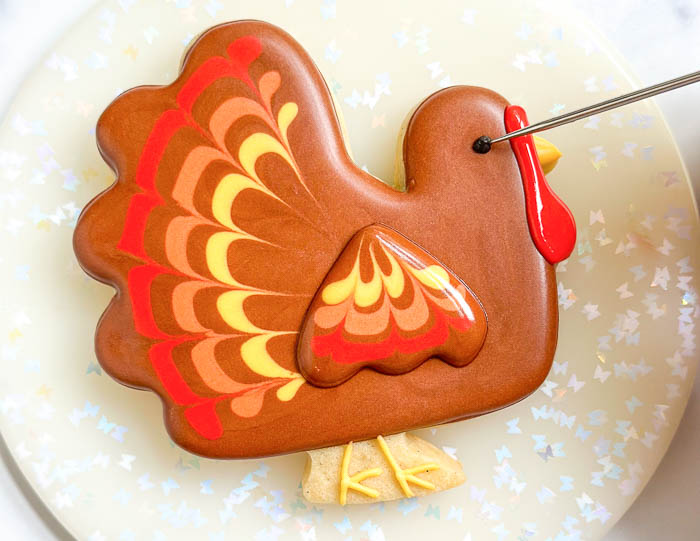
Recipe Video
Recipe Note
Cookies decorated by Laura Luk of Butterfly Bakes Atlanta


