How to Decorate a Marshmallow Bunny Cookie
Rated 5.0 stars by 1 users
Category
Tutorials
Every-bunny will love these instantly recognizable cookies inspired by the ubiquitous Easter marshmallow bunnies. This design is beginner-friendly. We used pink for this tutorial, but have fun with it and create marshmallow bunny cookies in all of the pastel hues of the season!
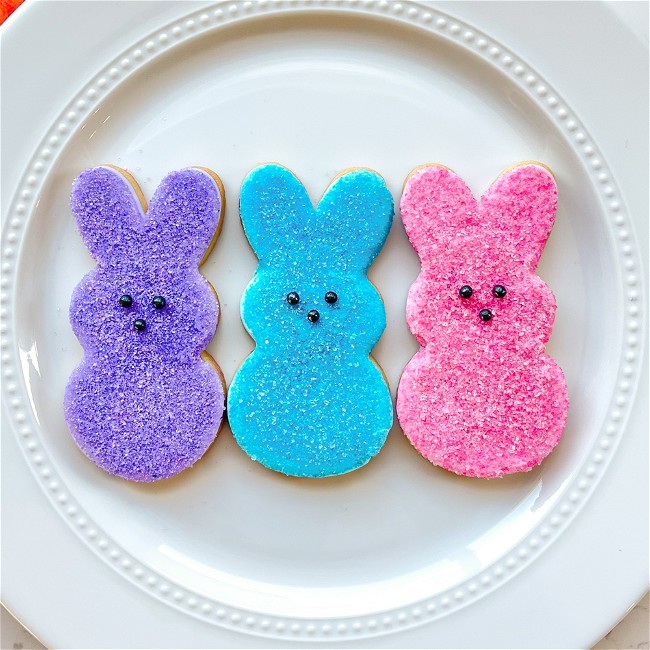
Ingredients
-
Easter Bunny Cookie Cutter
-
Piping Bags
-
Bubblegum Pink Food Coloring
-
Black Pearl Sprinkles
-
Sanding Sugar (you can use granulated sugar for a finer texture)
Directions
Bake and cool cookies fully before decorating. Prepare royal icing in the following colors and consistencies:
Outline/Piping Consistency:
Pink
Flood Consistency:
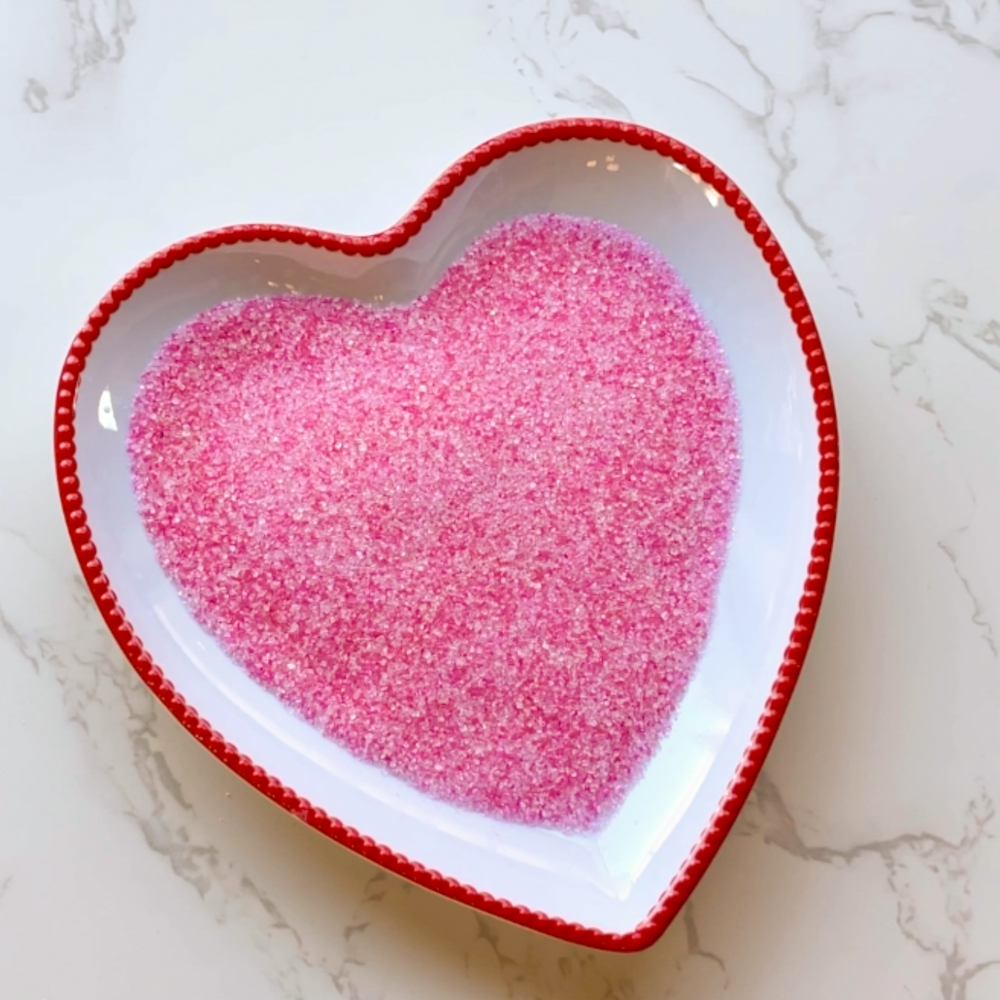
PinkPrepare your sanding sugar. Sanding sugar has larger grains than granulated sugar, but you can use granulated sugar for a finer texture. To prepare your sanding sugar, add about ¼ cup sanding sugar into a Ziploc bag. Add a small drop of Bubblegum Pink Gel Food Coloring to the mix, seal the bag, and gently mix the ingredients by mashing the bag around until the food coloring is fully incorporated. See our full colored sanding sugar tutorial here.
Once you have made your sanding sugar, place it into a shallow dish or bowl.
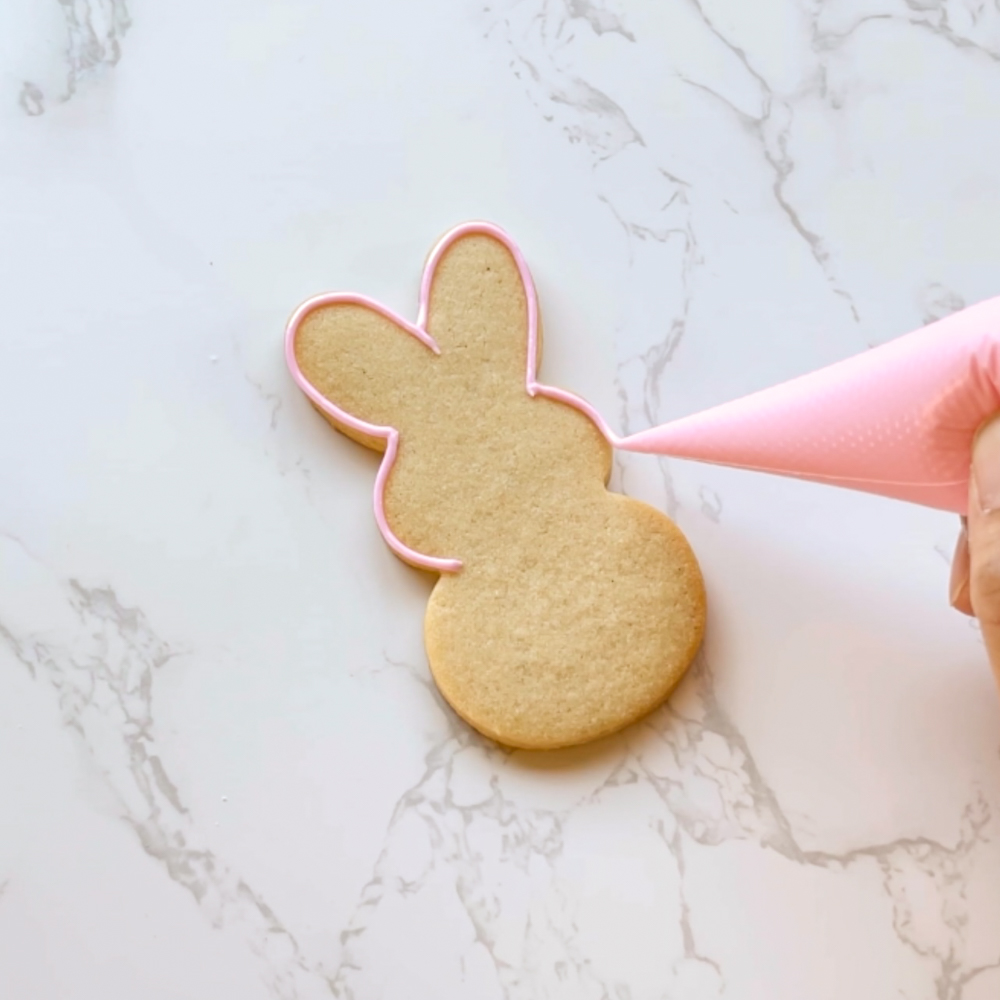
Outline the entirety of the bunny shape with pink outline consistency icing.
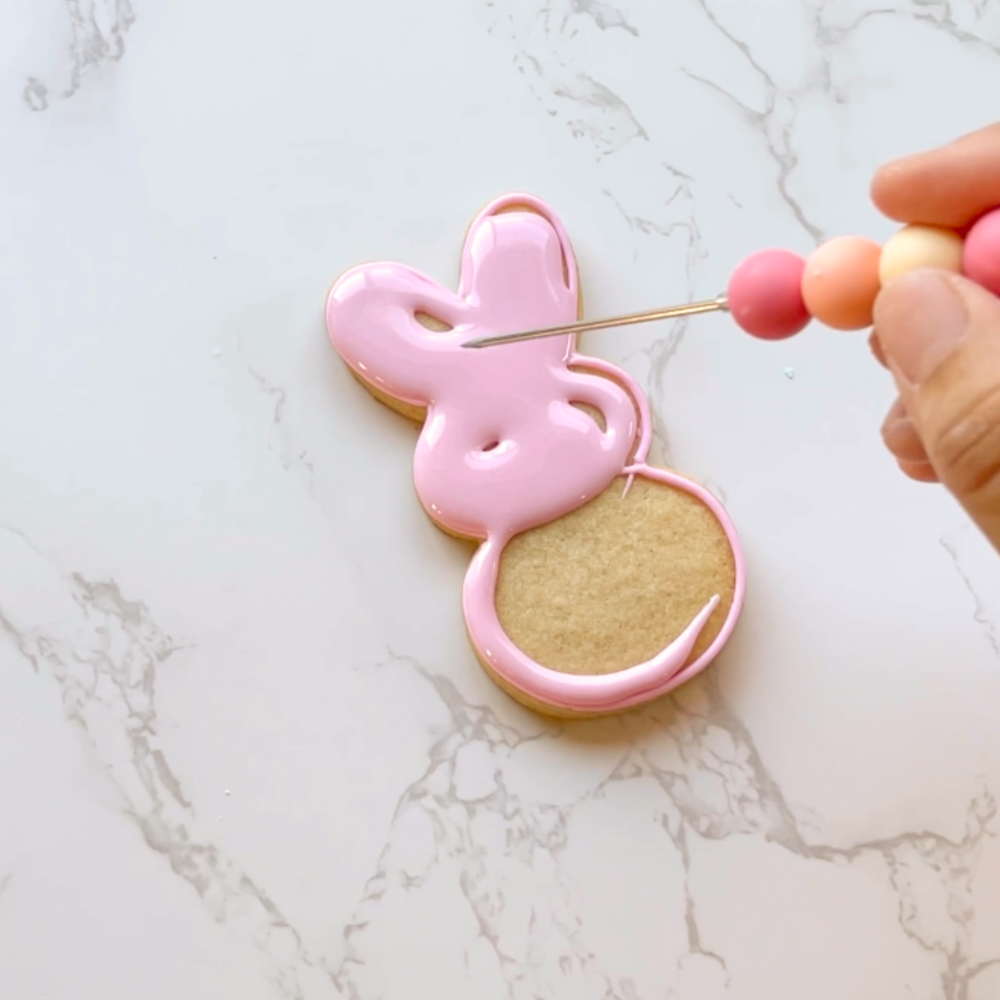
Flood the entire bunny shape with pink flood consistency icing. Move quickly to the next step, as it needs to be done while the icing is still wet.
While the icing is still wet, gently drop the bunny wet icing side down into the shallow dish of colored sanding sugar.
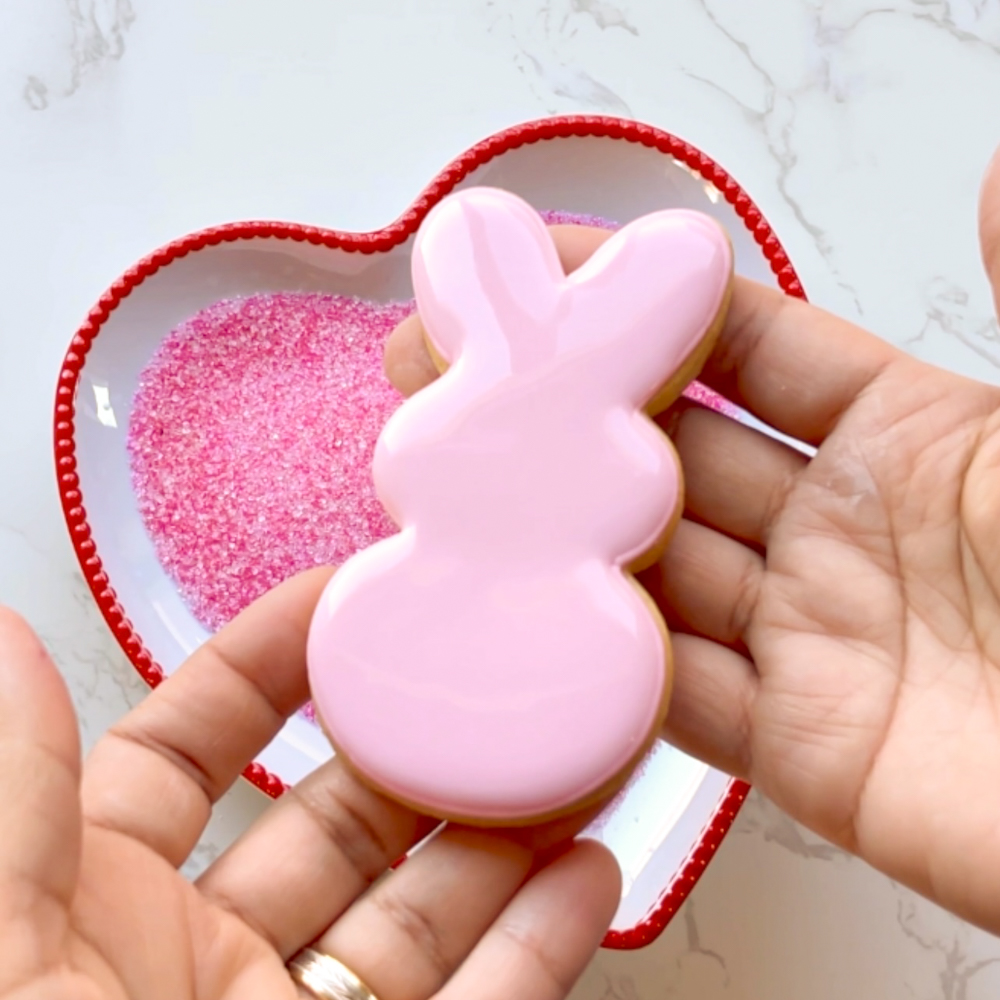
Hold the bunny by the edges so as not to disturb the sanding sugar coverage, and gently place on a flat decorating surface.
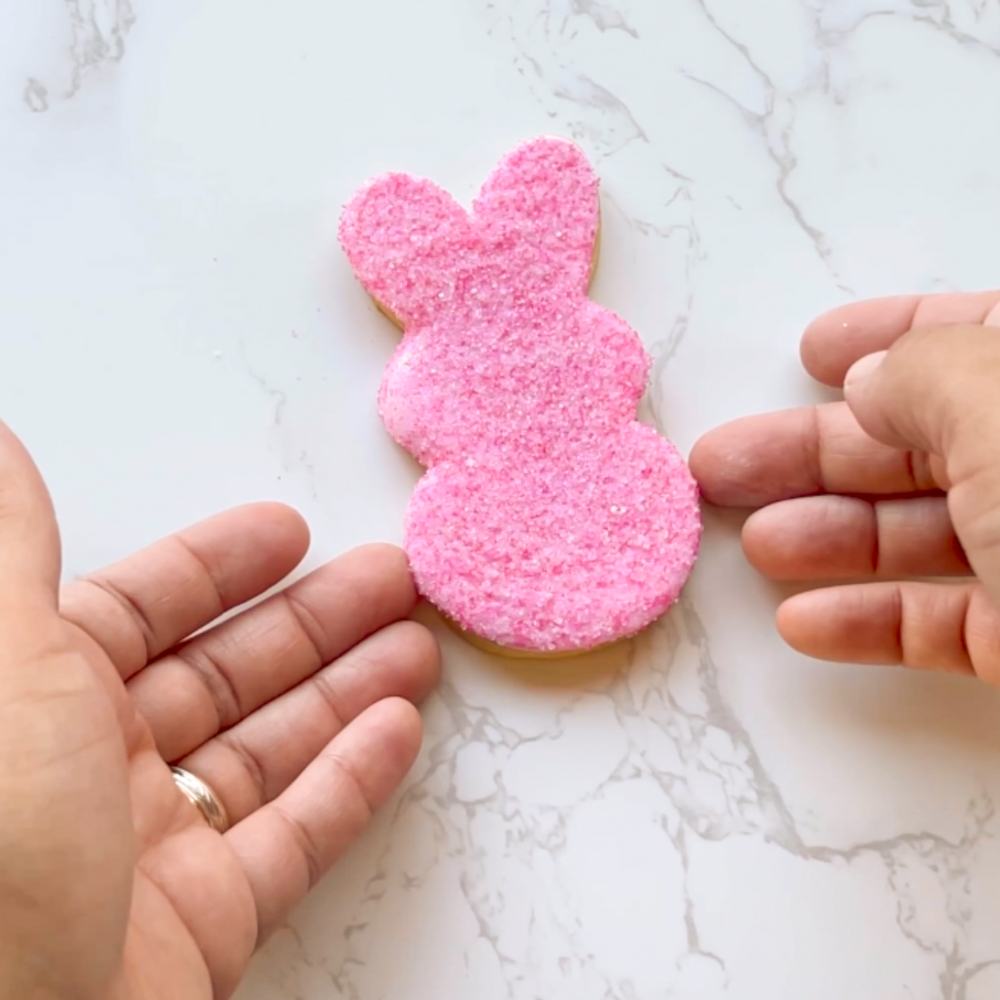
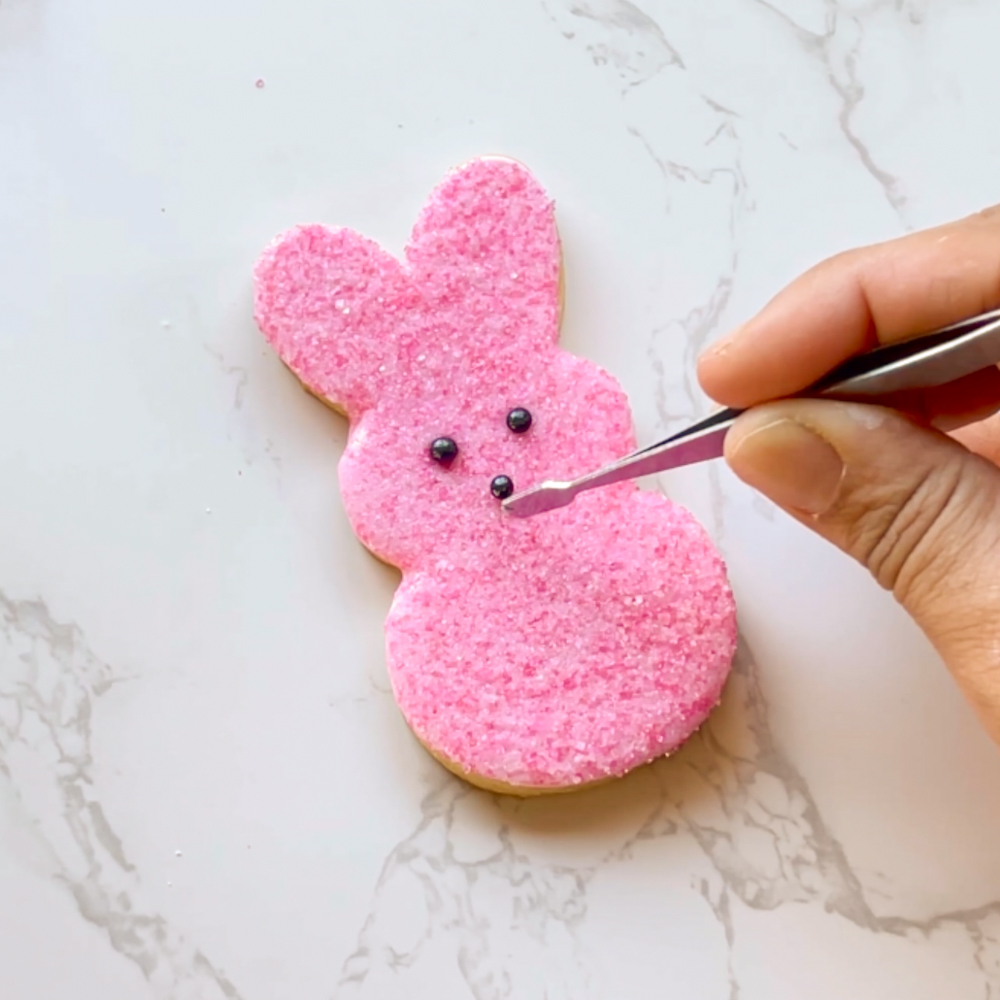
While the icing is still wet, gently place the black pearl sprinkles for the eyes and nose of the bunny. It may help to use tweezers to place them. Gently push them into place.
Alternatively, you can use black icing for the eyes and nose. Make a divot with a toothpick, and pipe small dots of black icing for the eyes and nose of the bunny.
Recipe Video
Recipe Note
Cookies decorated by Julia of Julia’s Cookies


