How to Decorate a Green Teacup Sugar Cookie
Category
Tutorials
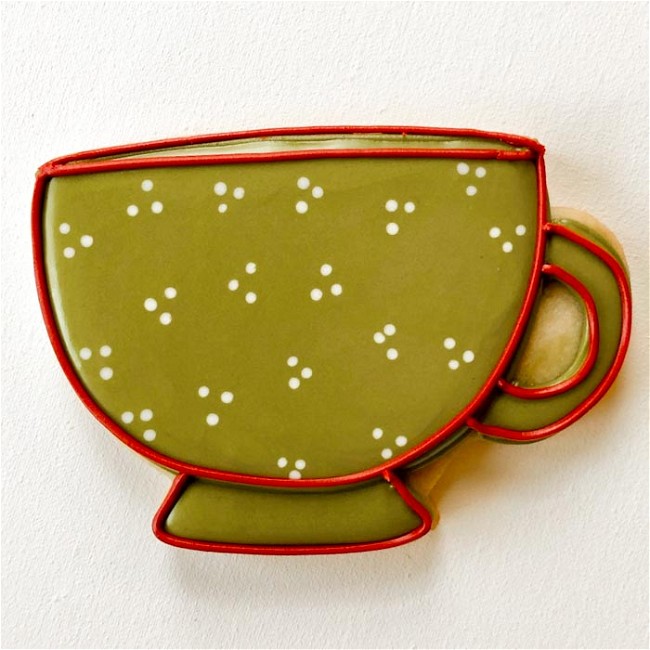
The teacup shape is absolutely darling and fits nicely with themes from bridal showers to Christmas. The techniques used in this tutorial can be used for a wide range of shapes, and you can also play around with colors to theme your teacup cookies for any occasion.
Ingredients
-
5 Tipless Piping Bags
-
Leaf Green Food Coloring
-
Mocha Brown Food Coloring
-
Super Red Food Coloring
- Spatulas & pint glasses to fill your piping bags
- Scissors
Directions
Bake and cool cookies before decorating. Get Ann Clark's no-fail sugar cookie recipe here. For a cocoa-flavored twist, try our Chocolate cookie recipe here. Make sure cookies are fully cooled. If they are warm, the icing will run off of them. Make royal icing. Learn how to mix different consistencies of royal icing here>>
Prepare the following icing colors:
Piping Consistency:
Earthy Green (Create this color by mixing in a drop of Mocha Brown food coloring with your Leaf Green icing).
Red
Flood Consistency:
Earthy Green (Create this color by mixing in a drop of Mocha Brown food coloring with your Leaf Green icing).
Brown
White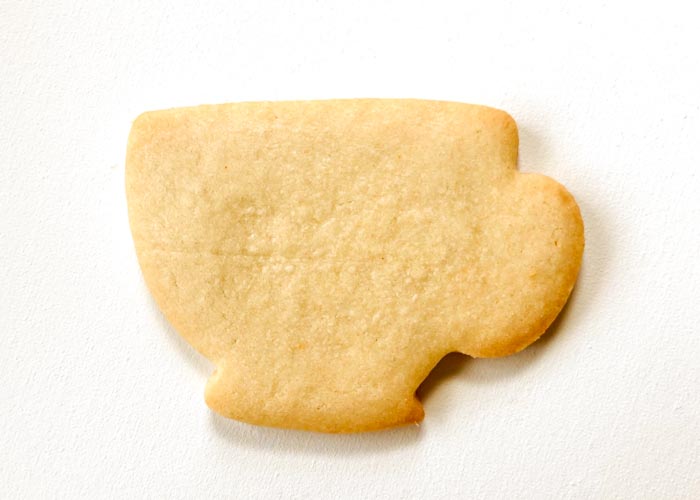
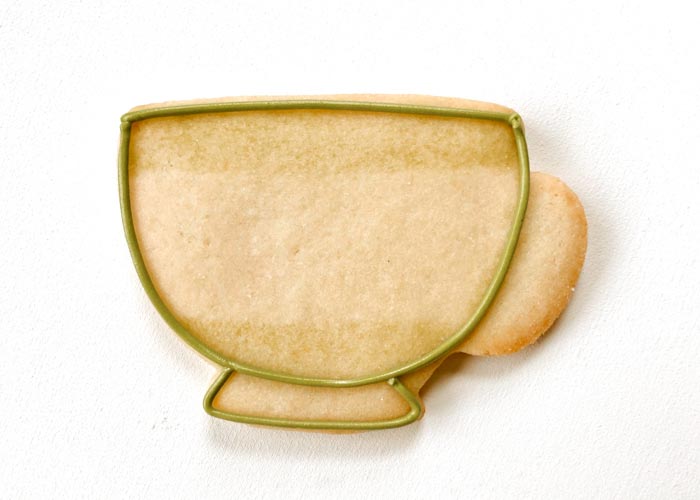
- Outline the main part of the teacup with green piping consistency icing as shown. Be sure to define the cup and base when outlining. Pipe a few squiggles of green piping consistency icing in the body of the teacup, which will give your flood icing better structure.
- Using green flood consistency icing, flood the main part of the teacup. Use a scribe tool or toothpick to gently move the flood icing around, ensuring full coverage. This also gets rid of any air bubbles in the icing. Allow this area to dry until just crusting over before moving to the next step. This may take up to 60 minutes. You can speed the process up by placing the cookies next to or under a fan set to a medium speed.
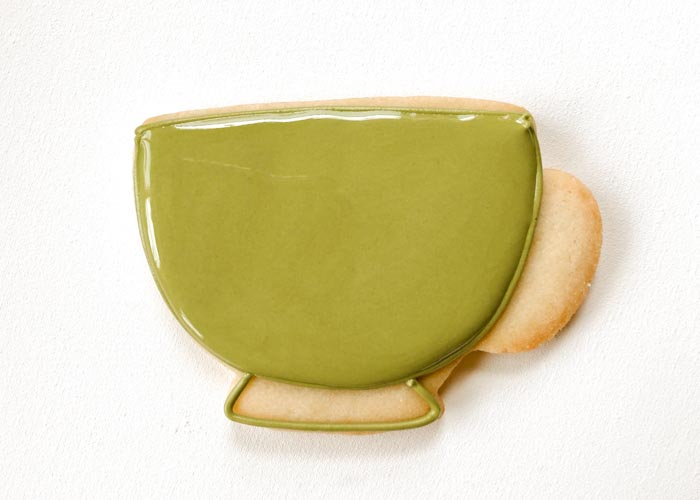
- While the green flood icing is still wet, pipe some white dots in the body of the teacup. This is called a wet-on-wet technique, and the dots will blend into the green flood.
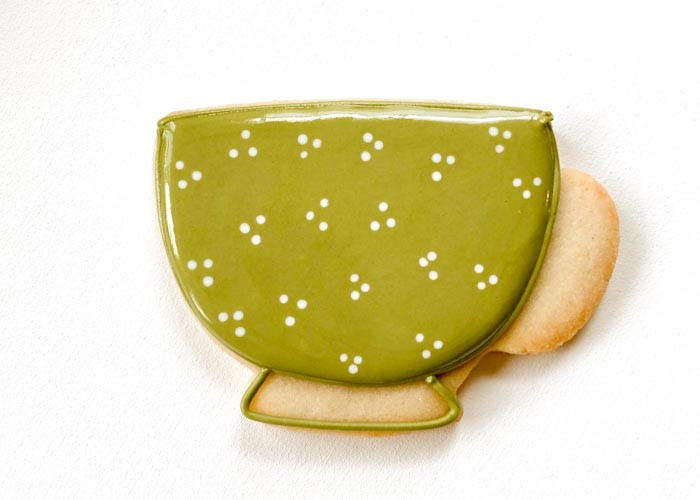
Outline the handle of the teacup with green piping consistency icing, and then flood the base of the teacup and the handle of the teacup with green flood consistency icing.
Allow this area to dry until just crusting over before moving to the next step. This may take up to 60 minutes. You can speed the process up by placing the cookies next to or under a fan set to a medium speed.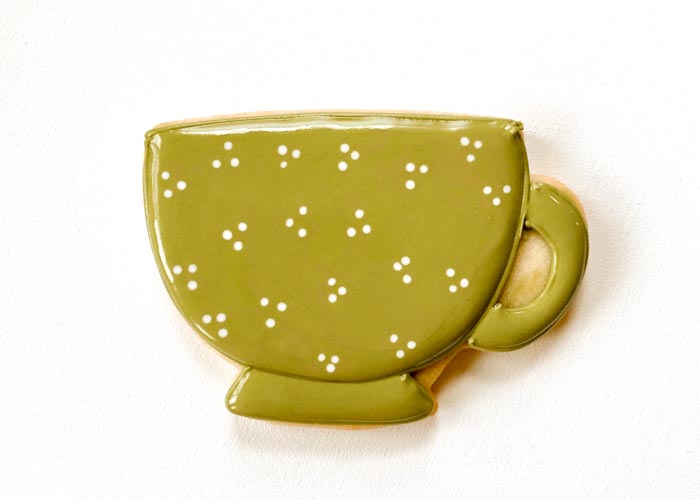
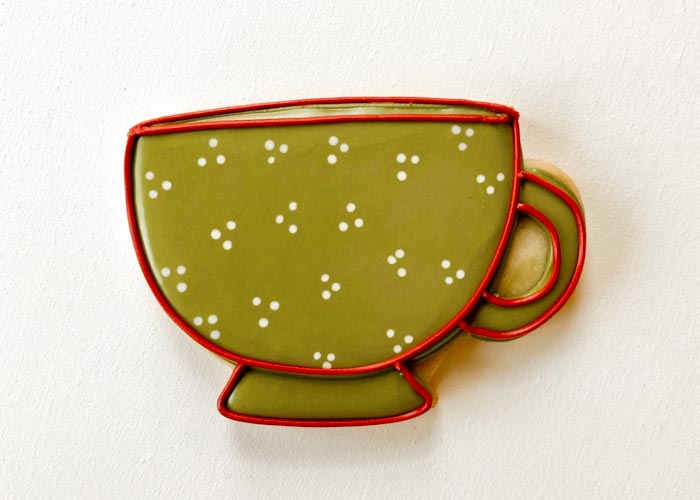
Once the flood is just crusting over, you can begin to add detail. Use your red piping consistency icing to outline the details of the teacup. You can also use your brown flood consistency icing to flood the inside of the teacup, to make it looks as though your cup runneth over...with tea.
Recipe Note
Cookies decorated by Julia Perugini of @juliascookiesaz


