How to Decorate a Diploma Sugar Cookie
Rated 5.0 stars by 1 users
Category
Tutorials
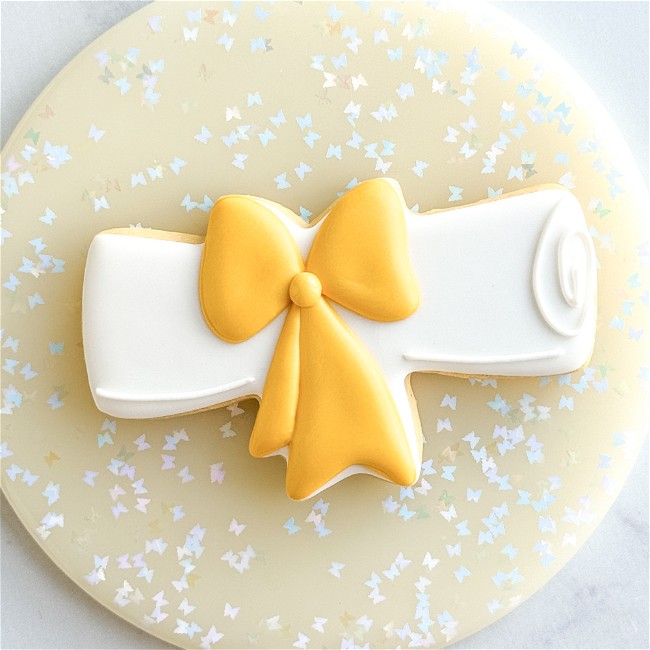
Celebrate the graduate in your life with these sweet diploma cookies!
Ingredients
Directions
Bake and cool cookies fully before decorating. Prepare royal icing in the following colors and consistencies:
Outline/Piping Consistency:
Golden Yellow (create golden yellow by mixing a small drop of Mocha Brown food coloring into yellow royal icing)
WhiteFlood Consistency:
White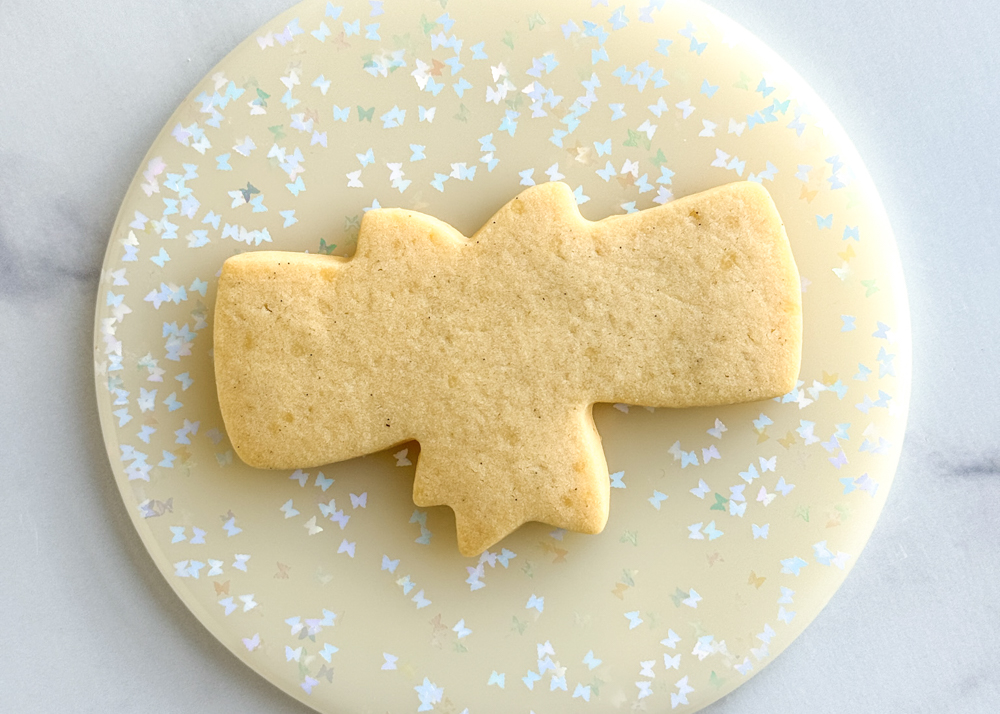
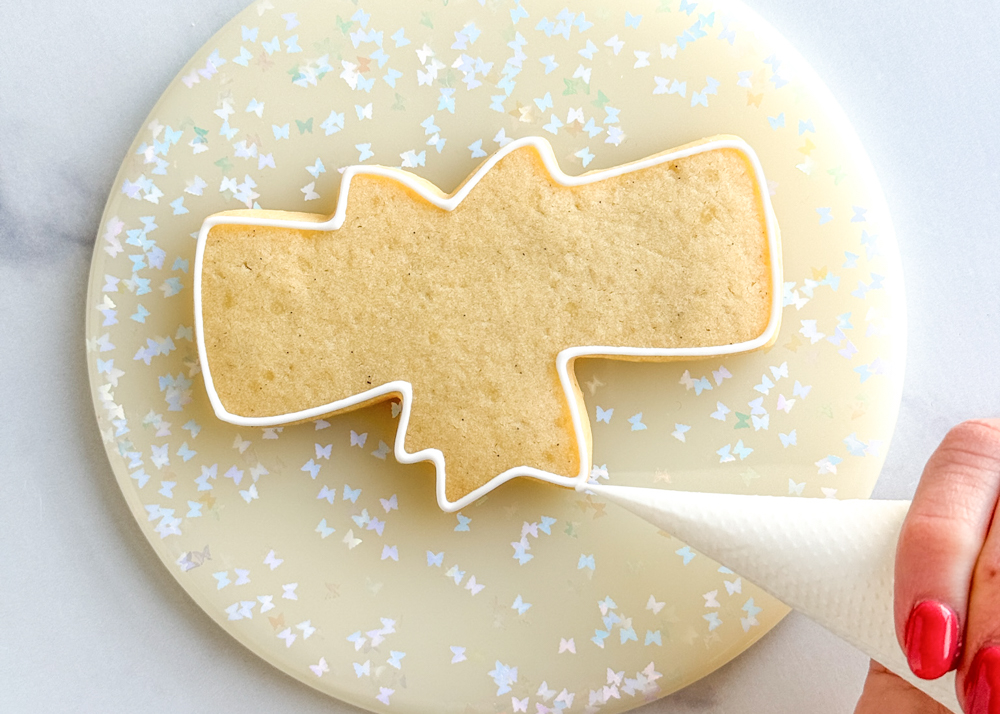
Using the white outline consistency icing, outline the entire cookie shape.
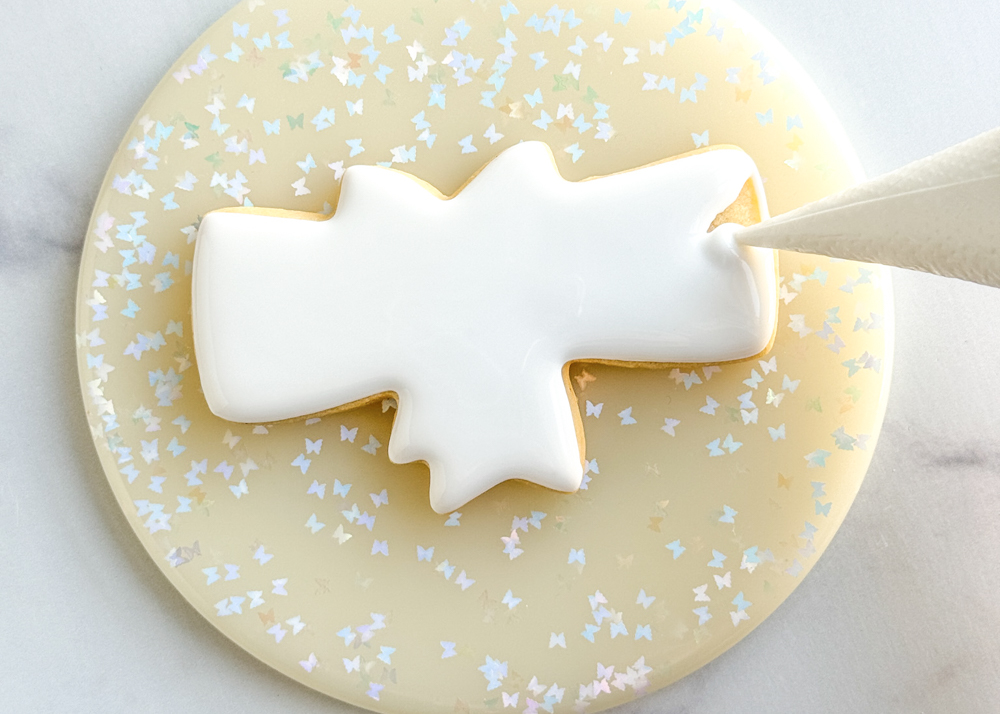
With the white flood consistency icing, flood the entire cookie. Use a scribe tool or toothpick to coax the icing to the edges of the cookie and to pop any air bubbles. Let the flood base dry for 45-60 minutes before moving onto the next step. Drying your cookies under a fan may speed the drying time.
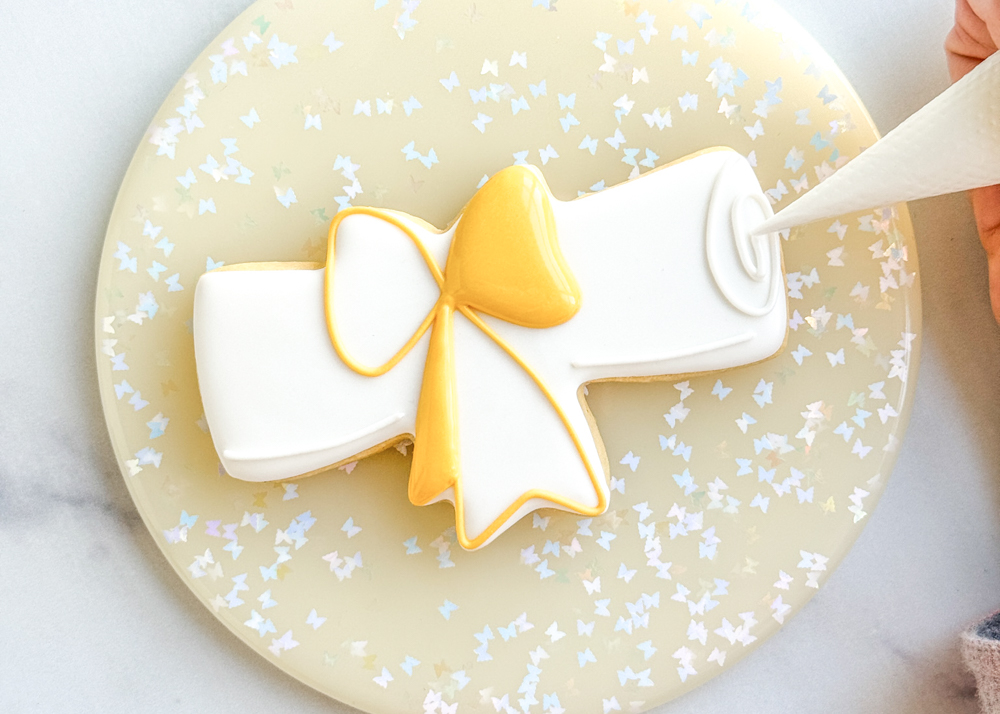
Using the yellow outline consistency, outline the center bow, following the shape of the cookie, as shown in the photo. It may help to hold your piping bag slightly over the cookie, letting the icing fall down onto the cookie.
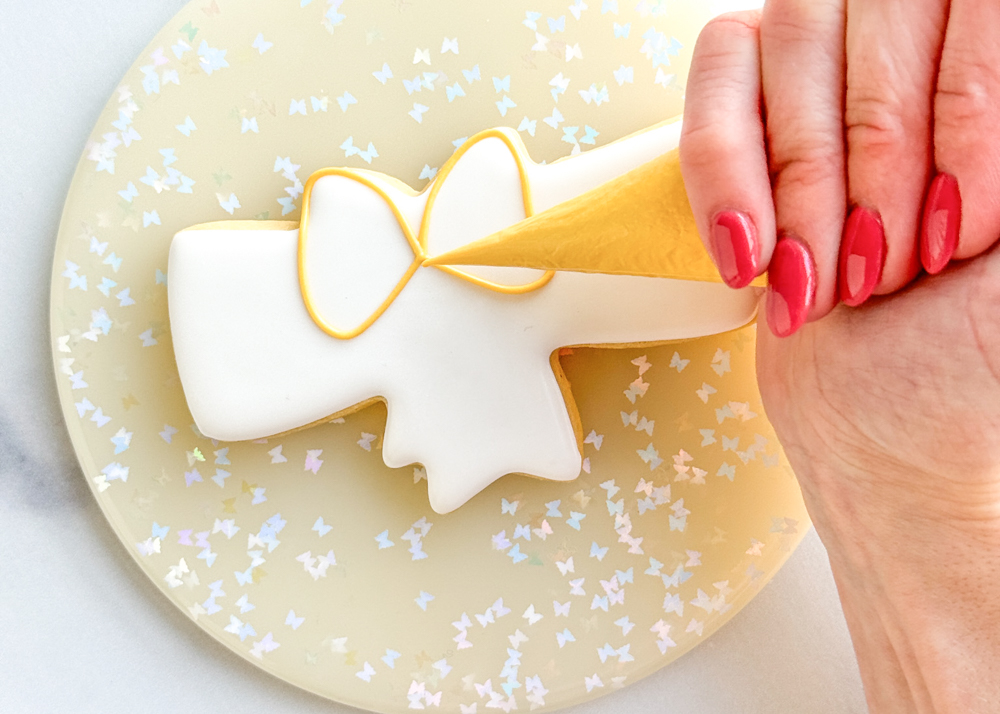
Continue piping the bottom sections of the bow, as shown in the photo.
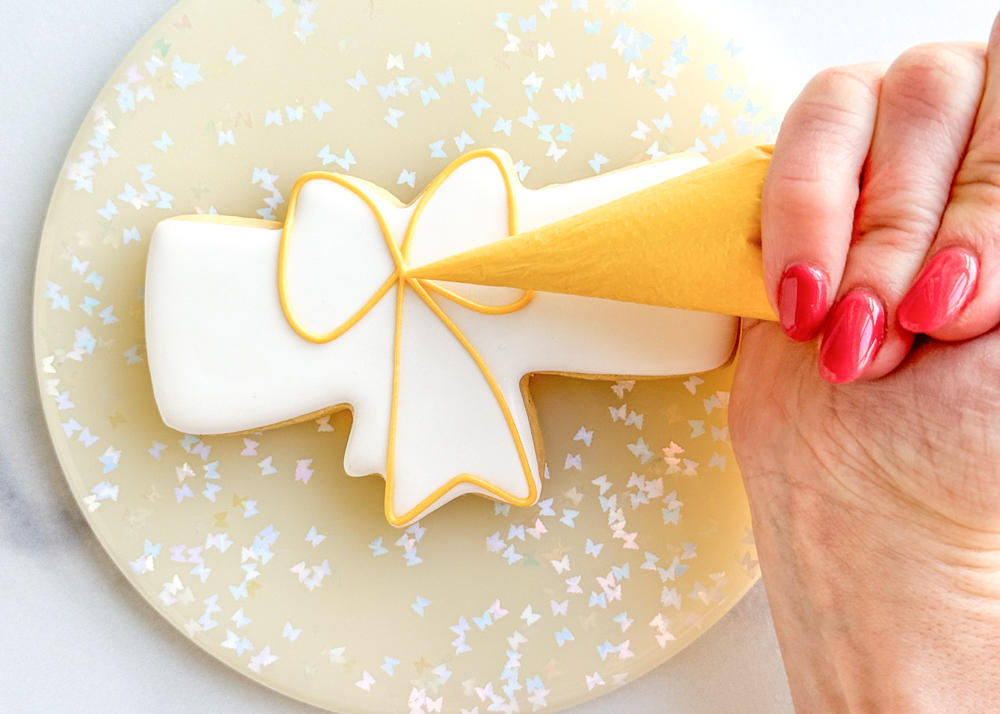
Pipe a squiggle of yellow outline consistency icing in the middle of the two alternating sections of the bow.
Pro Tip: Flooding small sections of a cookie with royal icing leaves the icing vulnerable to craters, which are holes or sinking that can often occur in the icing as it dries. In this design, the sections of the bow are at risk for craters, so adding this squiggle of outline consistency icing helps minimize the risk of craters by providing a cushion for the flood icing so that when it tries to sink as it dries, it has the thicker outline icing underneath to help hold it up.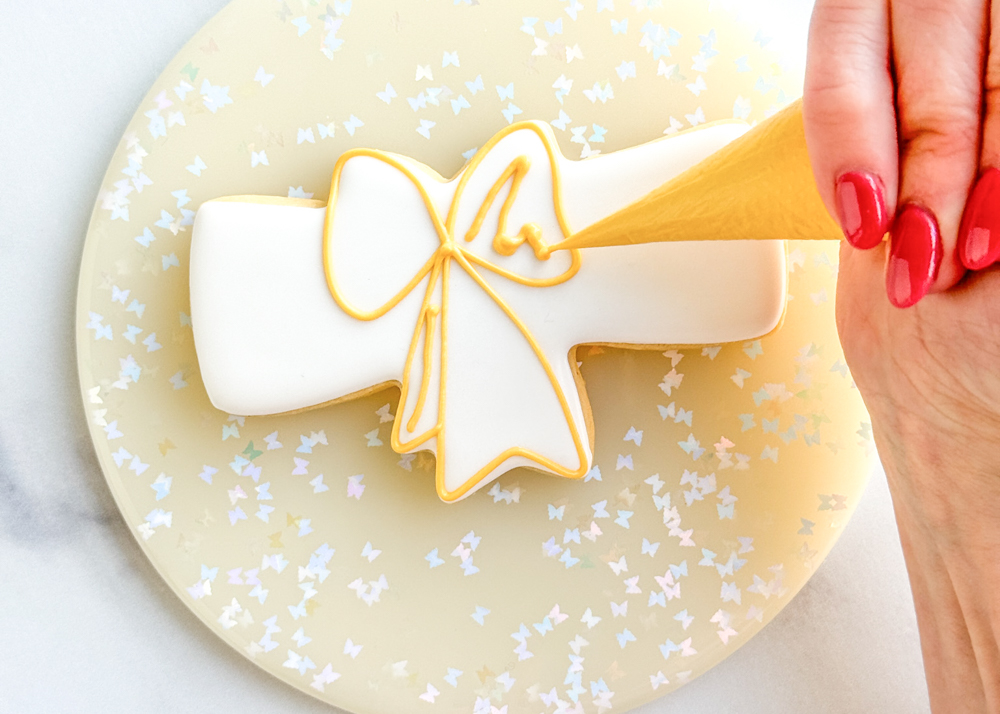
Using the yellow flood consistency icing, flood the same two sections you just added the squiggle of outline consistency icing to. Let these sections dry for 20-30 minutes, or until crusted over, before moving onto the next step.
Pro Tip: Only flood the areas of the bow that are not touching. If you flood two adjacent areas, you run the risk of the icing running together, thus, losing definition between the areas.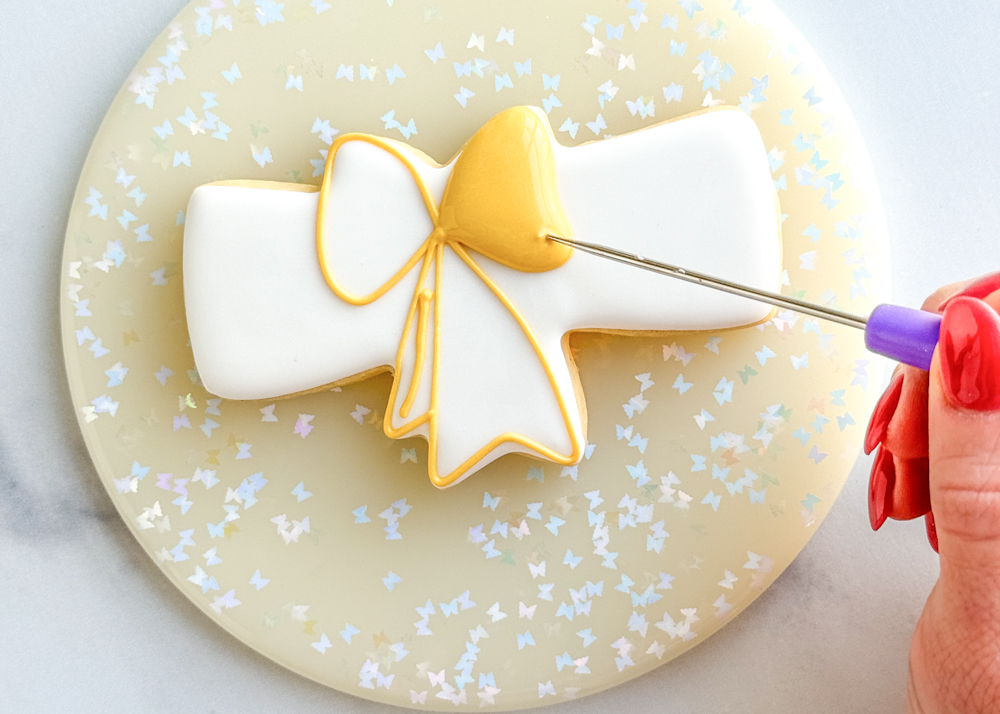
Using the white outline consistency icing, pipe two short lines at the bottom of the design, on either side of the bottom of the yellow bow. Pipe a swirl on the right side of the cookie, as shown in the photo. This detail represents the edges of the diploma paper.
Once the two sections of the yellow bow have crusted over, repeat step 6 on the remaining two sections, piping a squiggle of yellow outline consistency icing in the center of each of the two remaining sections.
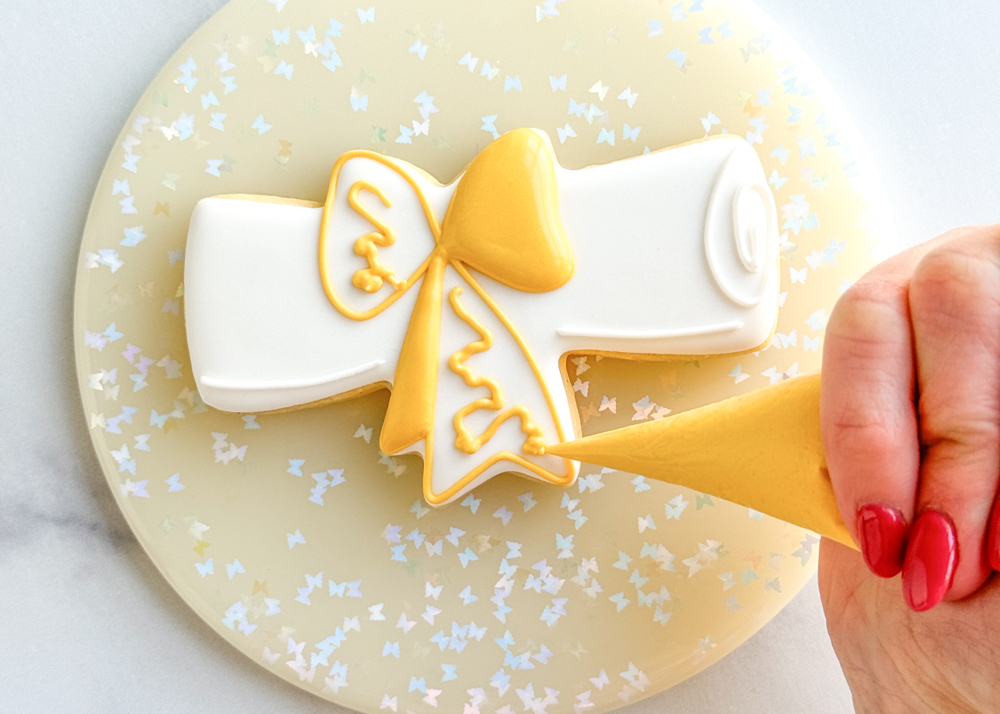
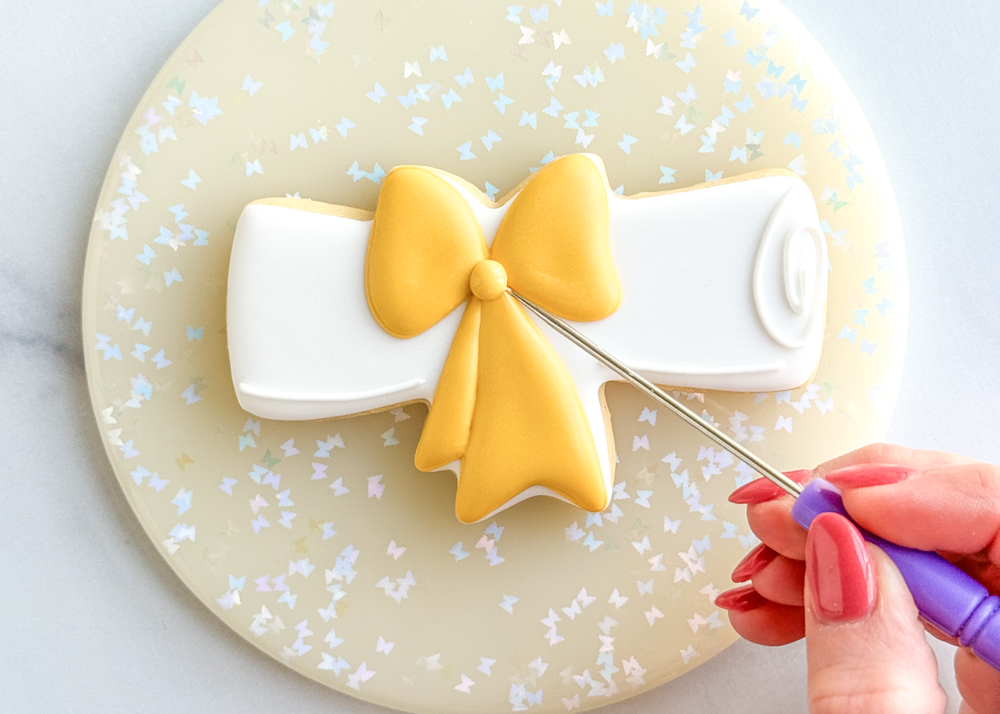
Using the yellow flood consistency icing, flood the same two sections you just added the squiggle of outline consistency icing to. Let these sections dry for 20-30 minutes, or until crusted over, before moving onto the next step.

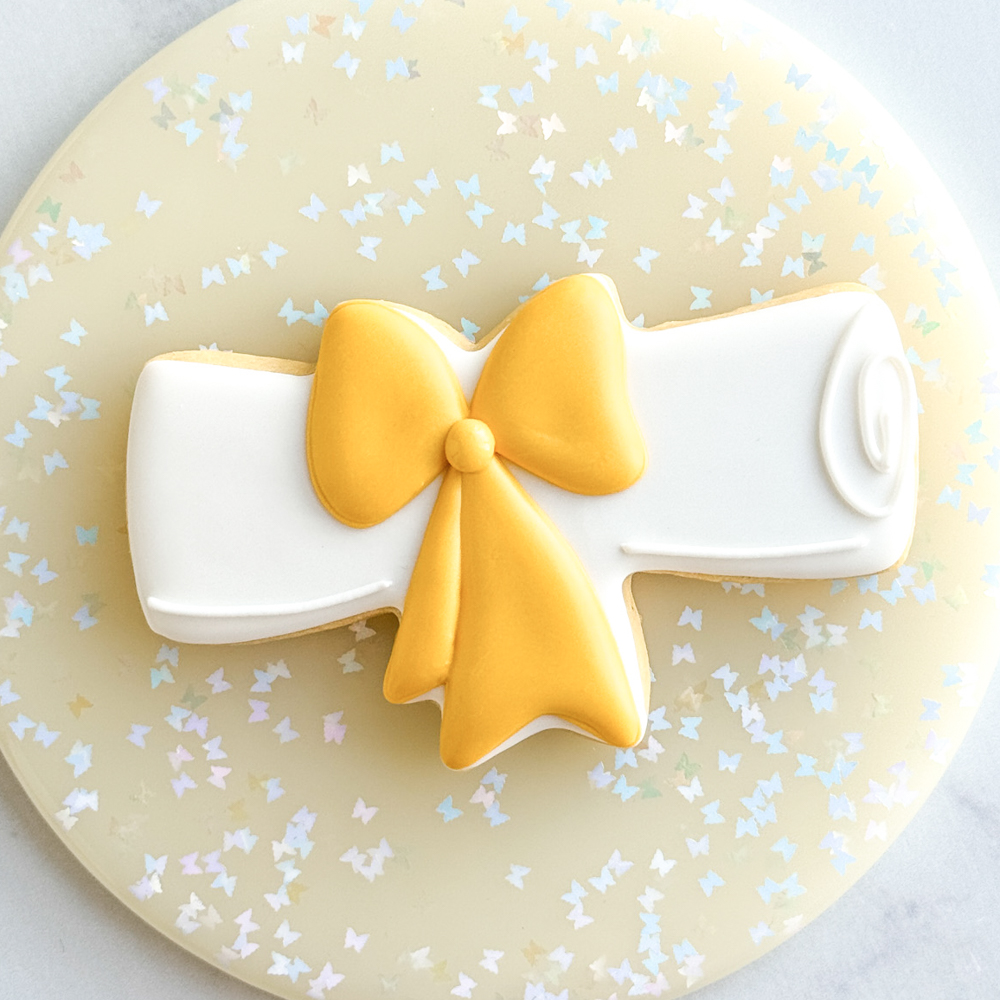
Using the yellow outline consistency icing, pipe a pea-sized dot in the center of the bow to finish the design.
Wait for the icing to harden, about 12-24 hours, before transporting or serving.
Recipe Note
Cookies decorated by Laura Luk of Butterfly Bakes Atlanta.


