How to Decorate a Diamond Ring Cookie-Beginner-Friendly Tutorial
Category
Tutorials
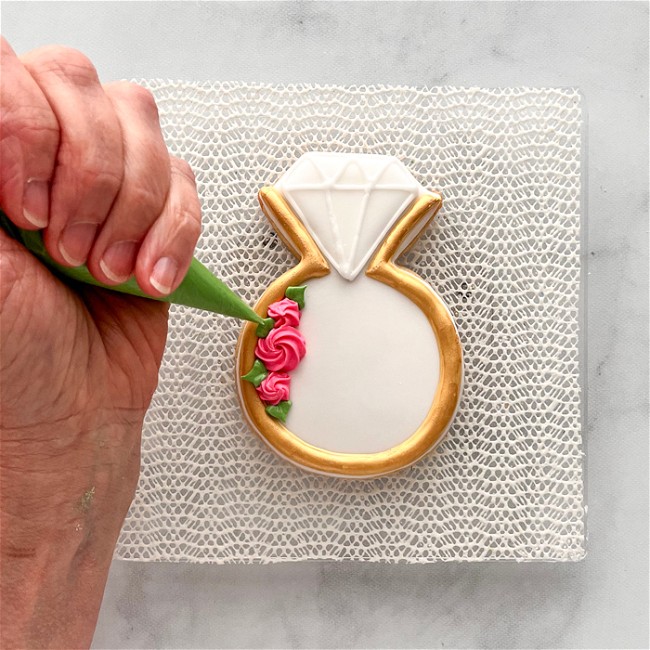
The diamond ring is a great shape to have in your repertoire-perfect for engagement parties, wedding showers, and of course, weddings. This fairly simple design is super customizable--simply change the colors of the flowers to match the theme of the wedding or shower. Say "I Dough" to delicious & elegant cookies.
Ingredients
-
4 Tipless Piping Bags
- Star Piping Bag Tip #16
- Leaf tip 352 (Optional--instructions to cut a tipless piping bag to create leaves to follow)(instructions will follow)
- Edible Gold Paint (Optional)
-
Bright White Food Coloring
- Leaf Green Food Coloring
-
Lemon Yellow Food Coloring
-
Mocha Brown Food Coloring
-
Bubblegum Pink Food Coloring
- Spatulas & pint glasses to fill your piping bags
- Scissors
Directions
Bake and cool cookies before decorating. Make sure cookies are fully cooled. If they are warm, the icing will run off of them. Make royal icing. Learn how to mix different consistencies of royal icing here>>
Prepare the following icing colors:
Piping Consistency:
White
Green
Flood Consistency:
White
Stiff Consistency:
Pink
20-Second Consistency: Gold (create gold by mixing lemon yellow and just a tiny amount of mocha brown into your icing to deepen the tone)
*20 second icing falls between detail or outline and flood. It is thick enough to hold a piped outline, but thin enough to settle when used to fill small areas. If you drag a knife through it in a bowl, it will take roughly seconds to fill in, it may need coaxing to settle.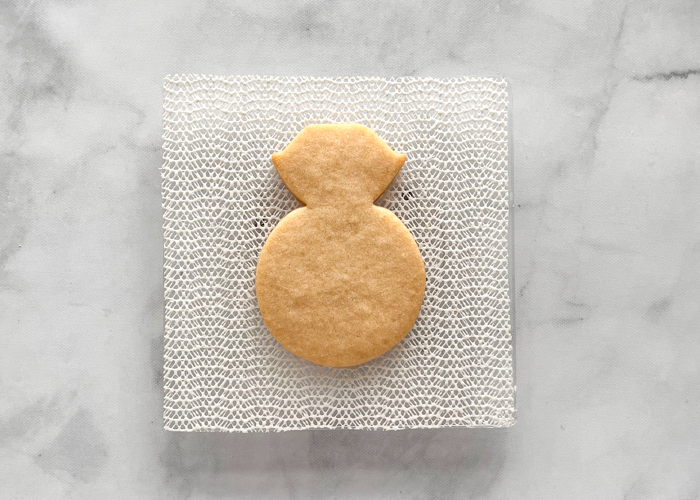
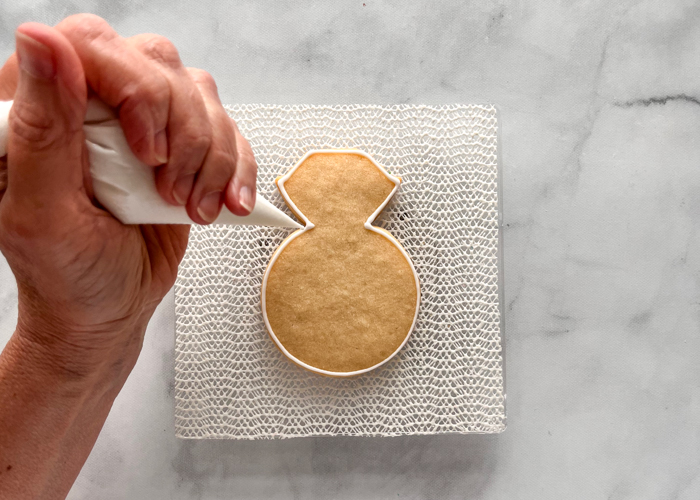
- Outline the entire ring, including the diamond, with white piping consistency icing.
Next, flood the entire cookie with white flood icing. Use a scribe tool or toothpick to coax the icing around. This will also pop any air bubbles in the icing.
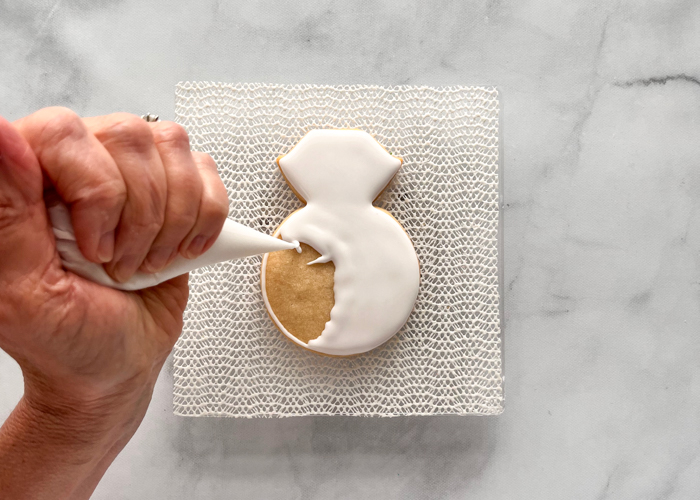
Allow to dry for at least an hour. You can place the cookie under or next to a fan to speed up the drying process. Wait until the icing is just starting to crust-it should feel dry if you lightly brush your finger over the icing.
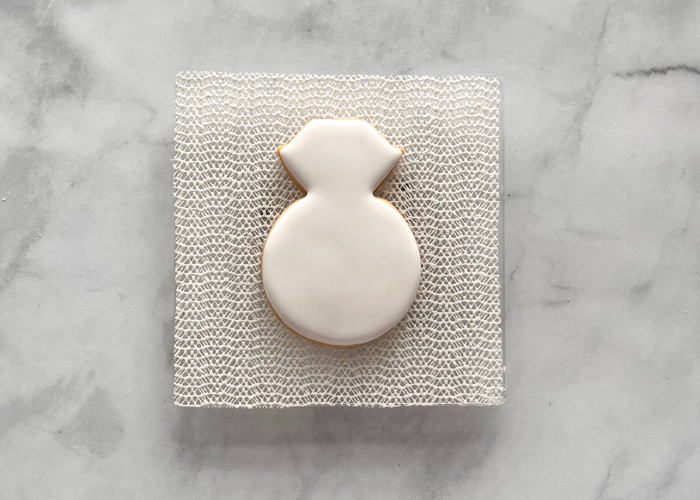
Pipe the gold ring band and prongs with outline consistency icing.
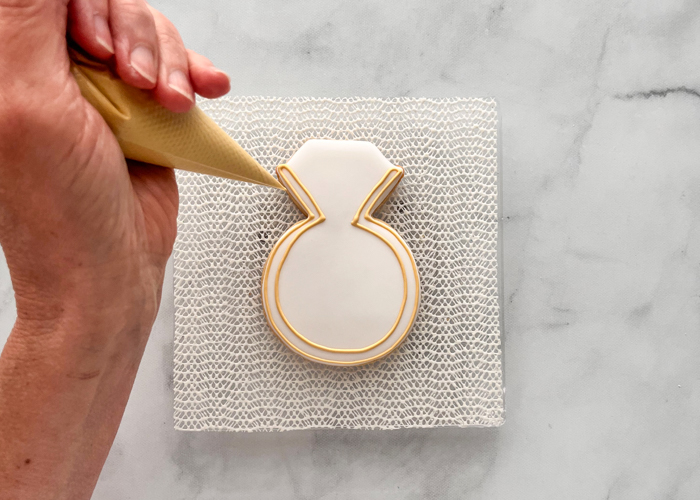
Add squiggles of icing inside the outline you just piped. These squiggles will add structure, making it less likely for this area to crater, or develop dips, as the flood icing dries.
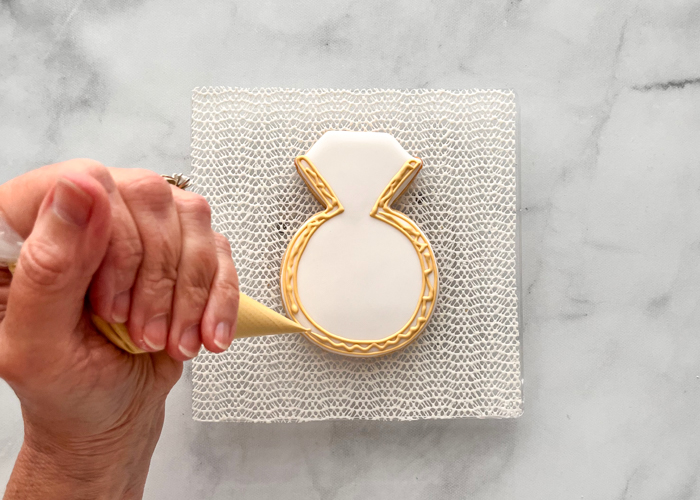
Flood the band and prongs with thick flood consistency icing.
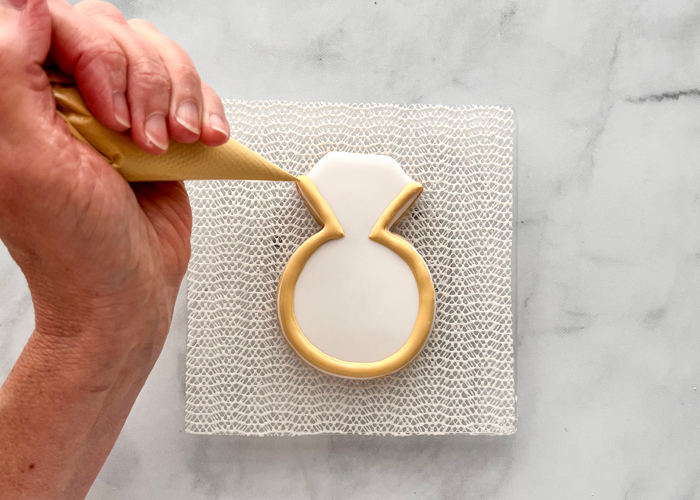
Using white piping consistency icing, outline the shape of the diamond between the two prongs. Fill with flood consistency white icing, and allow to dry until just crusting over.
If you are opting to paint the band gold, go to the next step. If you'd prefer to leave the band a deep yellow-gold color without metallic luster, skip to step 7.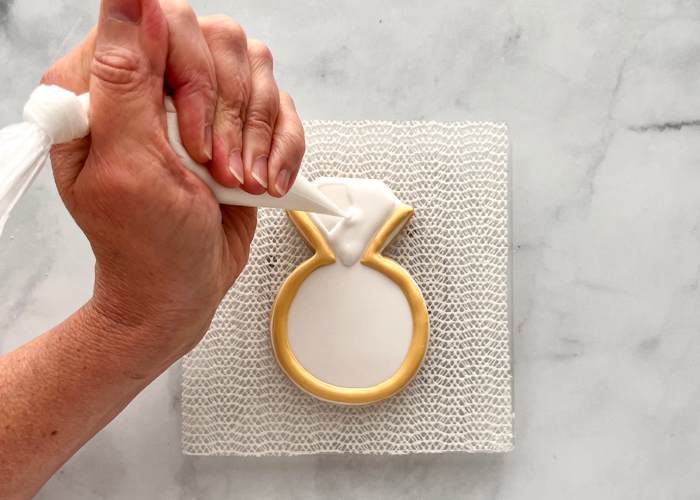
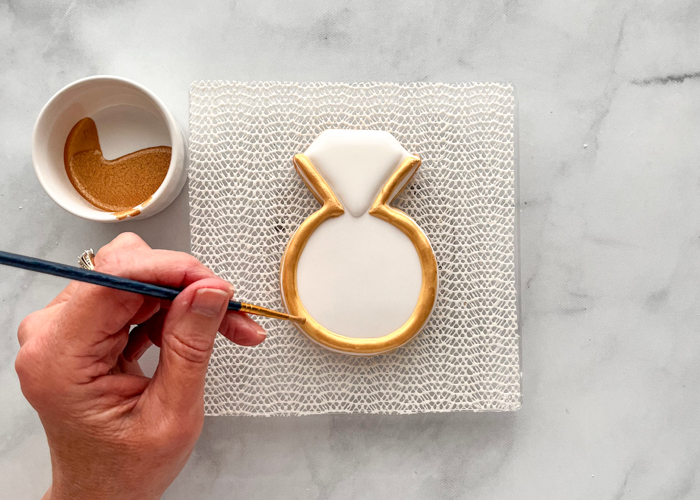
- For an extra bit of bling, you can opt to paint the ring band with edible gold paint, once the gold icing is completely dry. This is an optional step-the ring looks great with or without a metallic shine. Make sure that your gold icing is completely dry before painting it using a food-safe paintbrush.
- Using white piping consistency icing, add the facet lines on the diamond by first outlining it, then piping a line across the two widest points. Pipe a "W" in the area above the line, then a "V" below the line down to the point.
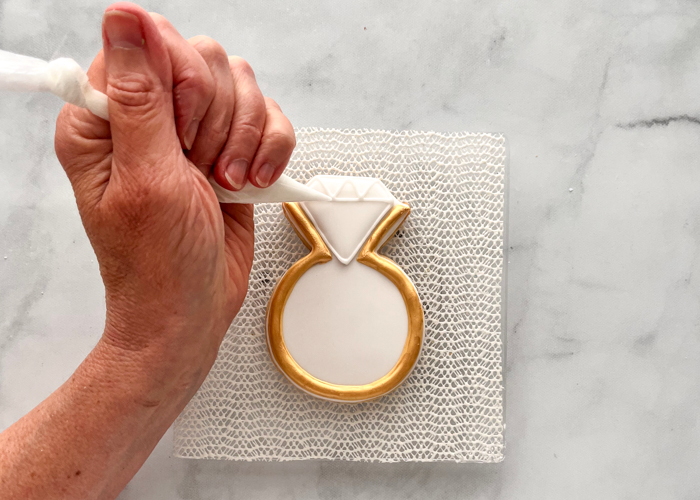
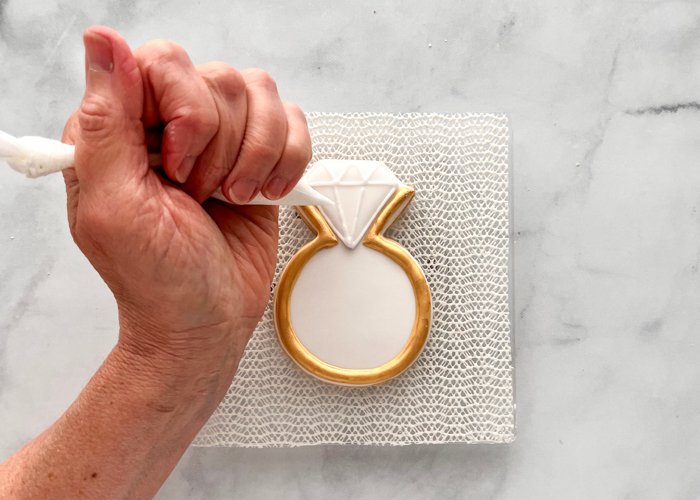
This “W” and “V” shape will create the facets of the diamond.
- Using a star tip 16 and pink stiff consistency icing, pipe three flowers along the band of the ring.
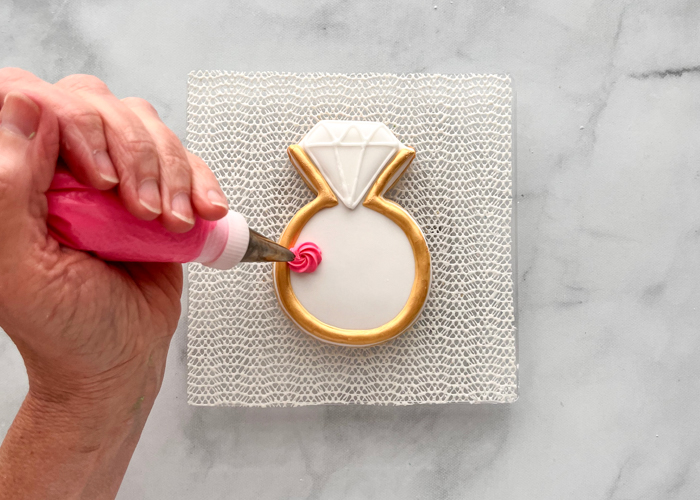
Wait for these flowers to dry before moving to the next step.
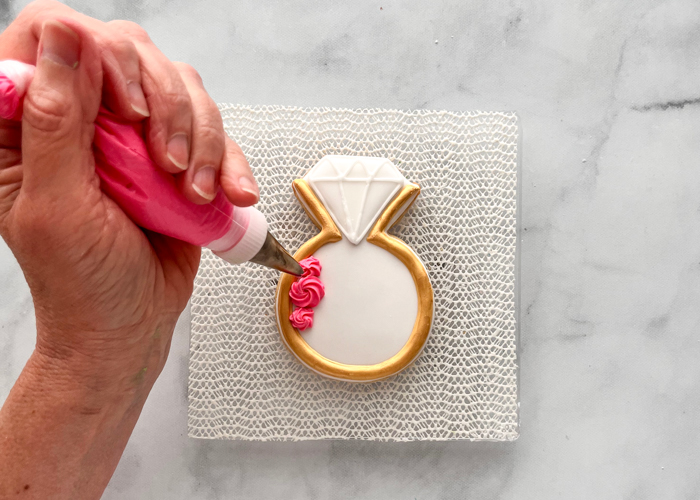
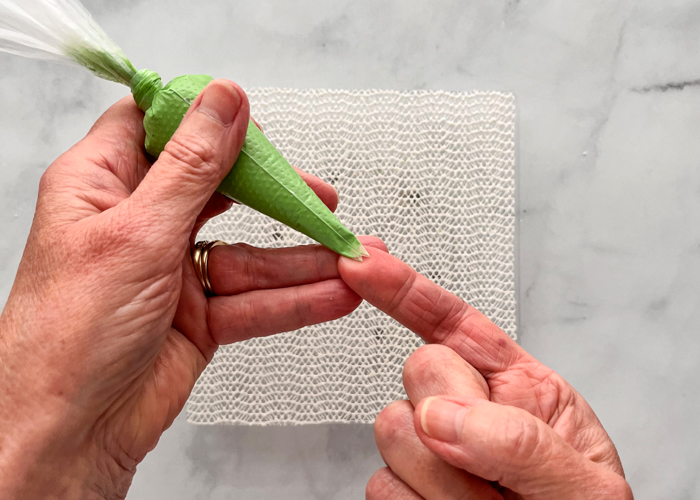
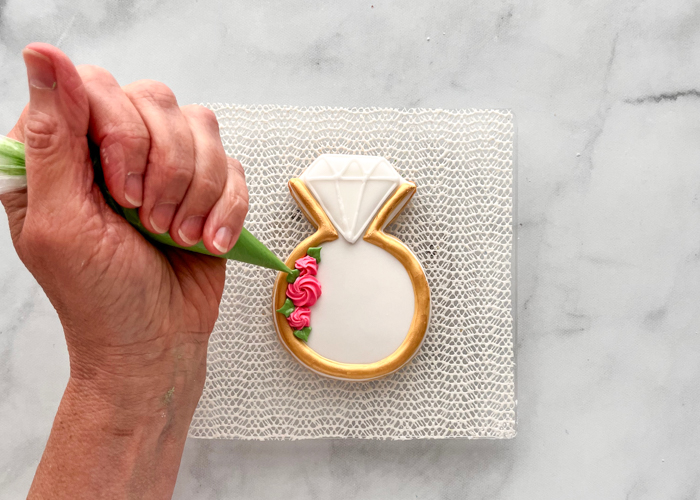
For leaves, you can pipe in one of two ways. If you have a tip 352, that will create lovely textured leaves. If, however, you are using tipless piping bags, you can cut a leaf tip out of the bag, as shown.
Flatten the filled uncut bag and push the icing away from the tip.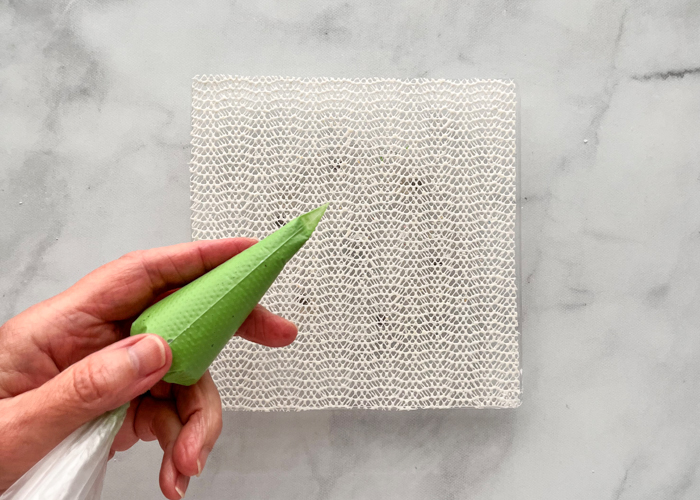
With the seam running down the center, carefully cut an inverted "V" or beak shape from the tip of your bag.
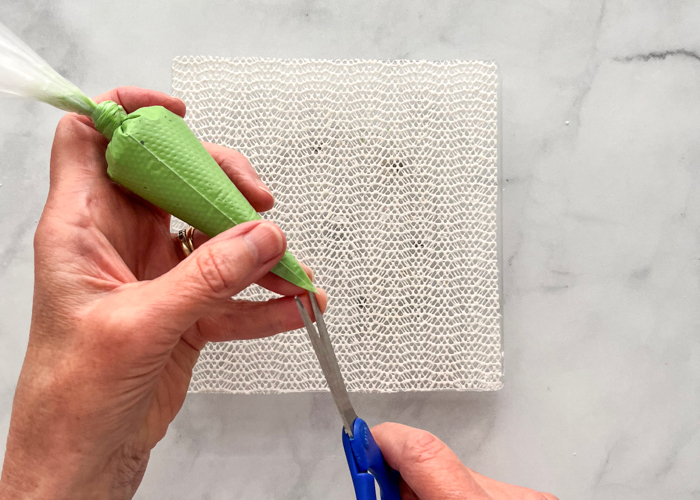
You will want to position the bag against your cookie so that the points of the beak are facing up and down, to achieve a leaf shape.
Begin piping with gentle but steady pressure, then release the pressure as you pull away to a point.
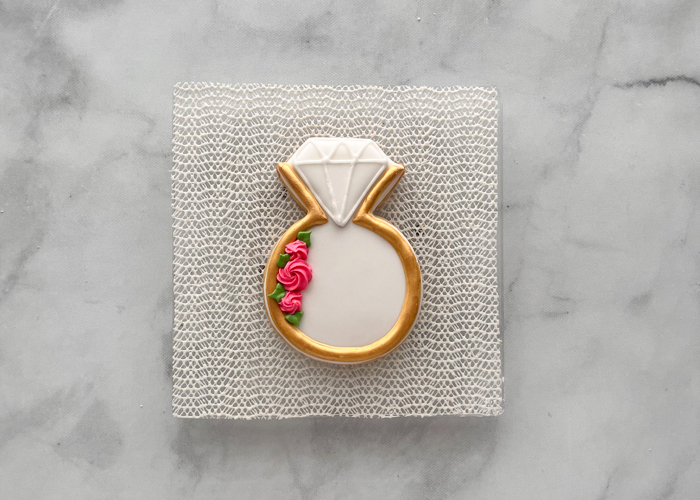
Allow these cookies to dry fully before serving or transporting.
Recipe Note
Cookies decorated by Mary Mansfield of The Flour Gardener


