How to Decorate a Baby Onesie Cookie
Category
Tutorials
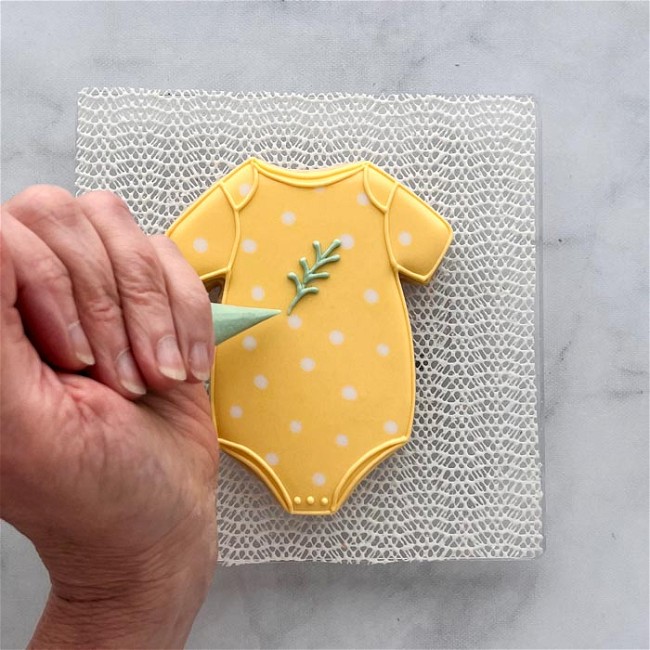
Celebrate the arrival of a little one in a big way! This shape is a perennial favorite–it can be decorated to fit any baby shower theme. In this tutorial, Mary, aka The Flour Gardener, showcases a simple wet-on-wet technique to create a pattern, and you’ll also learn tips for creating a delicate sprig of greenery.
Ingredients
-
4 Tipless Piping Bags
-
Bright White Food Coloring
-
Leaf Green Food Coloring
-
Lemon Yellow Food Coloring
-
Mocha Brown Food Coloring
-
Super Black Food Coloring
- Spatulas & pint glasses to fill your piping bags
- Scissors
Directions
Bake and cool cookies before decorating. Make sure cookies are fully cooled. If they are warm, the icing will run off of them. Make royal icing. Learn how to mix different consistencies of royal icing here>>
Prepare the following icing colors:
Piping Consistency:
Sage Green (create sage green by mixing leaf green with a tiny amount of mocha brown and super black food coloring)
Yellow
Flood Consistency:
White
Sage Green
Yellow
Pro Tip: To get softer, more pastel colors, mix bright white into your brighter hues.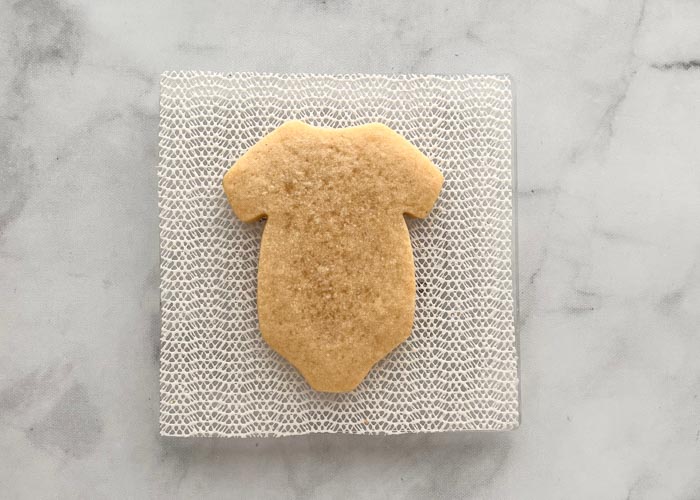
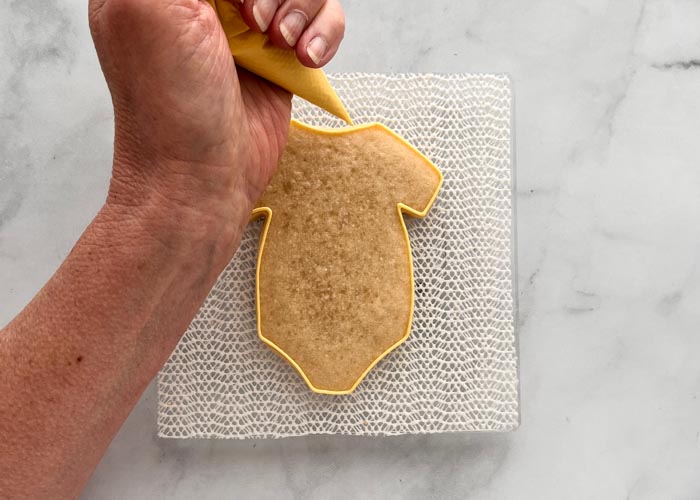
- Using yellow piping consistency icing, outline the entire shape of the onesie. Let dry for 2-3 minutes.
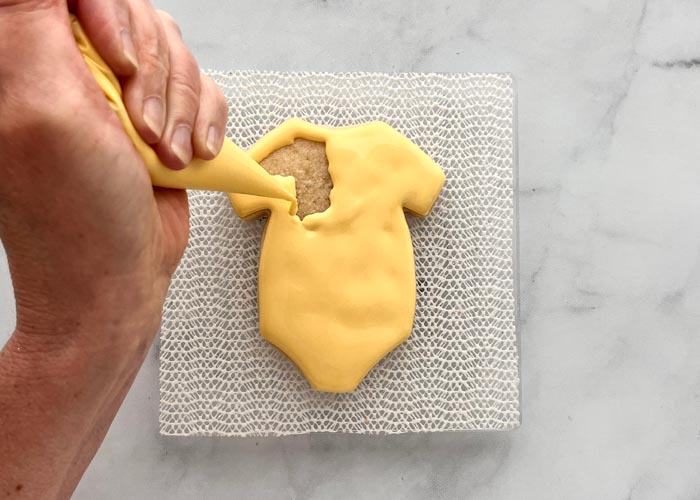
- Pipe a squiggle of piping consistency icing in the center of the shape, then use yellow flood consistency icing to fill the body of the onesie. The squiggle will help to prevent cratering or collapsing of your flood icing. Use a scribe tool or toothpick to spread the icing around, eliminating any air bubbles and ensuring full coverage of the cookie.
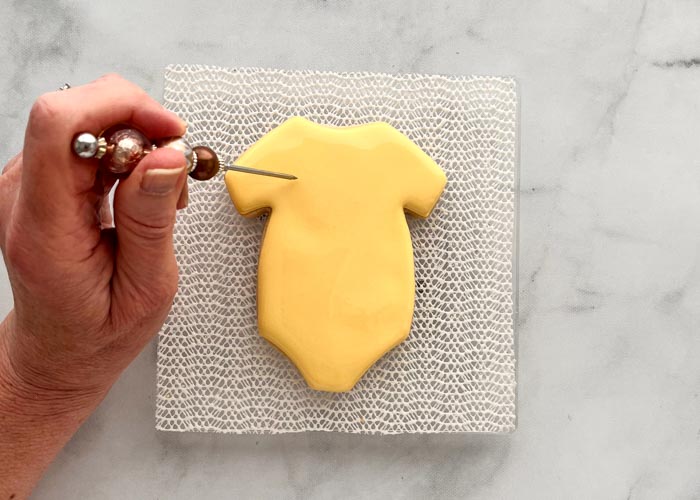
- Immediately drop dots of white flood icing into the still wet yellow flood before it begins to crust. This is known as a "wet-on-wet" technique. The white polka dots will settle into the yellow flood.
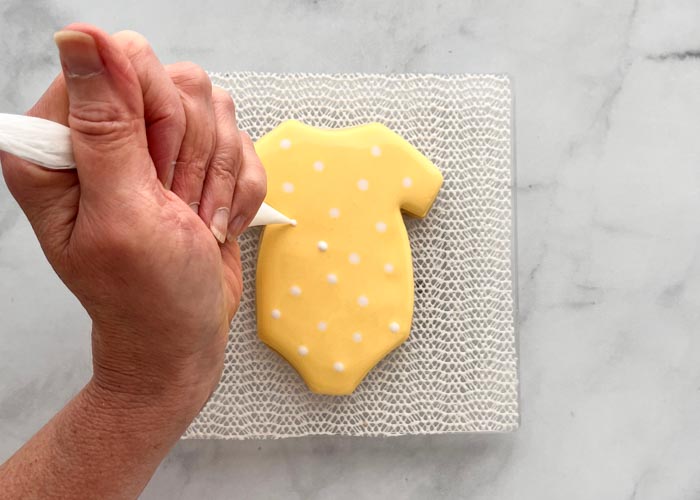
Allow to dry for at least least 30-60 minutes until crusted over. Drying under a fan will help the cookie to crust more quickly.
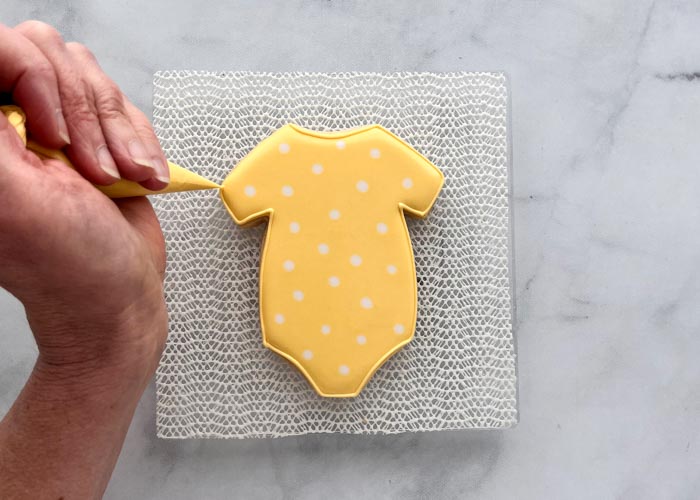
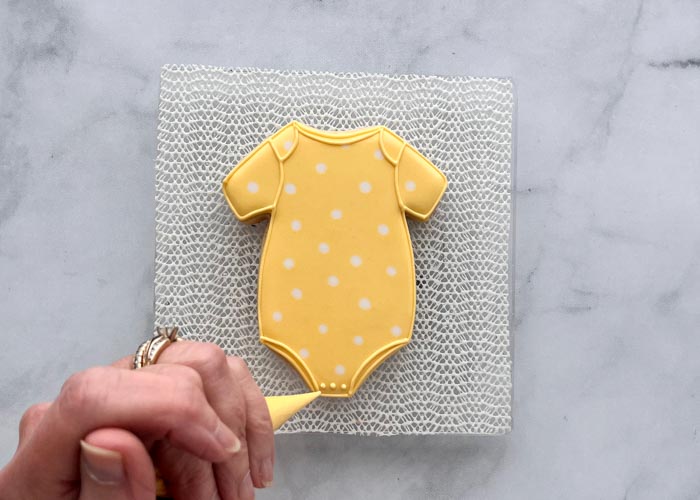
Once dried, use piping consistency icing to outline the onesie shape. You can add extra detail lines at the neck, shoulders and leg openings as shown, if you wish.
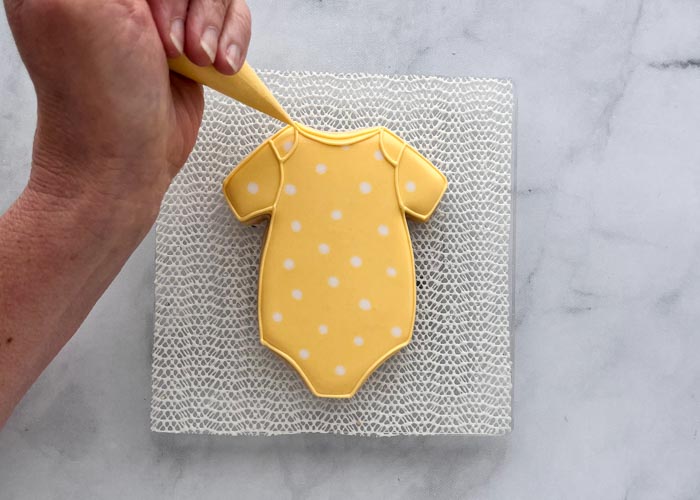
These details will help the onesie cookie to look more realistic.
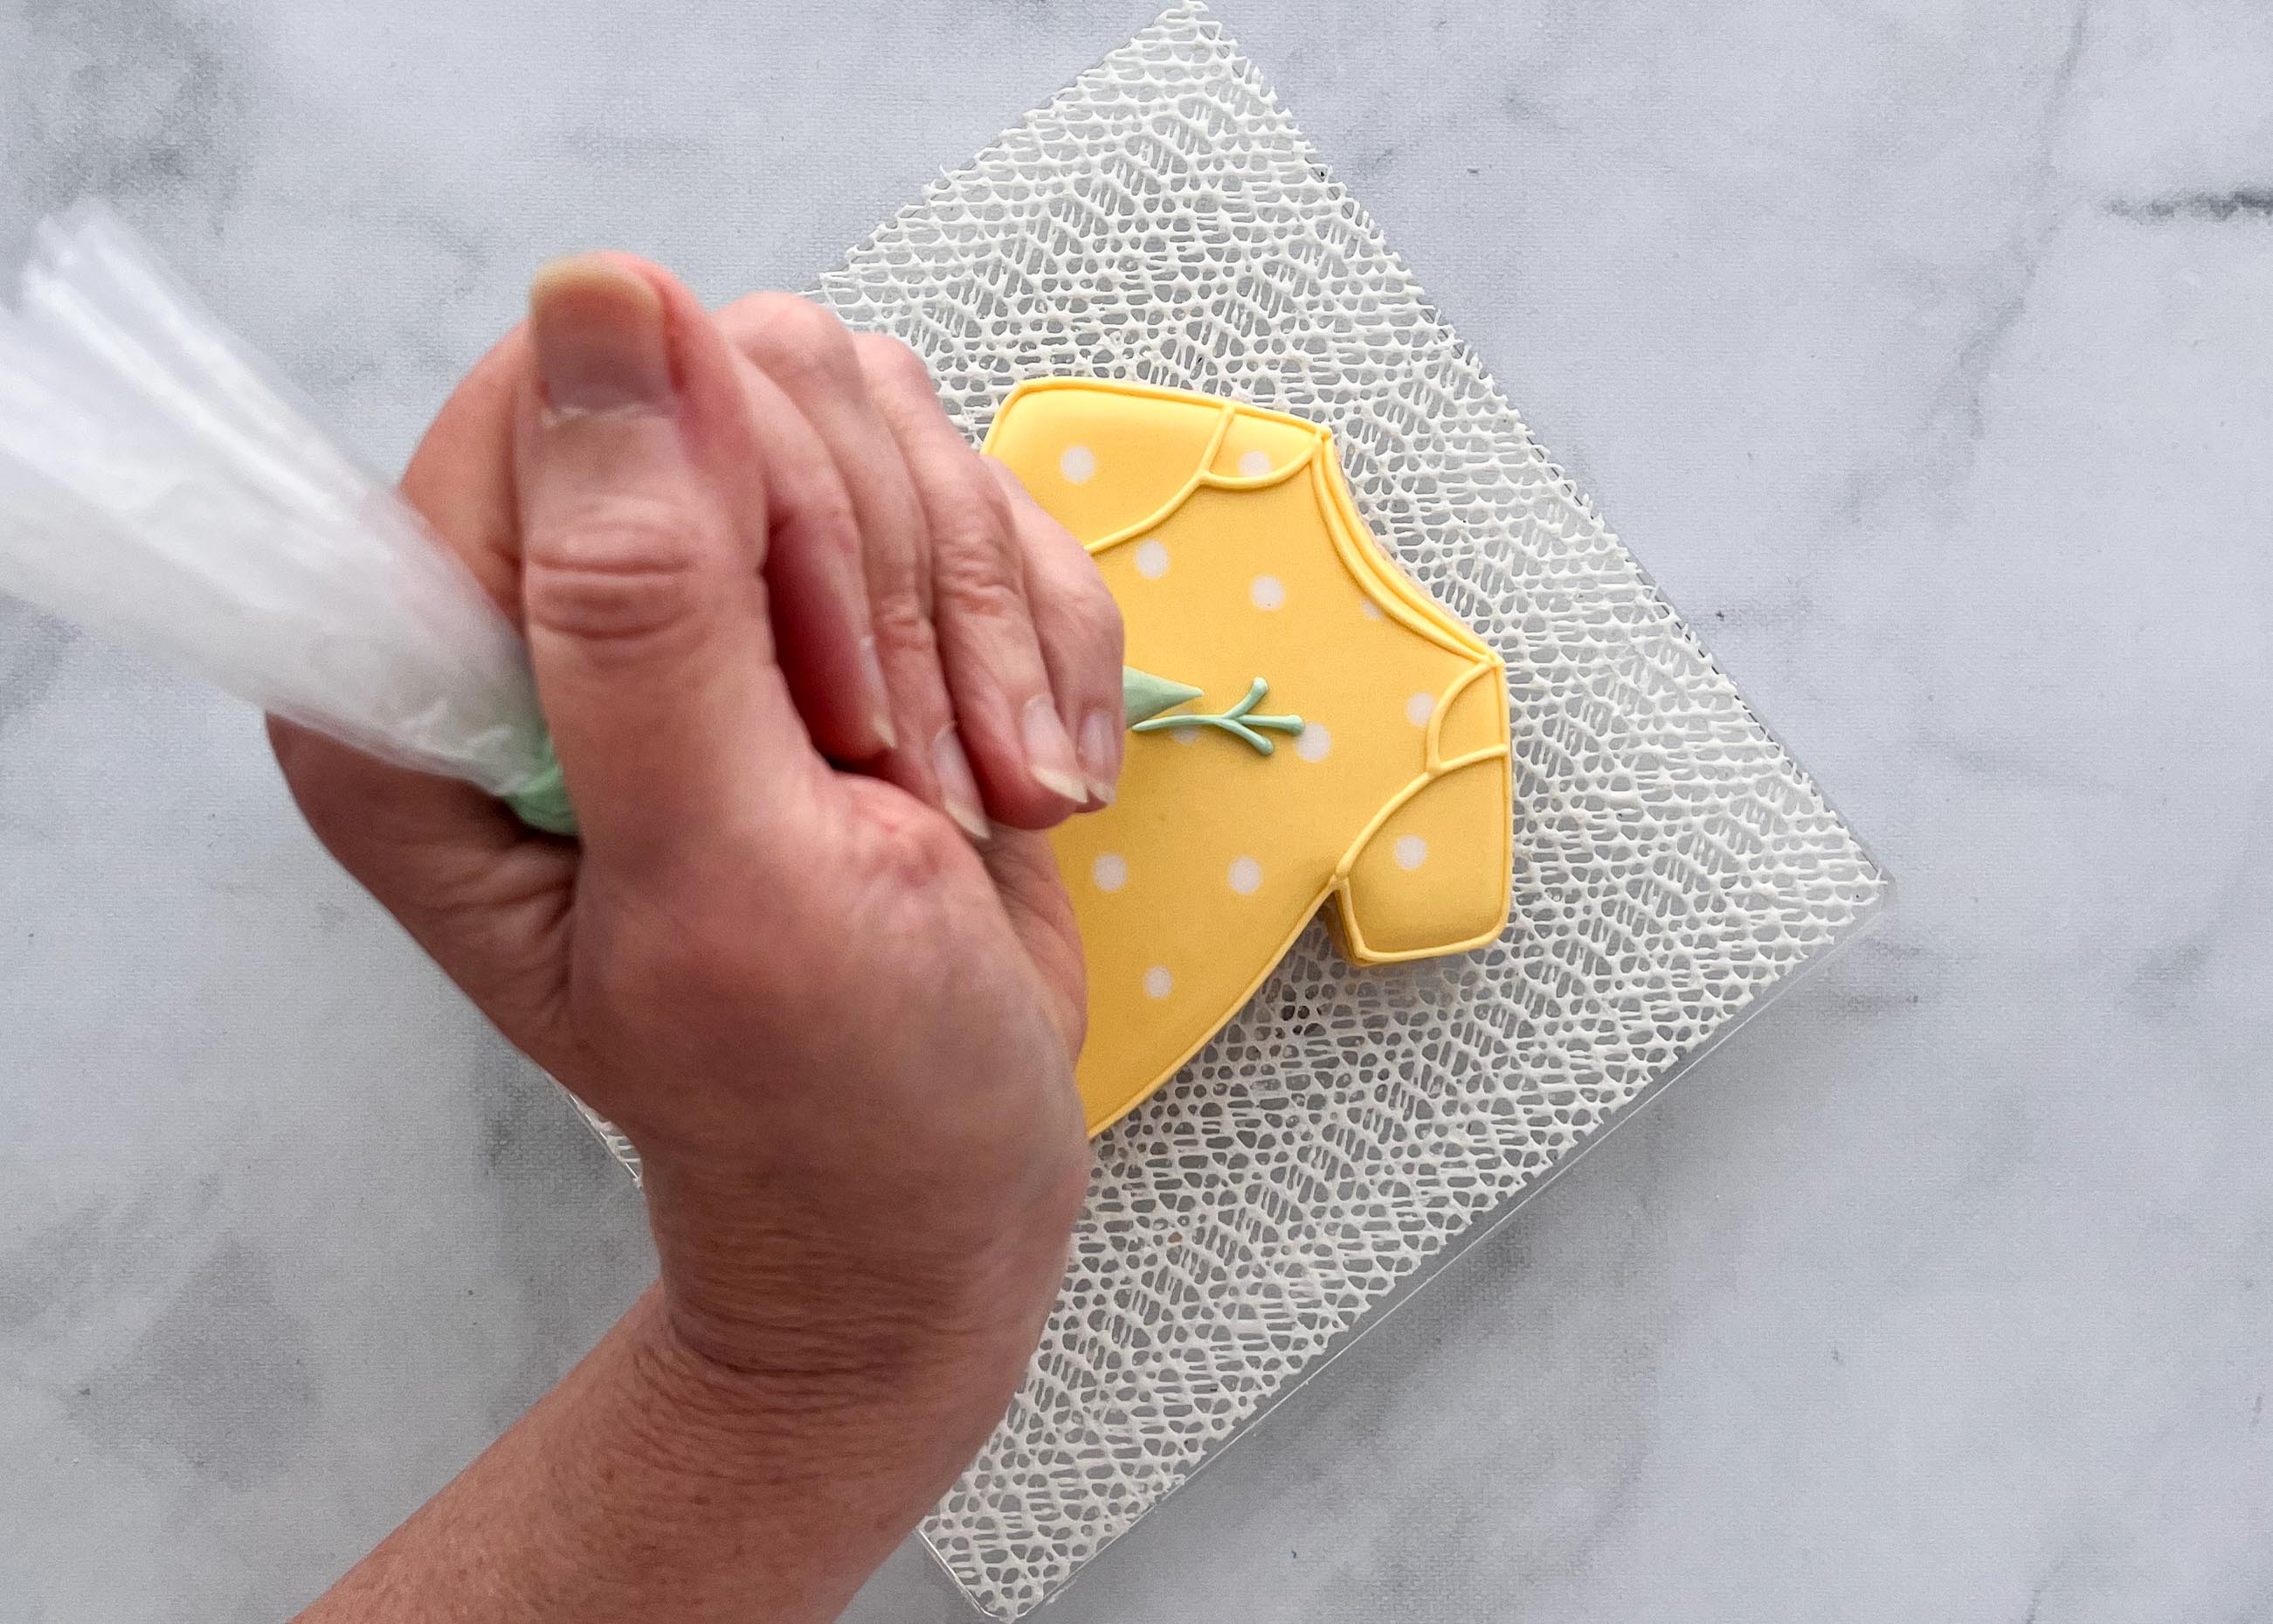
Add the little sprig of greenery to the chest of the onesie using green detail icing. Start by piping a stem, then add little leaves on each side as you progress down the stem. Start away from the stem, and end each leaf at the stem. This ensures that if you put a bit more pressure when first piping, you'll have a leaf that tapers down to the stem.
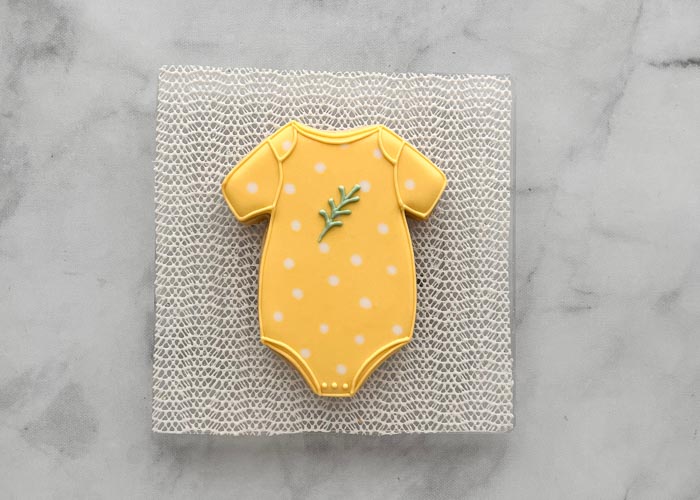
This sweet onesie cookie is great on its own, or as part of a baby shower set.
Recipe Note
Cookies decorated by Mary Mansfield of The Flour Gardener


