Finial Ornament Decorating Tutorial
Rated 5.0 stars by 1 users
Category
Tutorials
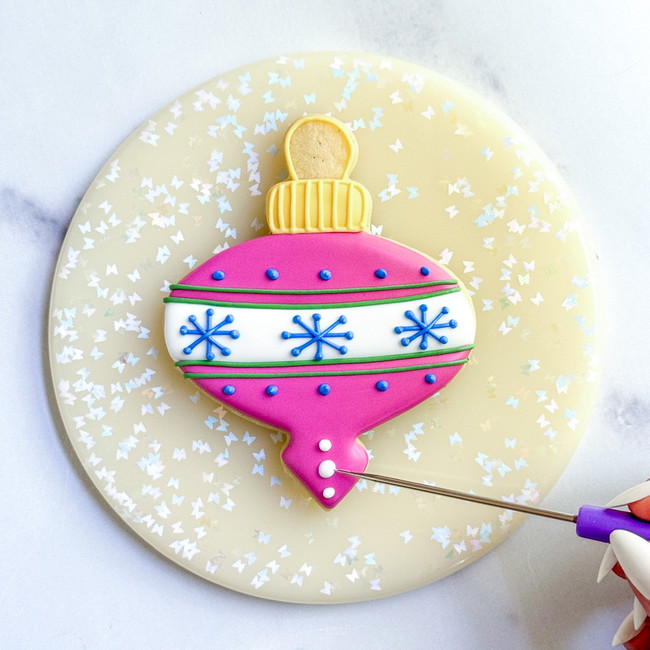
This modern spin on a classic shape is sure to be a Christmas dessert showstopper. Ornament shapes provide the perfect canvas for bold color combinations, and this design showcases unique hues using our Finial Ornament Cookie Cutter shape.
Ingredients
Directions
Bake and cool cookies full before decorating. Prepare the following:
Outline/Piping Consistency:
Fuchsia
White
Blue
Green
Gold (Mix Lemon Yellow icing with just a tiny amount of Mocha Brown food coloring)Flood Consistency:
Fuchsia
White
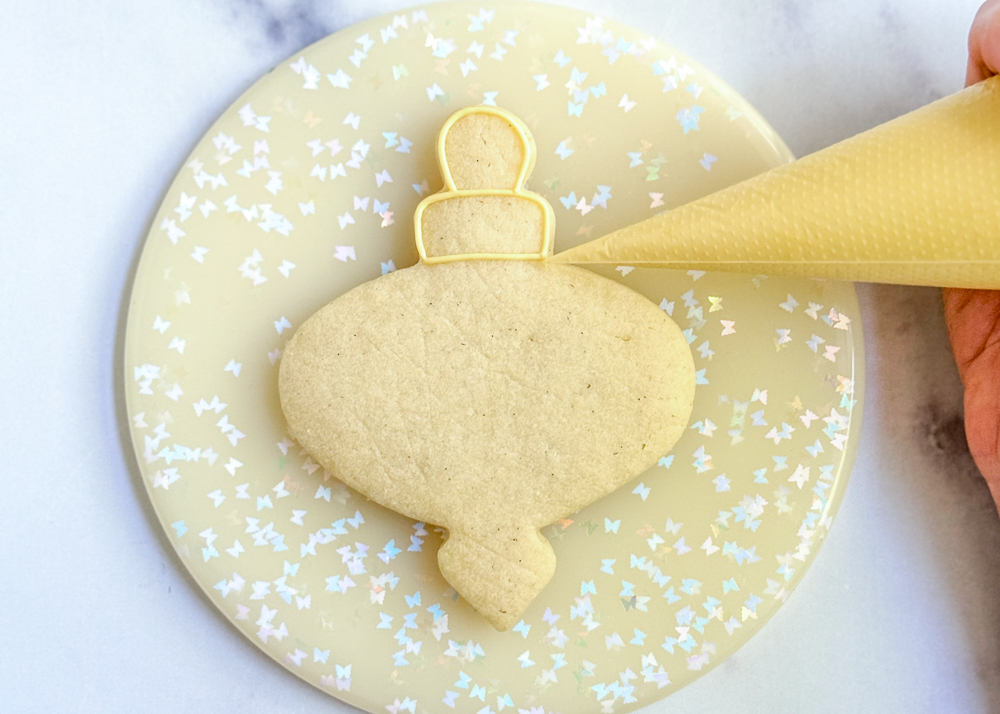
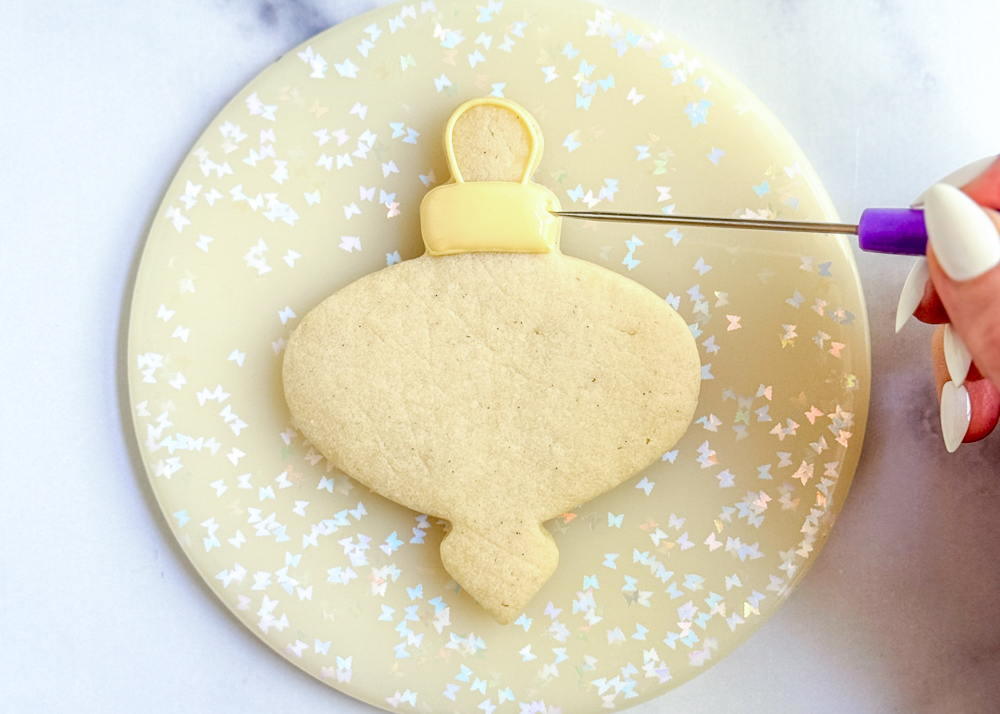
Using the gold outline consistency, outline the top of the ornament, as shown in the photo. Add a squiggle of outline consistency icing in the center of the rectangular section.
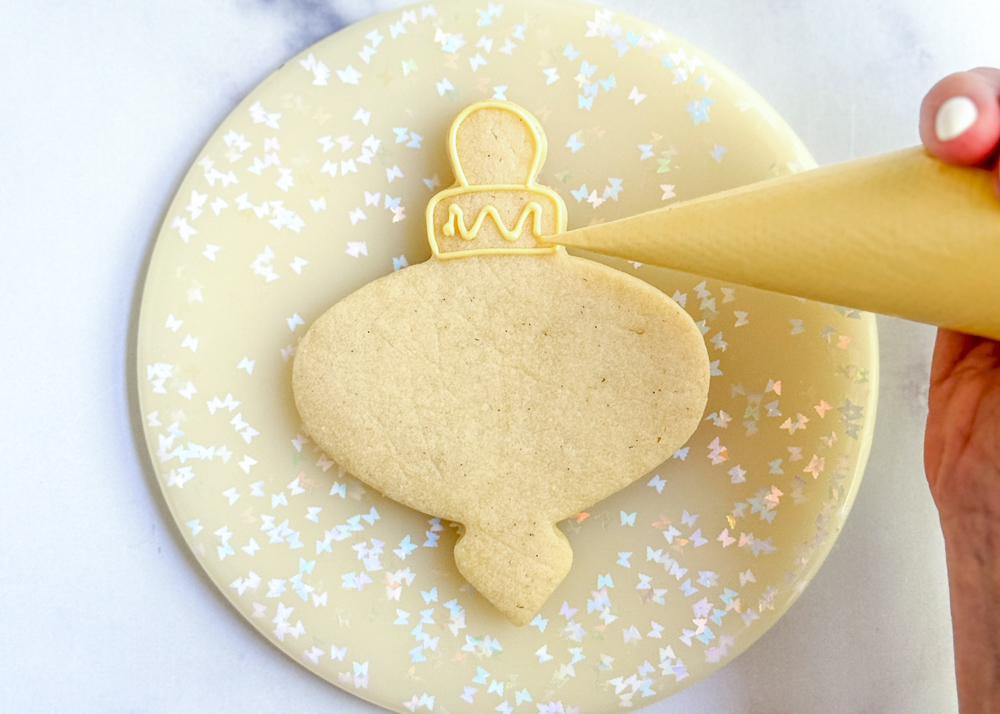
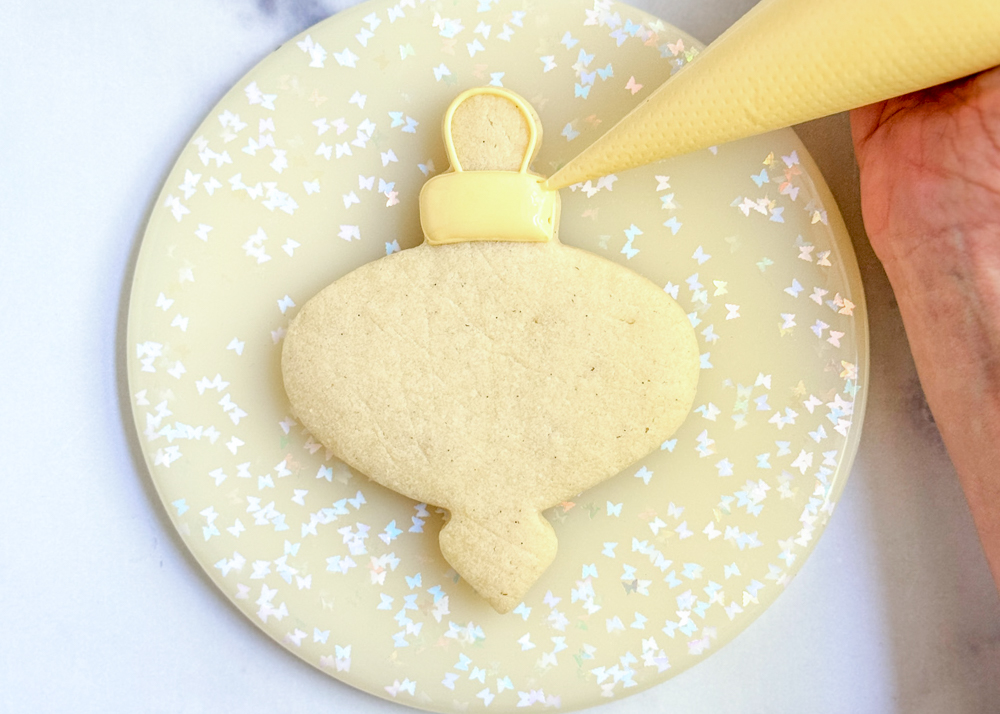
Fill in the rectangular section of the section you outlined with the gold outline consistency icing. Smooth out the icing with your scribe tool or toothpick.
Pro Tip: Using the thicker outline consistency is effective here because tiny sections like these are prone to “cratering.” Cratering causes holes or sinking in the icing as it dries. It’s why you’ll often see cookie artists add a squiggle of outline consistency icing onto the base, or even poking holes in the cookie with a scribe tool, before flooding. With small sections like these, I suggest using outline consistency to fill in so we can skip making a flood consistency and easily manipulate the icing with a scribe tool or toothpick to settle it.
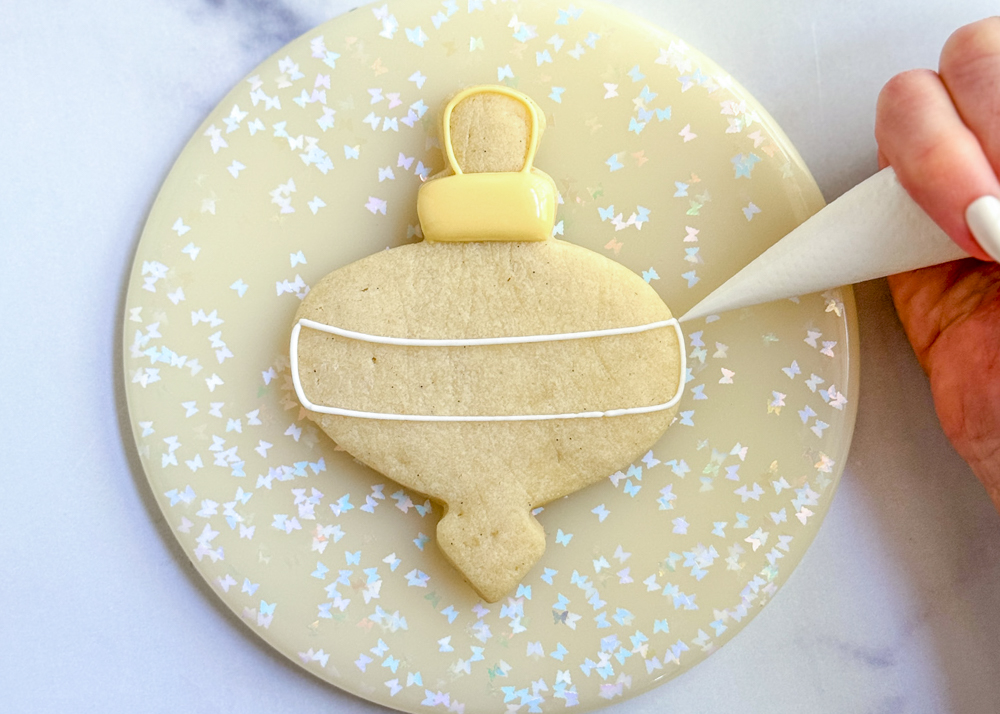
Using the white outline consistency icing, outline the middle section of the ornament, as shown in the photo. Add a squiggle of white outline consistency icing in the center of this section.
Pro tip: Because this is a larger area than the top of the ornament, we will use flood consistency icing to fill it in. Adding a squiggle of outline consistency icing to small flooded sections of a cookie is another method for preventing cratering in the icing as it dries. The squiggle of outline consistency icing helps to support your flood layer.
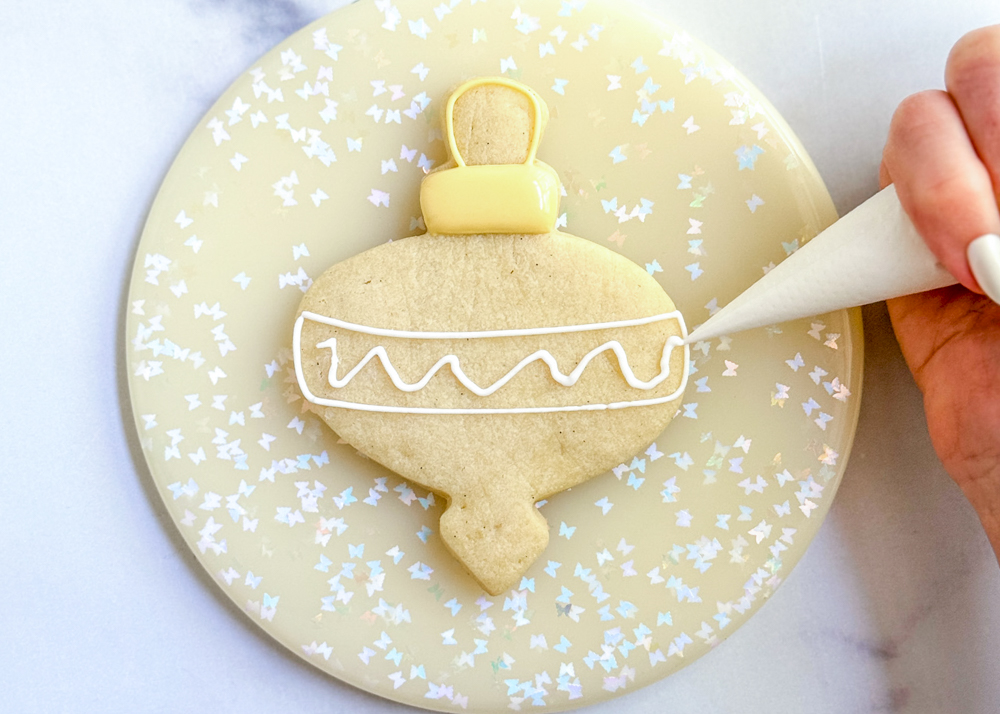
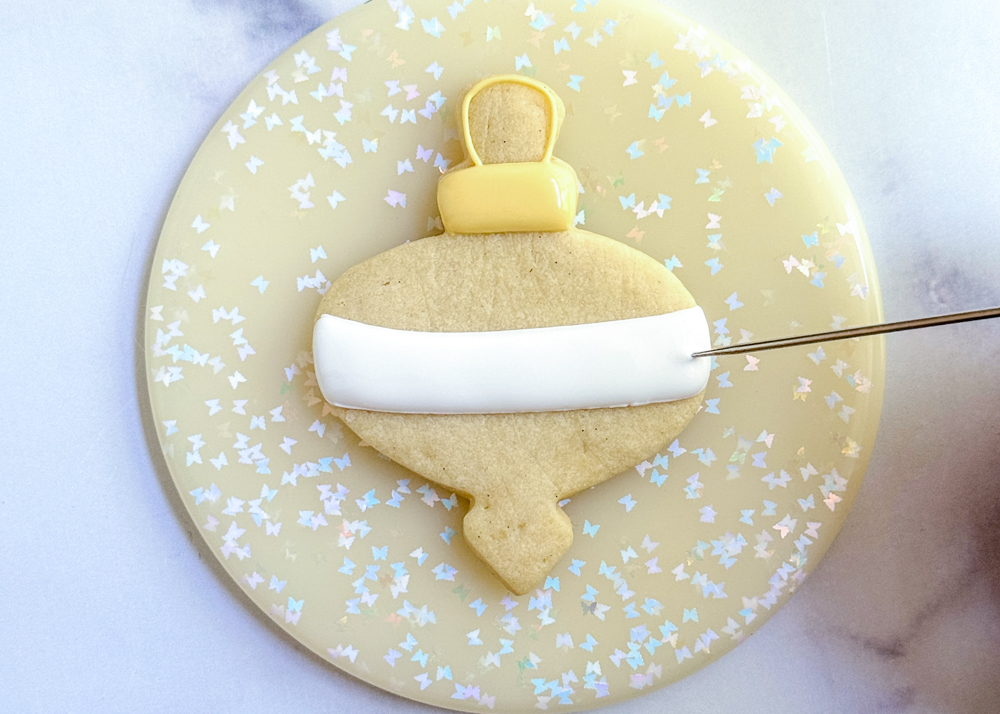
Fill in the white outlined section with white flood consistency icing. Use a scribe tool or toothpick to smooth out the icing and pop any air bubbles that may come to the surface. Let this section dry for 20-30 minutes or until just crusted over before moving onto the next step.
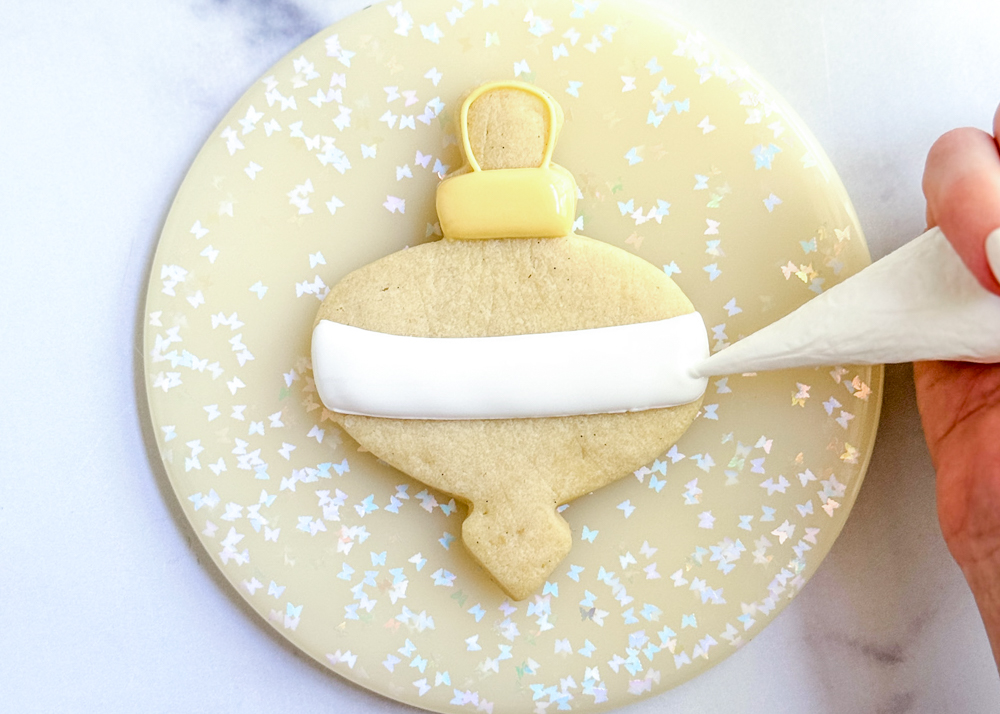
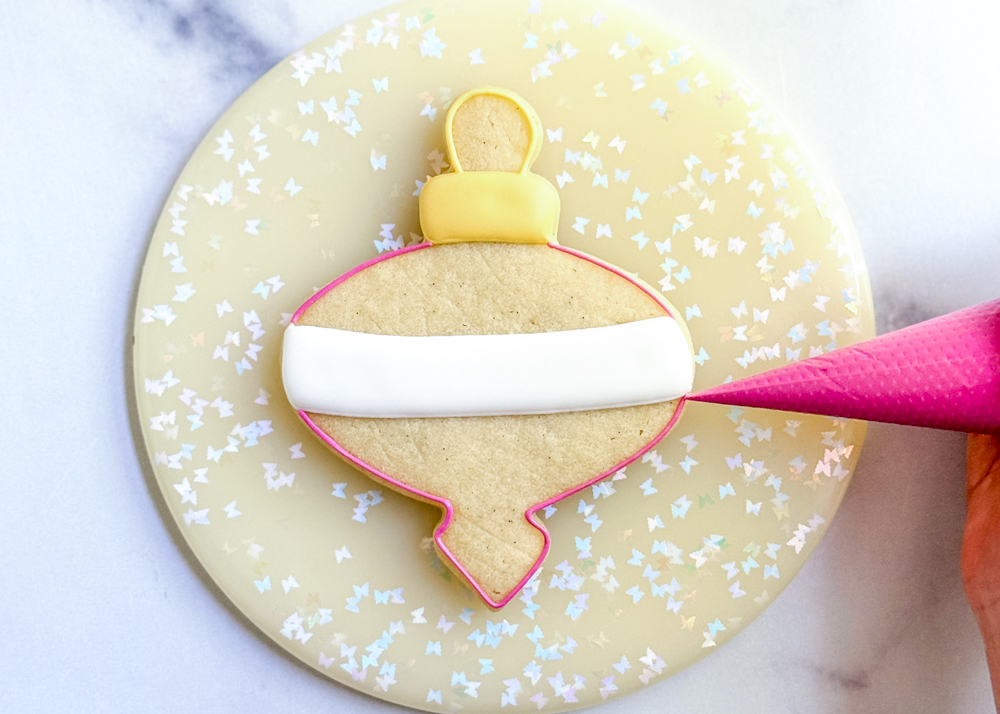
Using the fuchsia outline consistency icing, outline the remainder of the ornament shape.
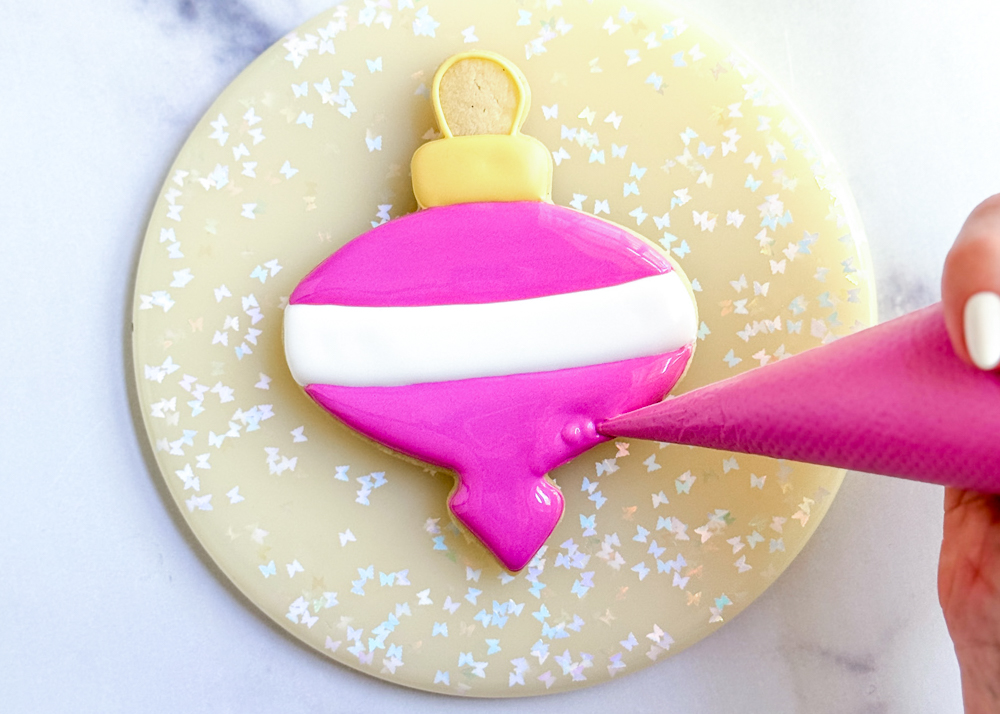
Fill in the sections you just outlined with the fuchsia flood consistency icing. Smooth out the icing with your scribe tool or toothpick. Allow these sections 20-30 minutes to dry before moving onto the next step.
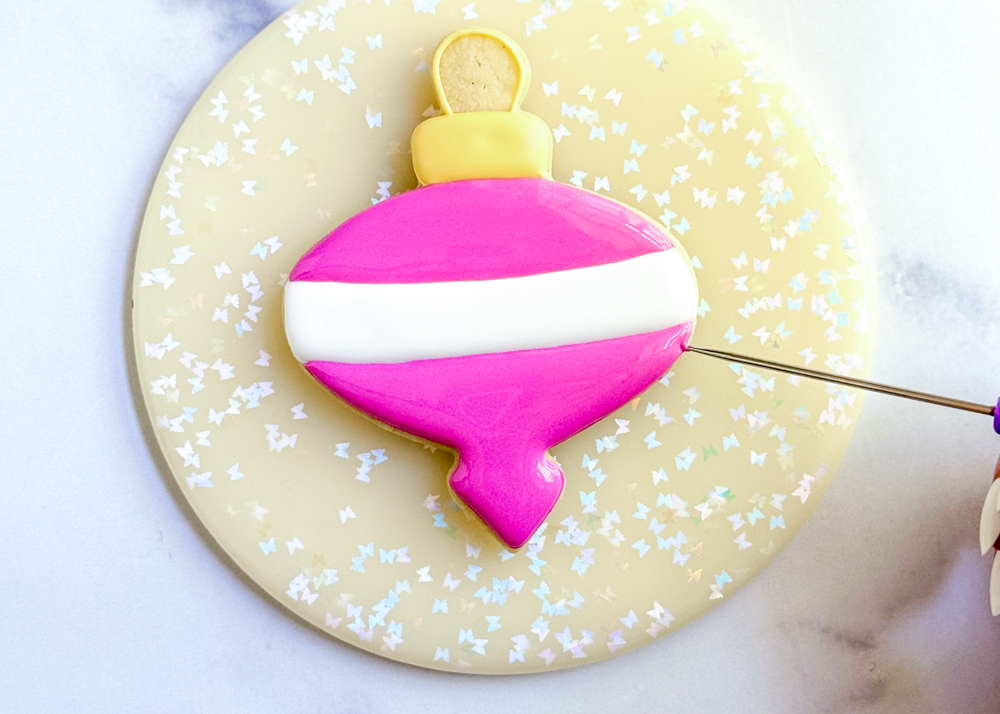
Using the gold outline consistency icing, outline and add vertical lines to the rectangular section of the top of the ornament.
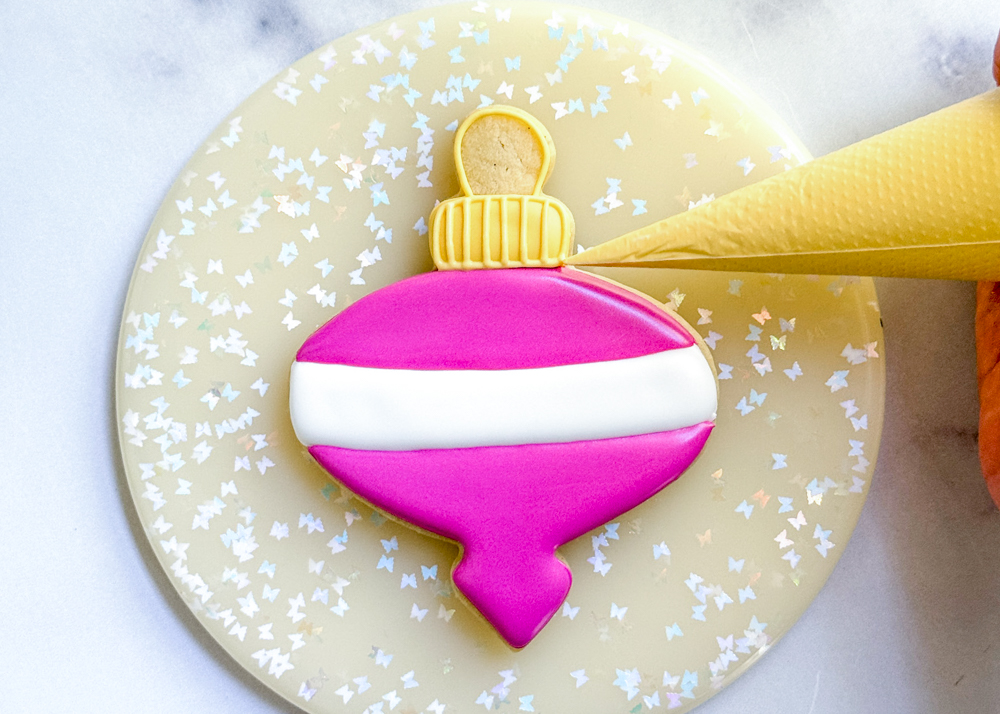
Using the green outline consistency icing, add four lines across the ornament, as shown in the photo.
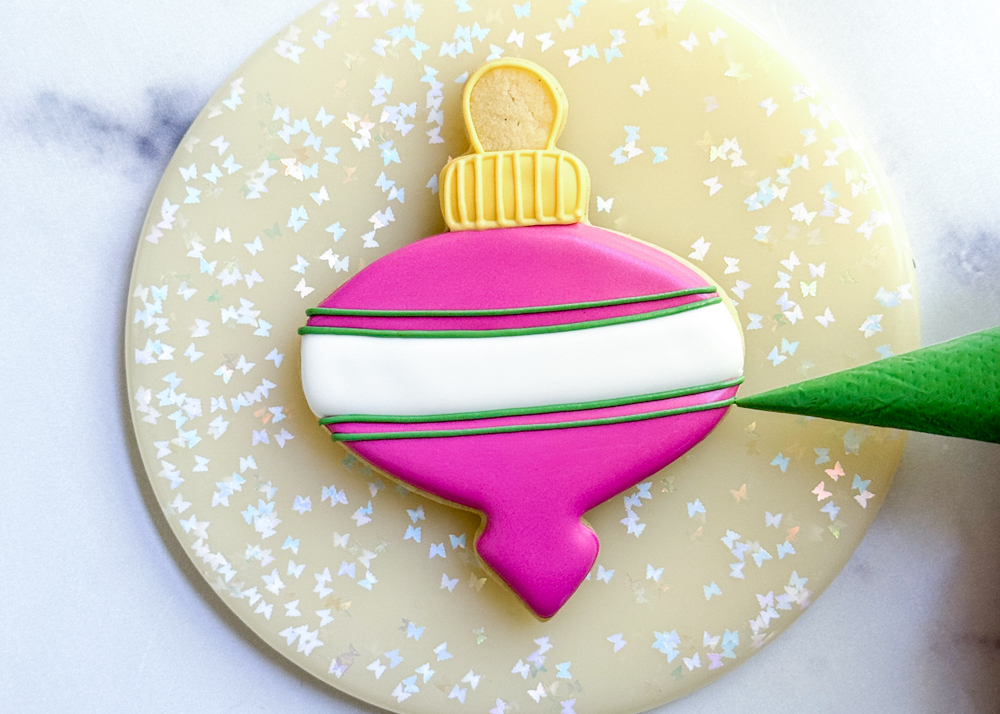
Using the blue outline consistency icing, add three snowflake shapes to the white section of the ornament. Add five dots of blue outline consistency icing on either side of the white section, outside of the green lines. Add further embellishments with outline consistency icing as desired.
