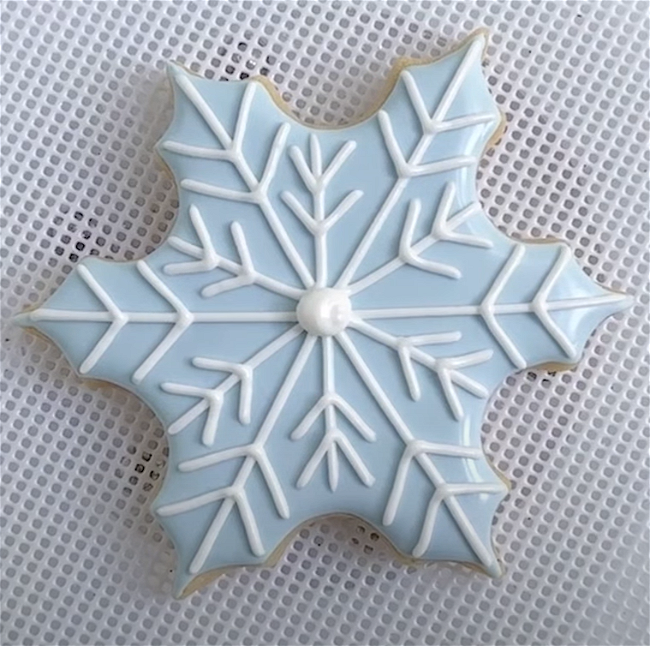
Decorating Snowflake Sugar Cookies
Decorating Snowflake Sugar Cookies
Rated 5.0 stars by 1 users
Category
Tutorials
This classic snowflake sugar design uses a flooded royal icing base upon which you can pipe details to your heart's content. Play around with colors and techniques--no two snowflakes look exactly alike!

Ingredients
-
2 Tipless Piping Bags
-
Bright White Food Coloring
-
Sky Blue Food Coloring
Directions
Bake and cool cookies before decorating. Try Ann Clark's signature sugar cookie recipe. Or, sweeten things up with our Vanilla Bean cookie recipe. Make sure cookies are fully cooled. If they are warm, the icing will run off of them. Make royal icing.
Prepare the following icing colors:
Detail Consistency:
White Thick Flood Consistency:
Sky BlueFirst, outline your cookie with thick flood consistency light blue icing.
Flood the interior of the cookie with your sky blue icing, and wait for the icing to crust over until it is just set. The icing should be just crusted over, but not fully hardened. The icing will need to dry for about 10-20 minutes to set.
Once the base is just crusted over, begin adding details with white detail consistency icing. Start by piping lines from each tip of the cookie, creating an asterisk in the center. Start by hovering your piping bag over the cookie, and let the line of icing fall onto the cookie. This will ensure neat lines that are even and consistent.
Once you have your main lines piped, begin piping smaller lines, creating a "V" shape at the tips of the snowflake.
Play around with details, piping more lines if desired. You can also pipe small dots at the end of each line and a dot in the center of the snowflake to give it a finished, polished look.
Recipe Video
Recipe Note
Cookies decorated by Laura Luk of Butterfly Bakes Cookie Decorating


